Notes: Not to be confused with Allstones Ridge. Bivied on col. Black bear in area.
Trip Report
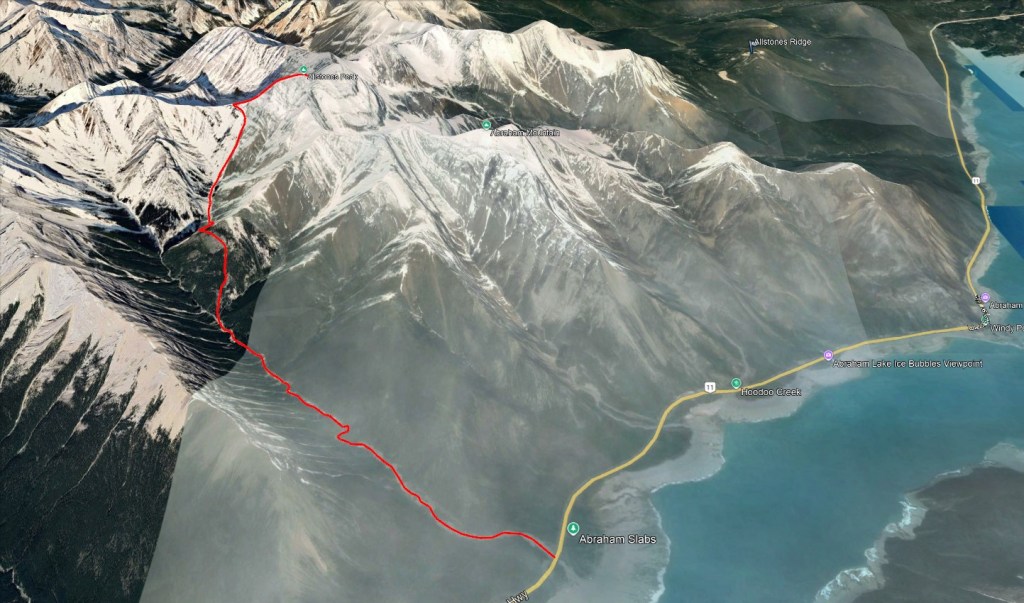
I am surprised Allstones Peak doesn’t see more traffic, being the tallest peak along the David Thompson Corridor and only a moderate scramble. I naively expected that, since Jasper is still closed due to wildfire, everyone from Edmonton would instead be heading to the DTC for the long weekend and would probably all choose the same objective as me. In fact, I ended up being only the eighth name in the summit register total.
Aside: The major drainage flowing from Allstones Peak’s east slopes is Allstones Creek. A gentle shoulder above this creek is commonly called Allstones Ridge, although it is not very obviously connected to Allstones Peak. The creek and ridge are some of the most popular hikes in the corridor and tend to cause confusion when talking about Allstones Peak. Allstones Peak is much further back, tucked behind Abraham Mountain. Looking west from Allstones Creek, it is the obvious tallest peak and has a saddle-shaped summit block. From Allstones Ridge, only a smaller sub-peak is visible – which still appears as a towering peak above the lake and small ridge.
Allstones Peak is accessed using the creek across from Abraham Slabs camping area. As part of improvements along the corridor in 2022, a parking lot with an outhouse was built on the south side of the highway here. Behind the parking lot is a random camping area called Abraham Slabs – no doubt named for nearby Abraham Slabs climbing crag. Camping here requires a Public Lands Camping Pass which is $30 annually, as of writing, but is otherwise free. Some mapping identifies this creek as BATUS Creek, named for the British Army Training Unit Suffield which used to train in the area. But, a number of hiking descriptions of BATUS Canyon exist which are plainly describing Peskett Canyon – better known to climbers as Little Russia crag, Solar Panel crag, or End Of The Line. To avoid confusion finding the trailhead, look for obvious signage for Abraham Slabs camping area.
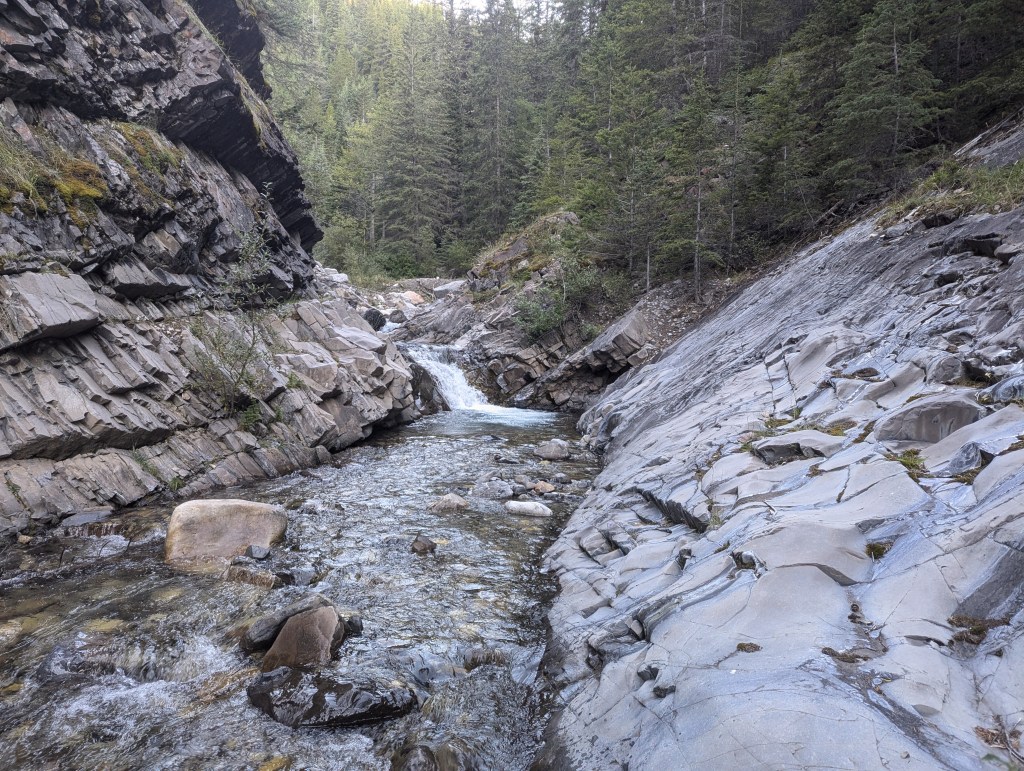
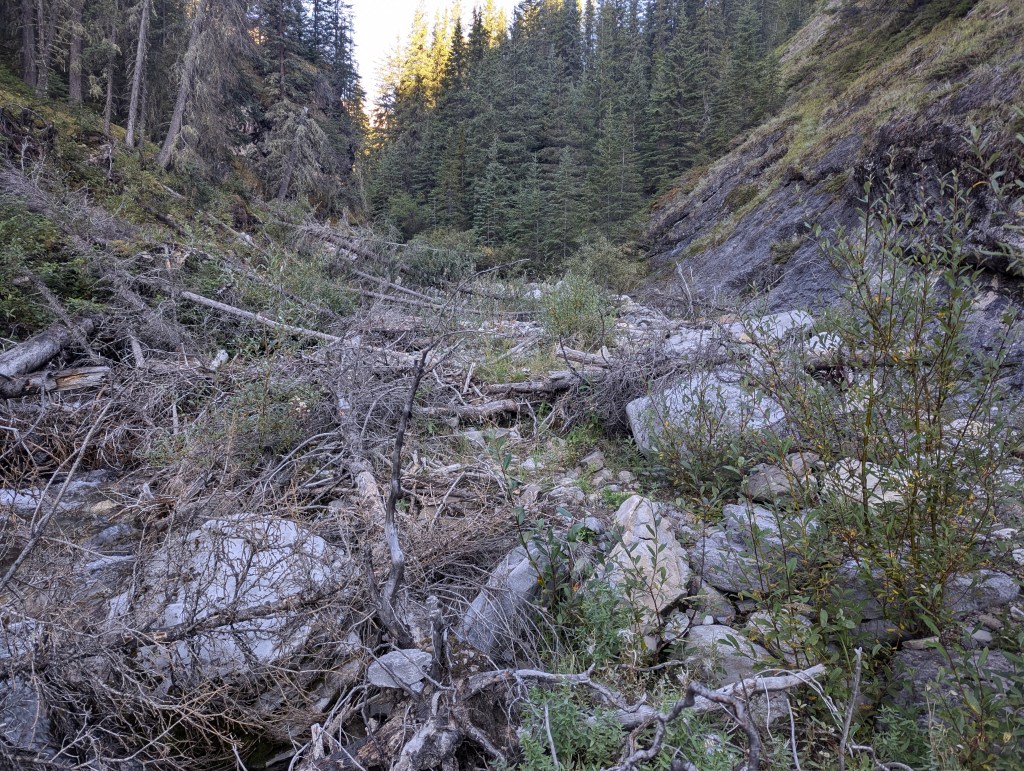
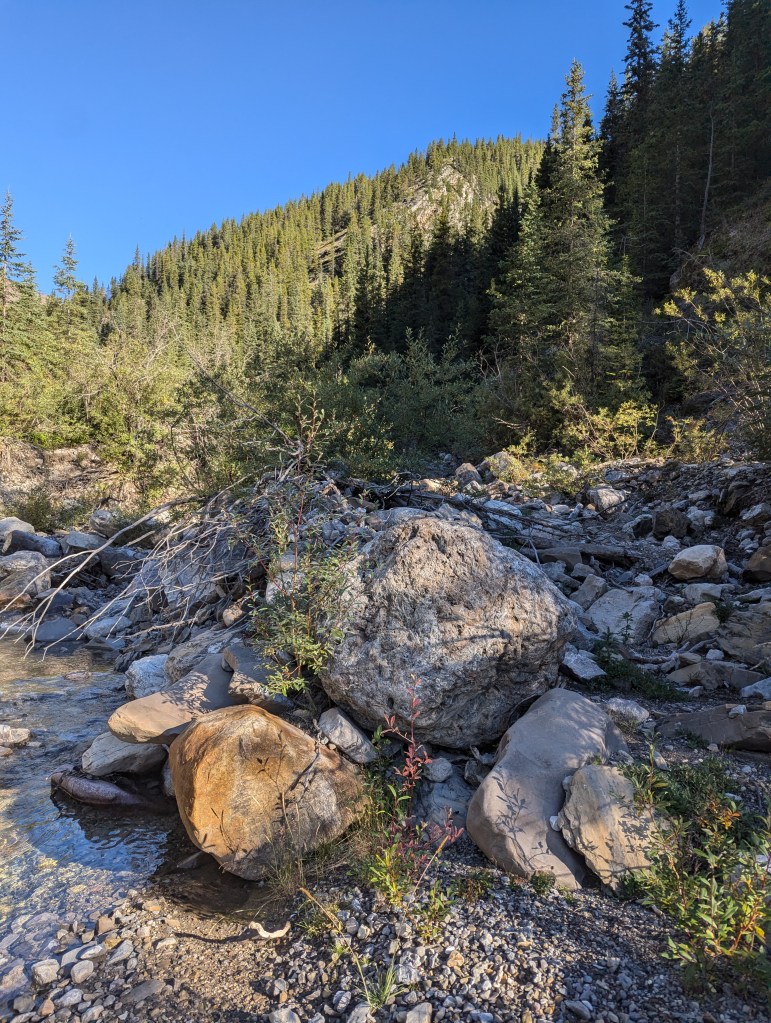
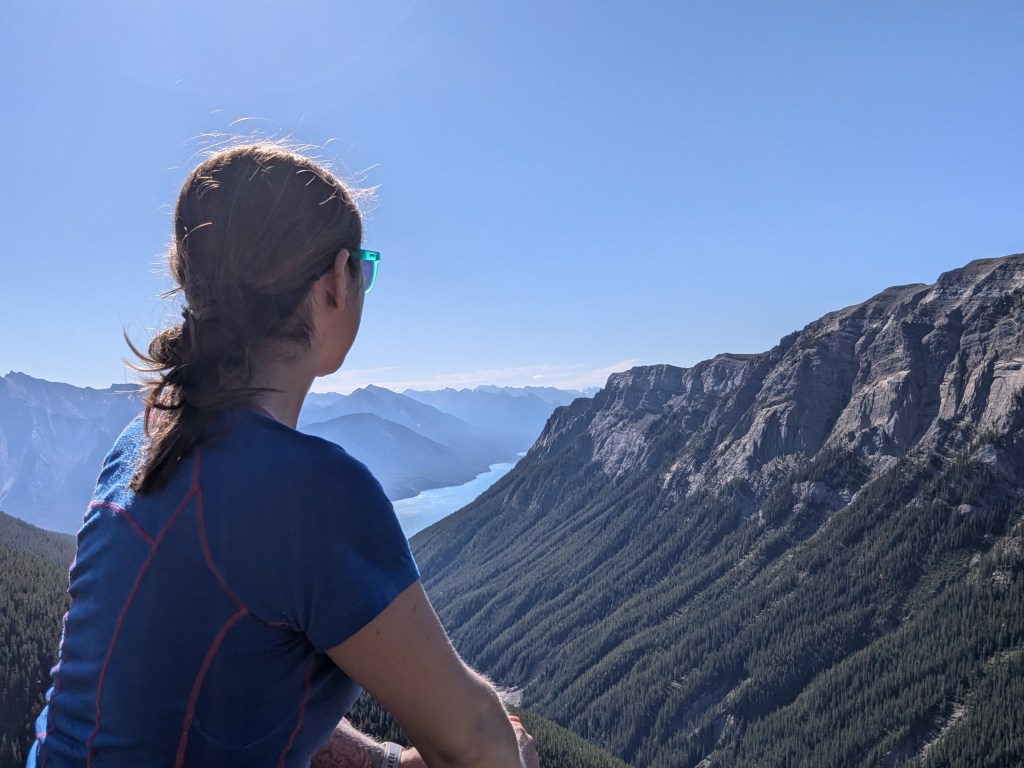
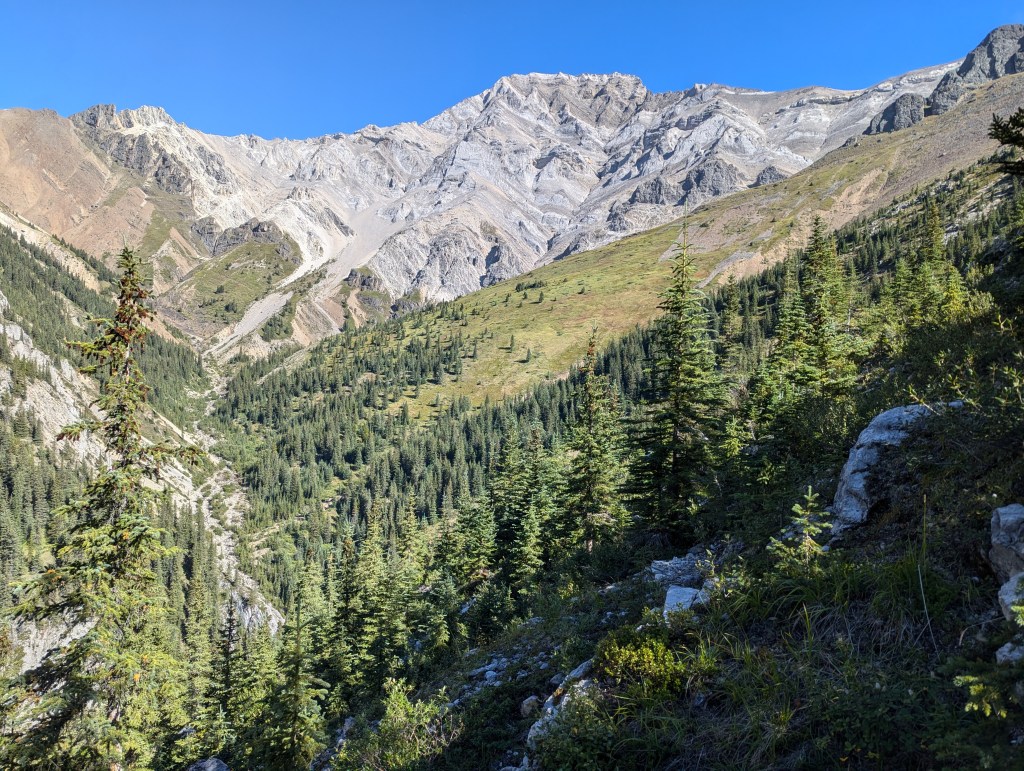
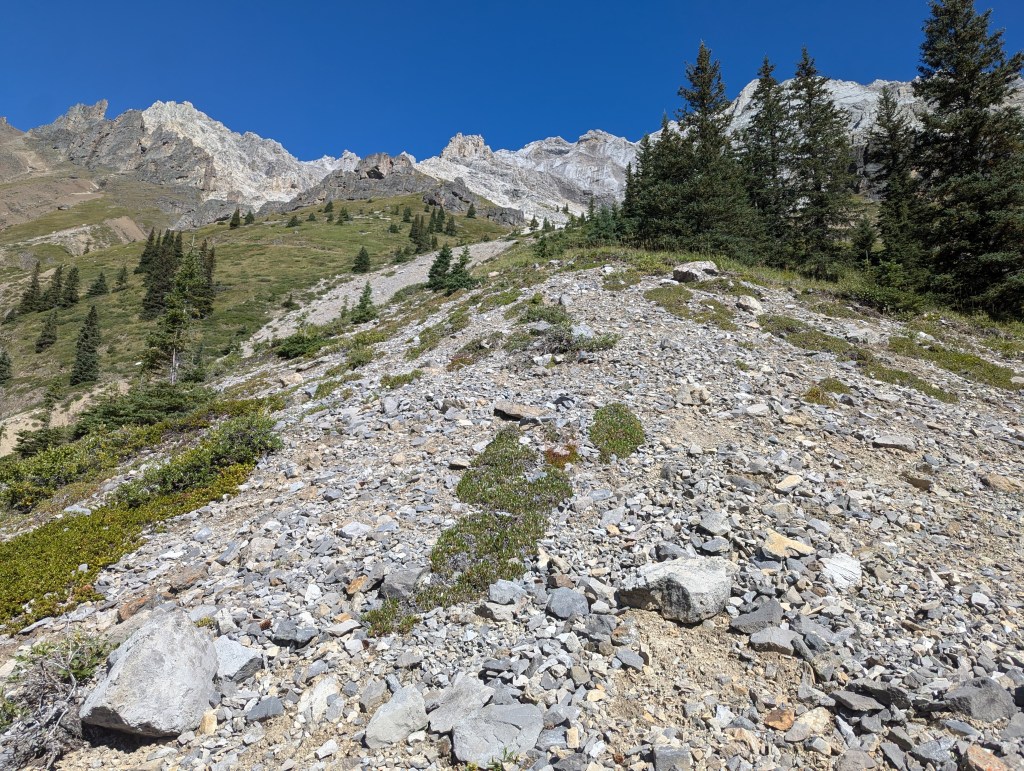
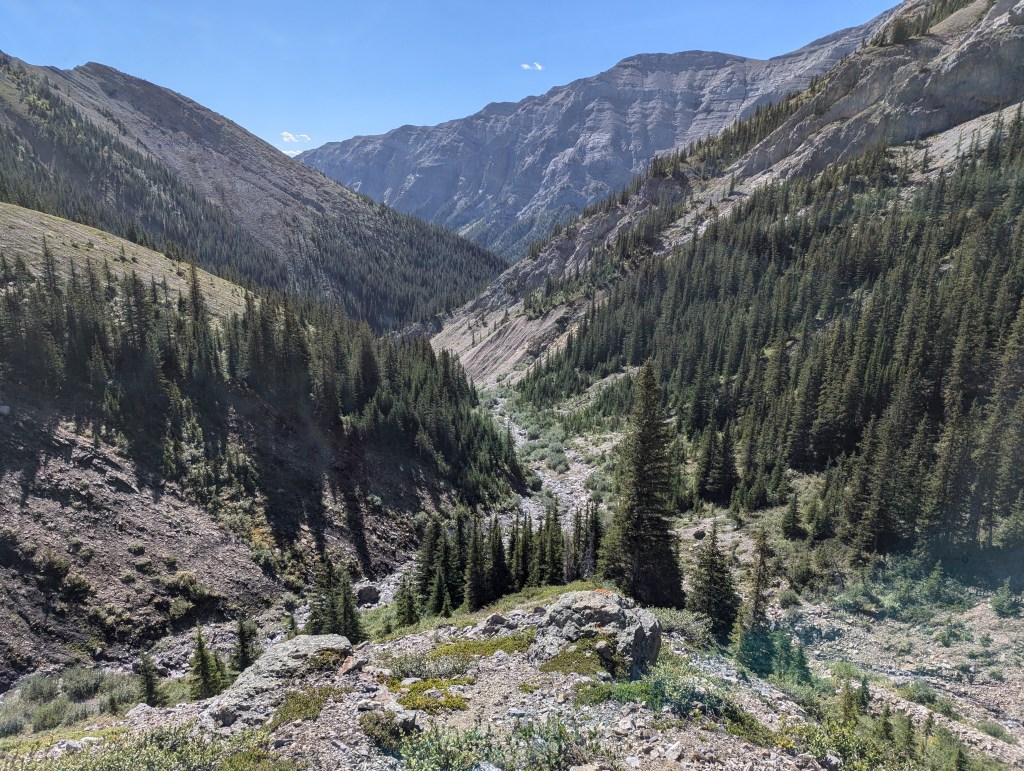
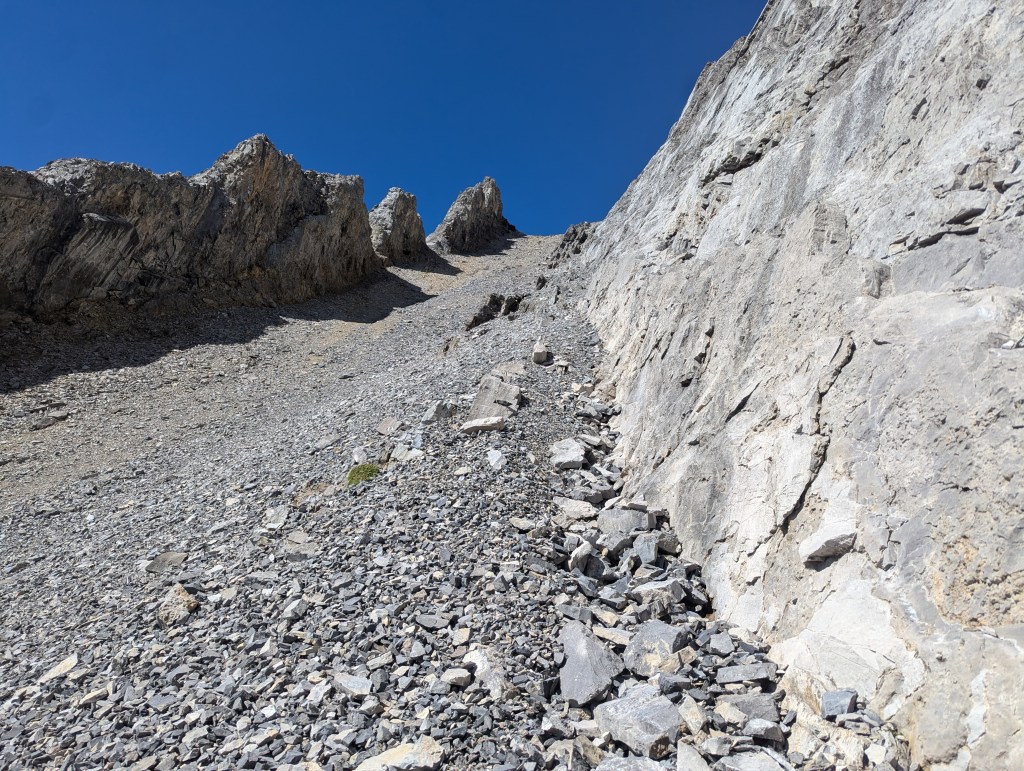
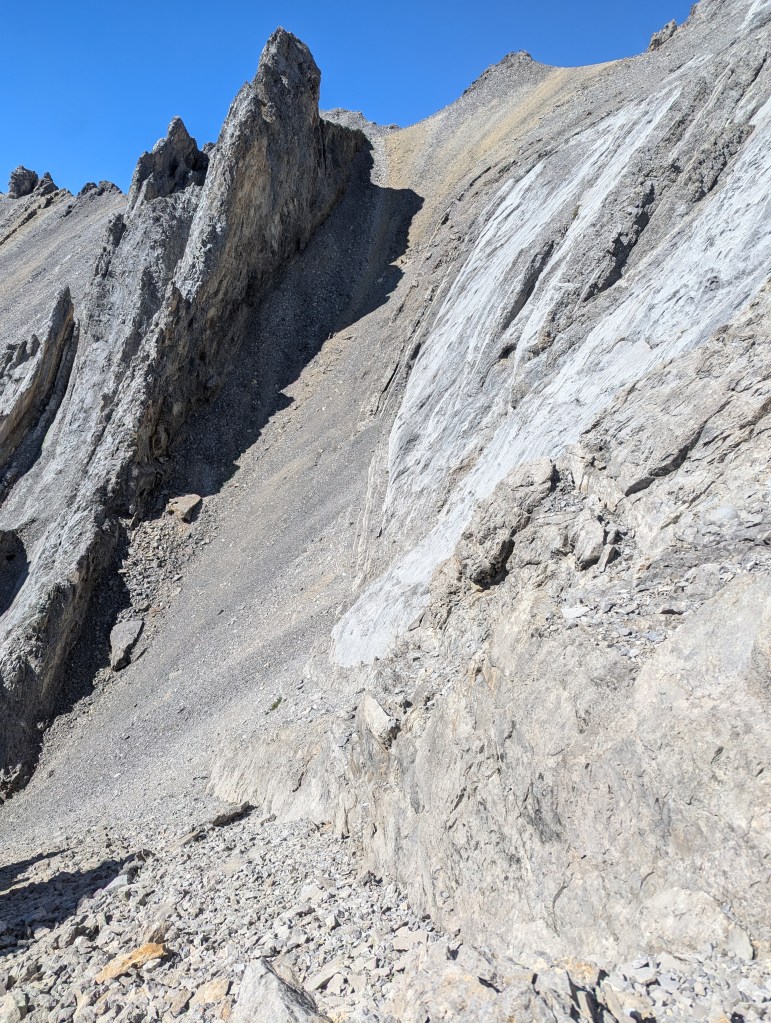
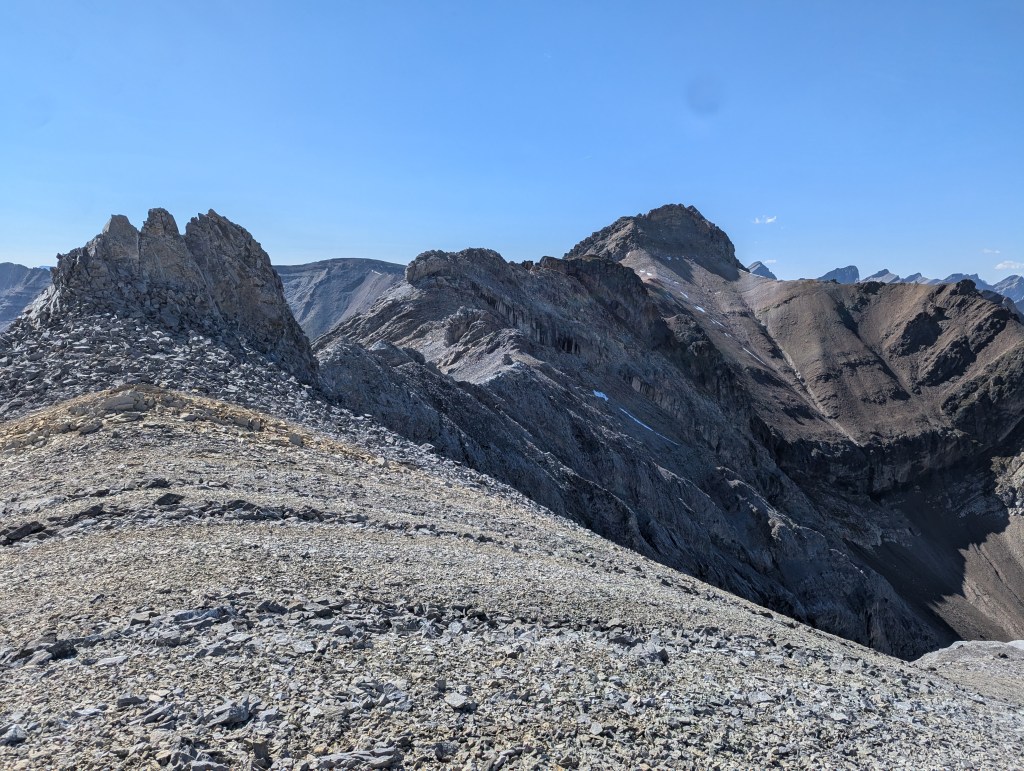
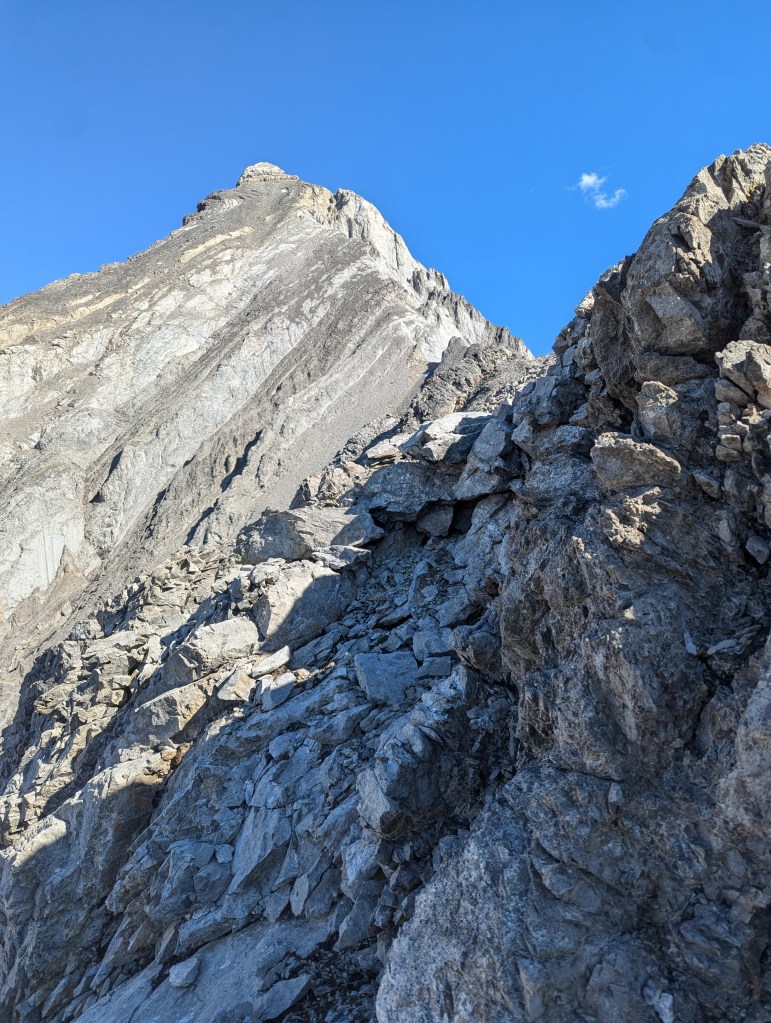
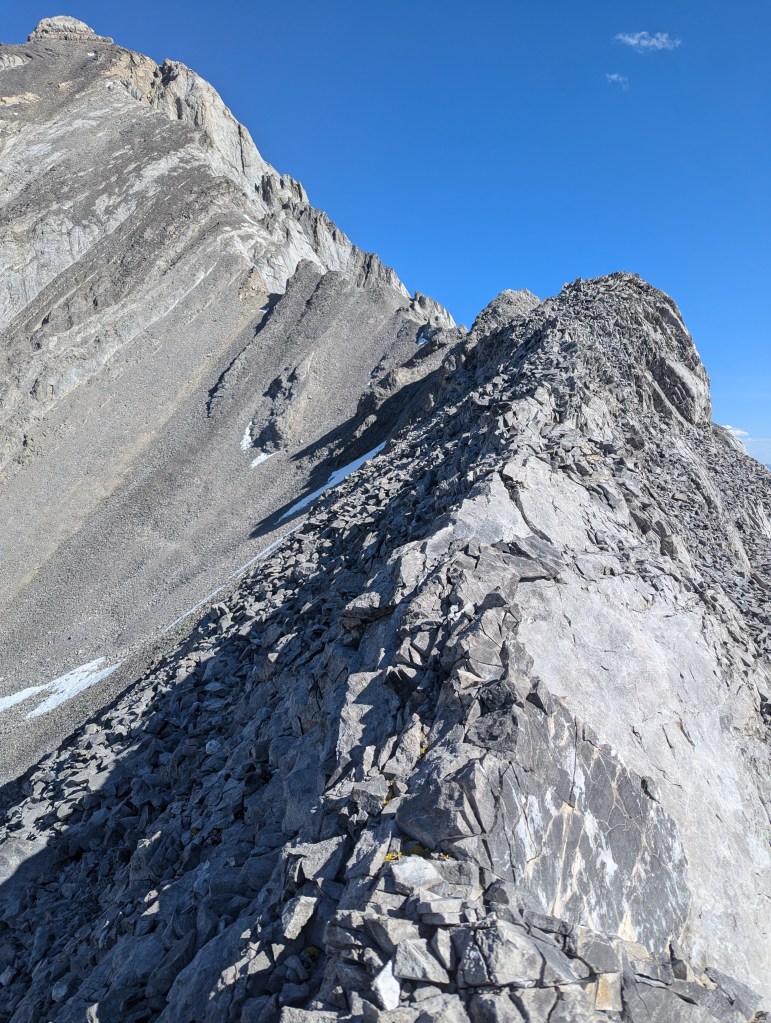
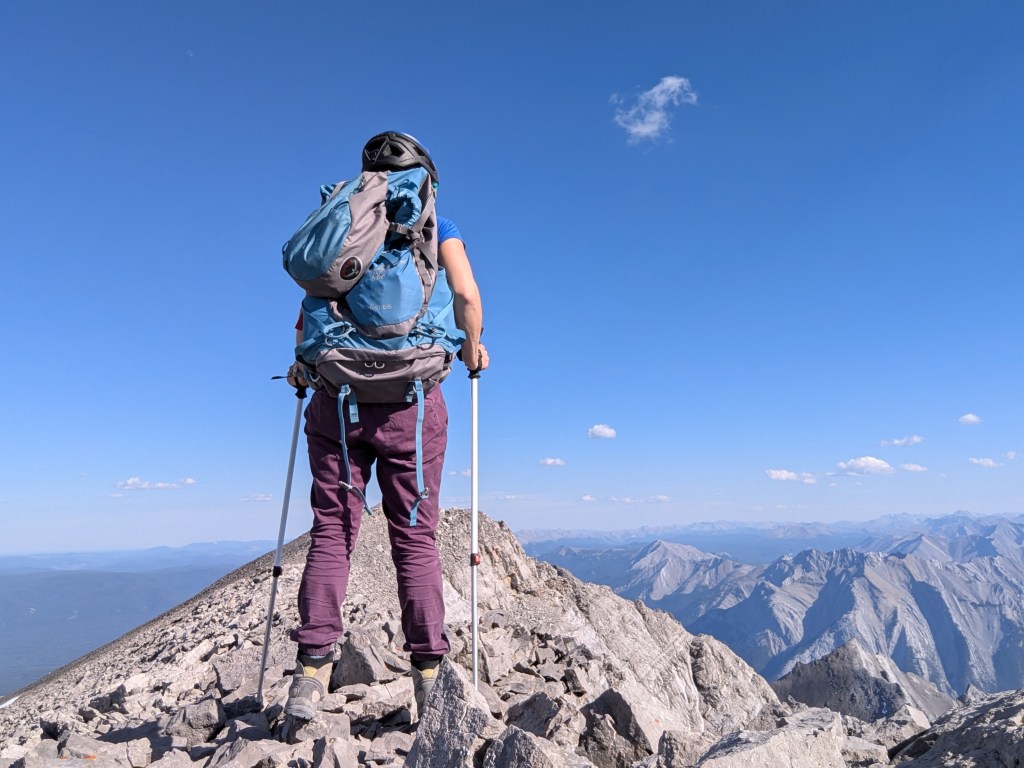
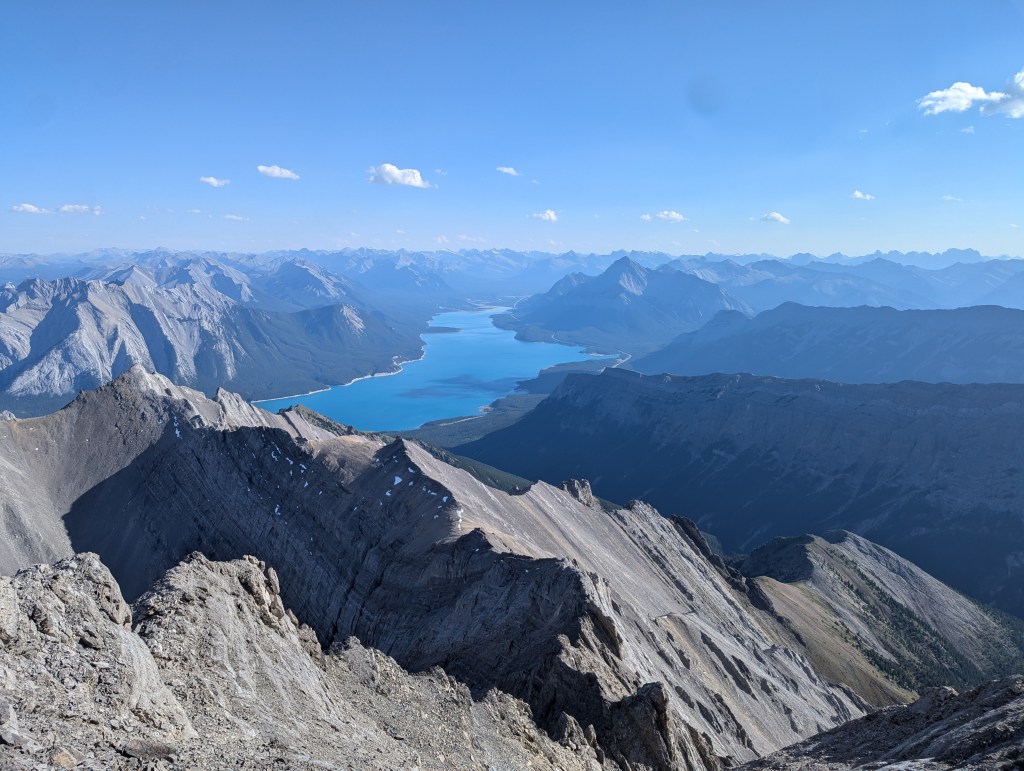
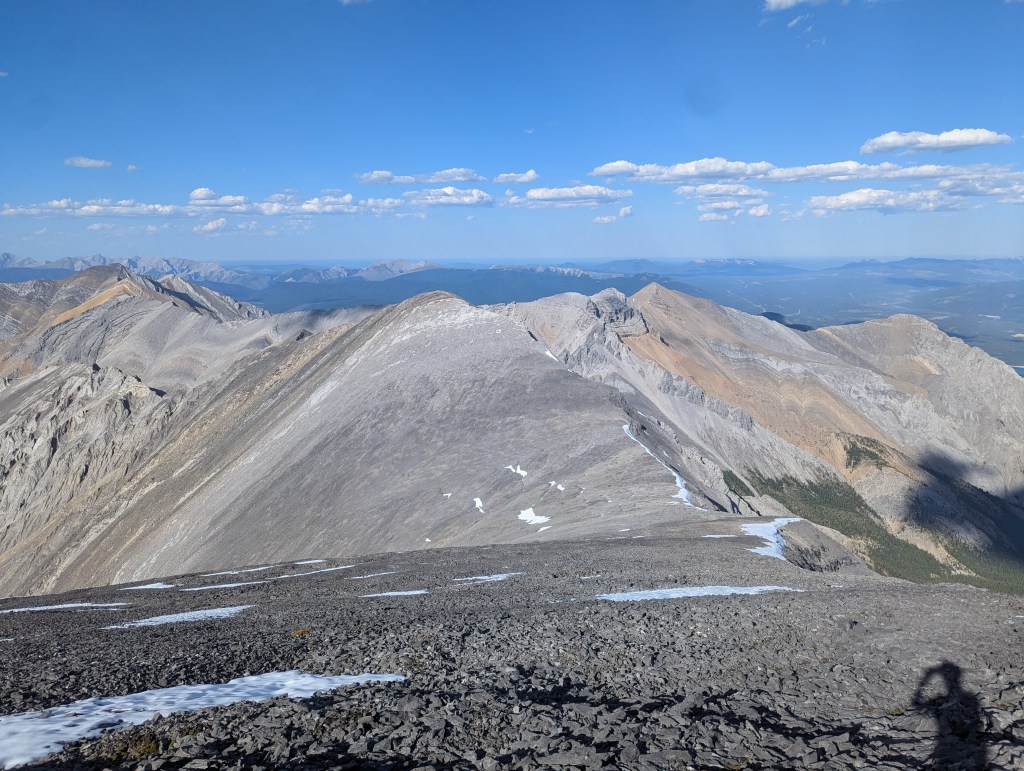
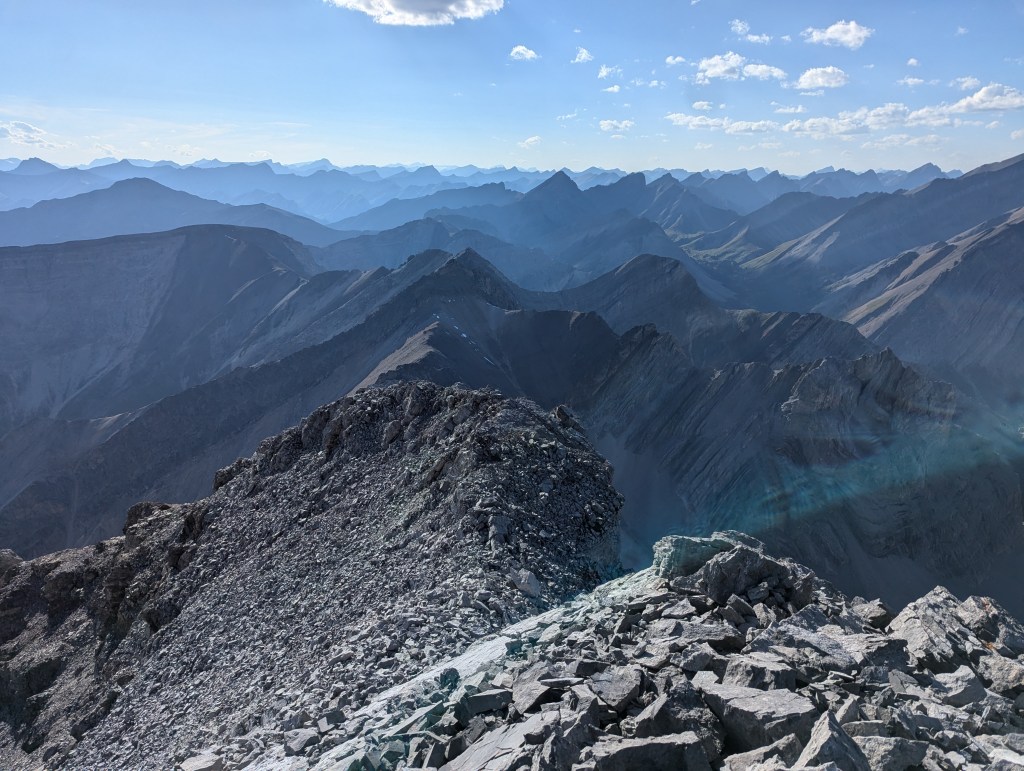
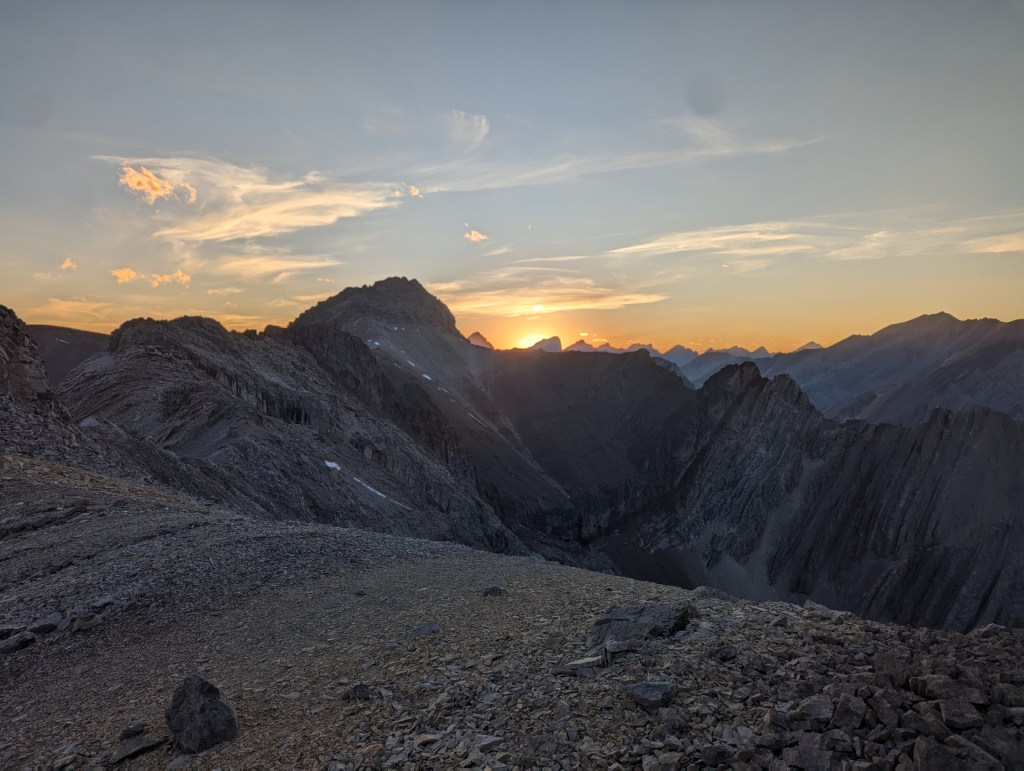
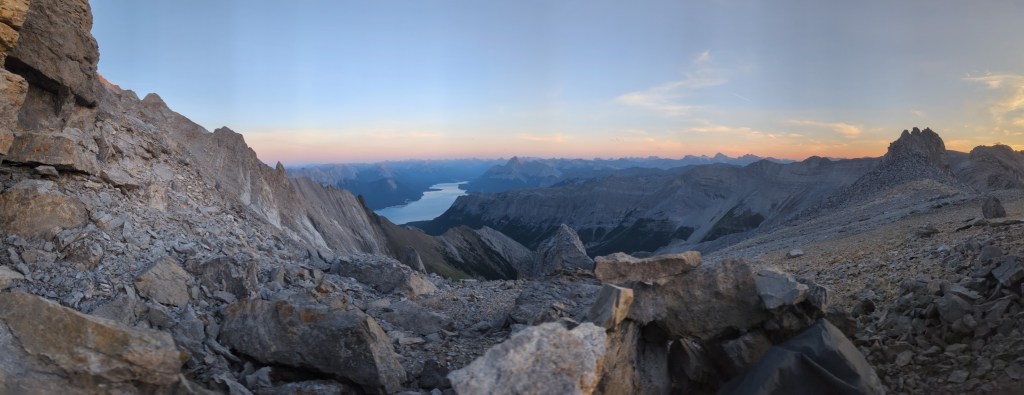
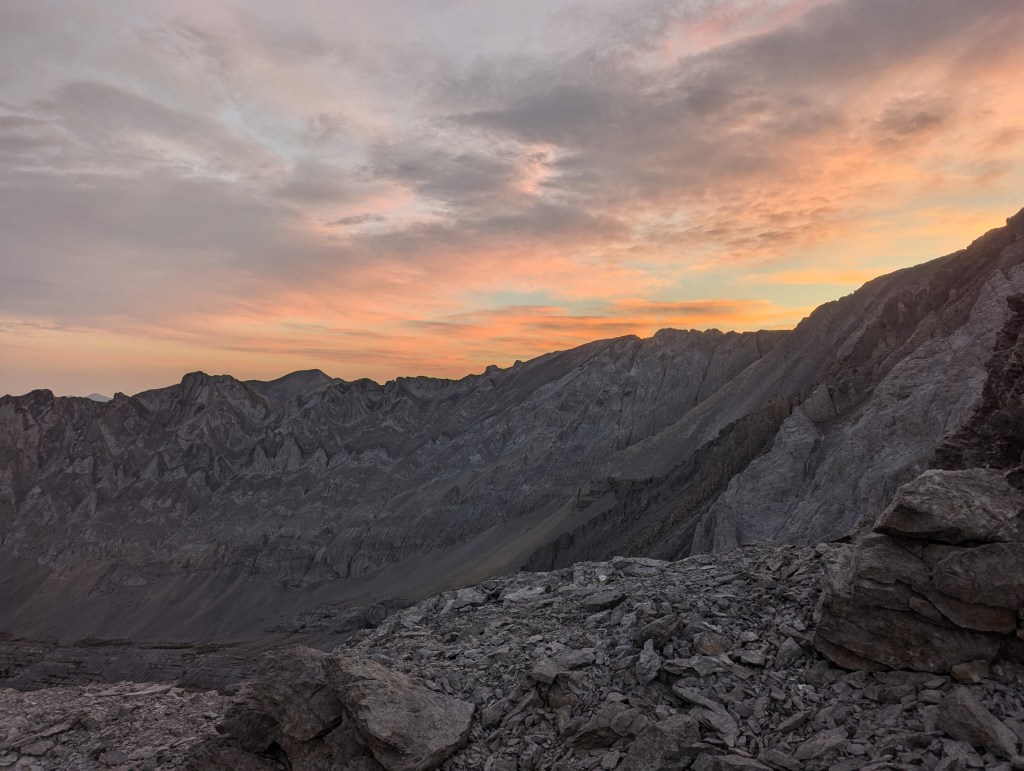
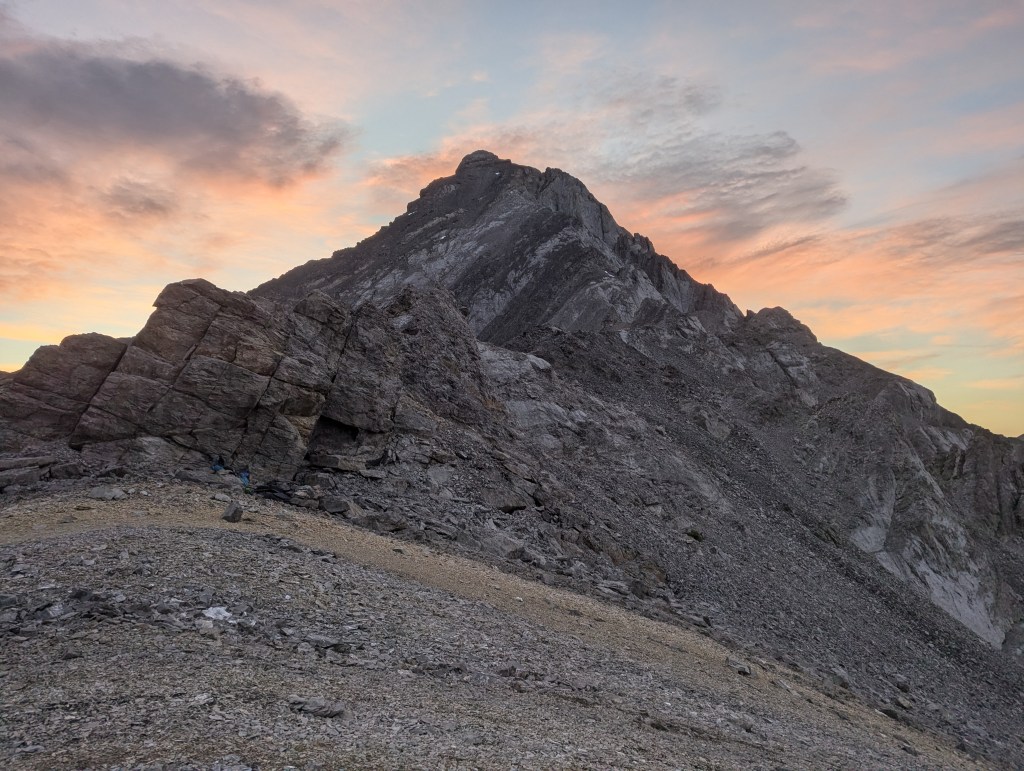
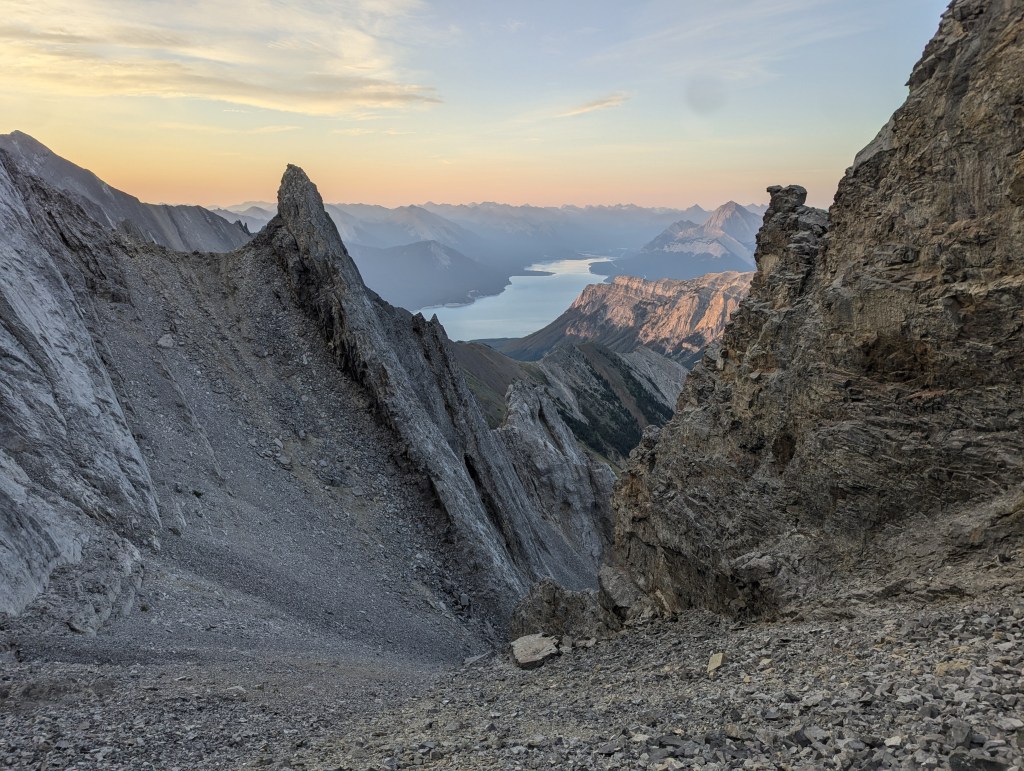
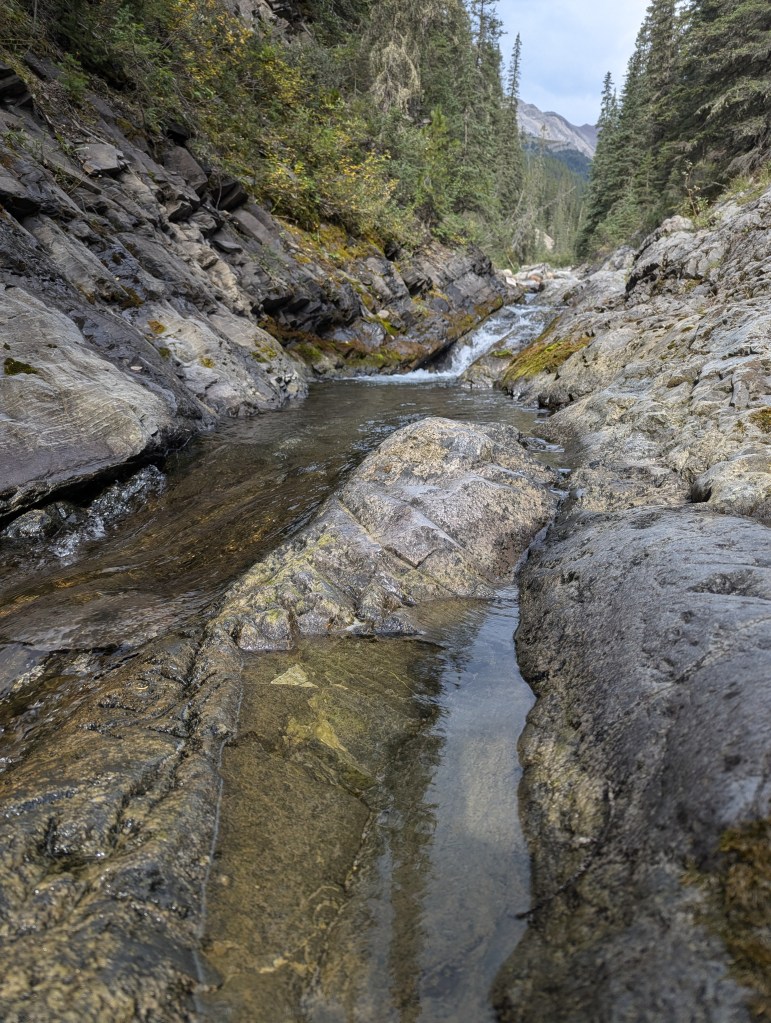
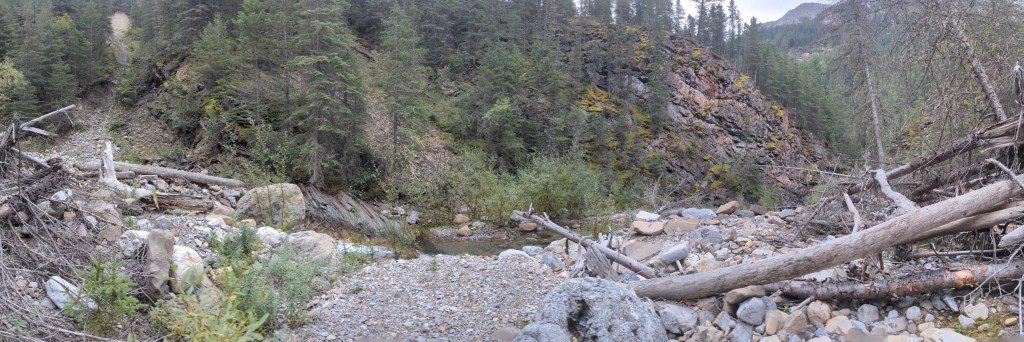
The first hour into the creek is rocky and uneventful. A few creek crossings were needed, but weren’t a problem in September with its lower water levels. About an hour in (~2.5 km), the first choke is reached. This small waterfall (pictured) is the start of a narrow section of the creek mentioned by Pawlyk. It is possible to bypass only this waterfall and return to the creek, but the next narrow section drives the scrambler back up the cliff. The full traverse to bypass the choke was closer to 200 m long. A faint, mossy trail makes travel relatively easy.A narrow, gravel drainage leads back down the creek at the end of the traverse. The creek flow seemed to decrease further in, but the number of downed trees increased. There were no major difficulties or hazards, but it was tedious.The turn-off at the second drainage is reached in about 3 hrs (4.8 km). About 350 m of elevation is gained while hiking up the creek to this point, virtually without noticing. I will leave the creek here and gain the rocky shoulder ahead. Oddly, a few tarps were stashed near a make-shift fire nearby, but they didn’t look very fresh. Thanks to other trip reports I knew this wasn’t my last water source for the day and I continued on.Gaining the rocky shoulder involved a “fun” mix of bush-whacking and scrambling up mossy slab with a dusting of pine needles. For maximum fun I, of course, did this in a backpacking pack. About 350 m of elevation gain eventually brought me above treeline. This photo is looking back at Vision Quest Ridge and Abraham Lake.The traverse above treeline was some of the only easy travel of the trip. Rounding the corner I caught my first glimpse of my objective: Allstones Peak (center). I also caught a glimpse of a black bear in the meadow ahead – not clearly visible in this photo, but it’s one of the black dots on the open, grassy slopes. Surprisingly, it heard me shout “hello” from this far back. It was actually very adorable, standing on its hind legs to look around, then catching a glimpse of me and promptly galloping downhill to hide behind a tree (so well hidden!). Staying on a traversing path would have brought me directly to the bear. So, I instead dropped down a gravel drainage, back to the creek to the left, losing 100 m of elevation.Travel up this last part of the creek was fairly easy – easy enough, even, to sing AT THE TOP OF MY LUNGS the whole way. I didn’t see the bear again. Eyeballing it, it looks like about the same elevation loss and re-gain as crossing the drainages on the traverse path would have been. I made sure my water was full before leaving the creek again and starting up this grassy knoll. My ascent path heads directly up the center of this photo until reaching solid cliff.Looking back down the Y in the creek marking the ascent slope.A few rows of rock fins are passed on the way to the solid cliff face, the last of which is the intended route. The scree up to the rock face is loose and terrible. Once at the cliff face I hugged it, pulling myself along it on crimps, mono-pockets, or any solid feature I could find.I made a bee-line for the chimney-type feature ahead which provided a fun section of stemming moves.One large dip in the scree gully is crossed on the way up. This last section gave me déjà vu of the scree gully on Abraham Mountain. It’s almost identical scree quality, curving up to the right, and with rock fins to the left.Finally topping out on the ridge 8 1/2 hrs into the trip and looking left (west) at an unnamed high point in the ridge between Allstones and Vision Quest.Peeking behind the rocks to my right (east) at the final ascent to Allstones Peak. I stashed my backpacking gear here and tackled this last part with a lighter pack.The ridge walk portion of the final ascent is fun, moderate scrambling. The knuckles in the ridge at the middle of this photo mark the end of the ridge and the start of the less fun summit block. A lingering snow patch behind this knuckle will provide an opportunity for me to refill my water before returning to my bivy for the night.Typical travel up the summit block is a mix of slab and very loose rock. The rock was beyond tedious and I stuck to slab as much as practical.Finally topping out on the summit block and enjoying the final easy ridge walk to the summit cairn.I reached Allstones Peak in 10 hrs from the trailhead. Abraham Mountain stands at center. Digging the summit register out of the cairn, I was surprised to find only seven previous names, each of whom is a legend within the scrambling community: Eric, Doug, Rafal, Josée, Steven, Mike, and Vern.Looking south over Abraham Lake. The tall mountain to the right of the lake is Elliot Peak. To the left is Mount Michener.Looking northeast across the saddle of Allstones Peak. The high point at the right is the peak which towers over Allstones Lake (Allstones Lake is behind it, out of view).Summit panorama.I returned the way I came. This photo is looking west. The named peak of Vision Quest Ridge is the gentle mound at the left. I’d considered tagging it on while out here, but the unnamed high point between Allstones Peak and Vision Quest looked like more adventure than I was interested in tackling while solo scrambling – not worth ruining a good trip for.I enjoyed one of the warmest, most windless nights of the summer. Watching the sun set from my bivy on the col was absolute heaven.Looking out over Abraham Lake, I couldn’t help but think of how busy and noisy it must be down there, packed with long weekend campers. Very little could have convinced me to leave my perfect perch for the night.I slept soundly and was woken by my alarm at dawn. This photo is looking north at a ridge of Allstones Peak.Looking back at Allstones Peak at sunrise.I returned the way I came, down the scree gully. Ahead is the same large dip passed on the way up.As I neared the grassy knoll I noticed I was being watched.On return, I again avoided the berry-filled meadows of the traverse path and followed the creek. Once past the meadows, I gained elevation along the same line I had taken before – the open gravel drainage on the slope ahead.Beyond the traverse and back in the creek, enjoying some of the interesting water-carved rock.This panorama warps perspectives, but the bypass back around the first choke of the trip is the gravel drainage to skier’s left. The cliff ahead blocks the path here and the creek makes a right turn. If tackling in low light at the end of a very long day, this bypass would be tricky and possibly dangerous to navigate.
My hike out on the second day was only 5 1/4 hrs. Combined with the 11 1/4 hrs from the previous day, my trip total was 16 1/2 hrs. Most others have done this as a day trip and, honestly, it didn’t sound nearly as fun. I expect I would have been a bit faster if not lugging a backpacking pack around, but it still would have been a very long day ending in a tricky creek section. Divided over two days this is still a big, but rewarding trip. Why are people so eager to rush back to the crowded front-country along the lake anyway?