I had the weekend of September 6th totally free to do any solo trip I wanted and nearly perfect conditions, aside from smoke. After seeing a few reports of Mount Sarbach being in great shape, I couldn’t resist attempting this objective which had been high on my list for a few years. There are two sections of difficult scrambling which are exposed and true to the grade, but I felt confident on the terrain and had no problems. Most of the route is easy scrambling on decent quality scree, with stunning 360 views, making for an overall amazing day. I would happily do this mountain a dozen more times!
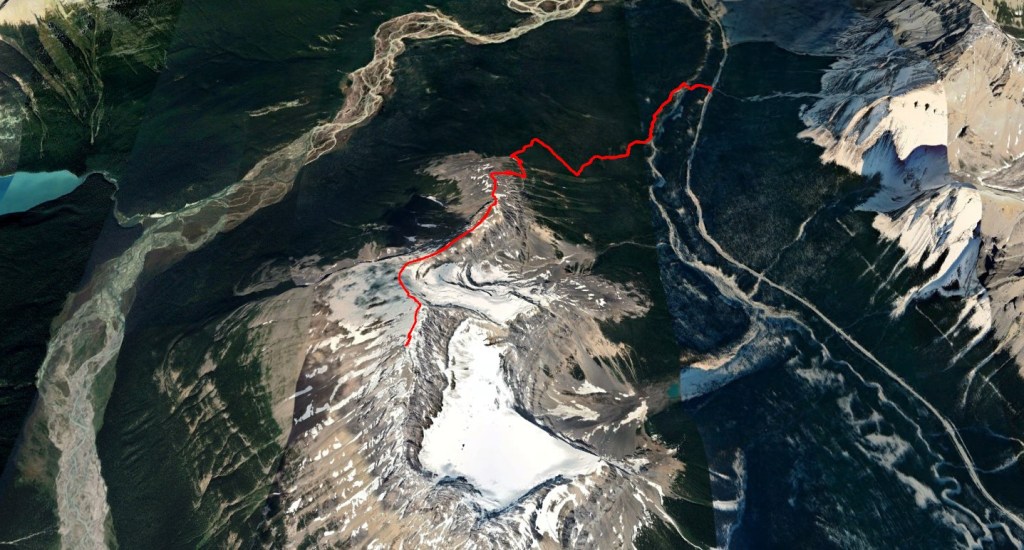
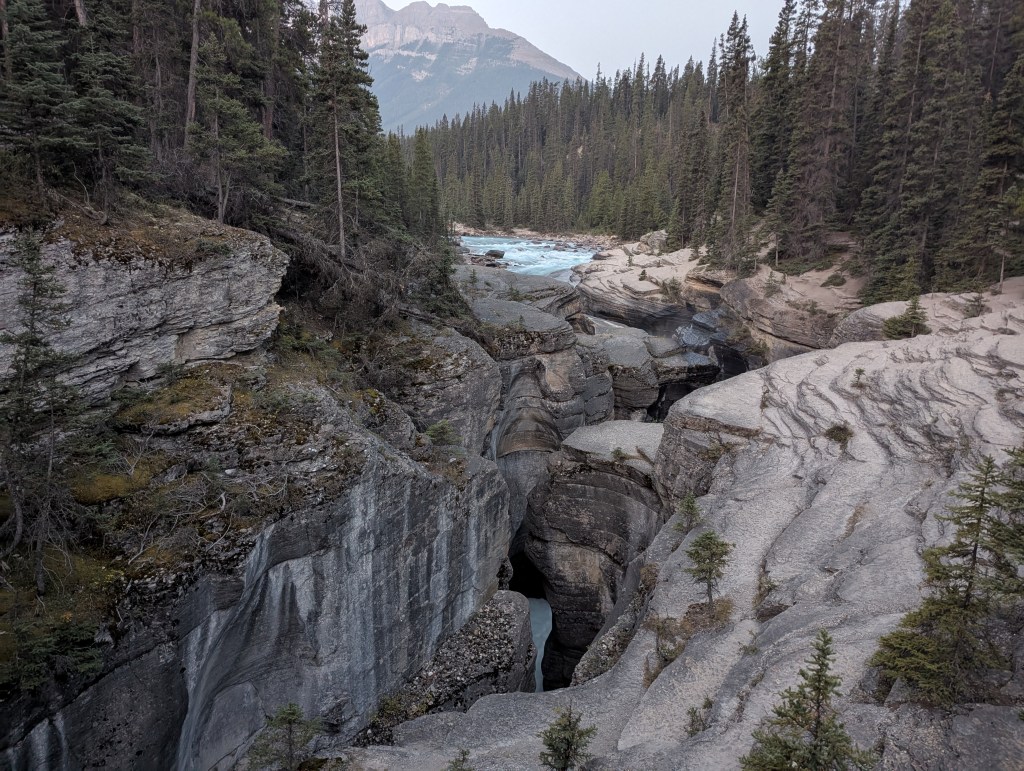
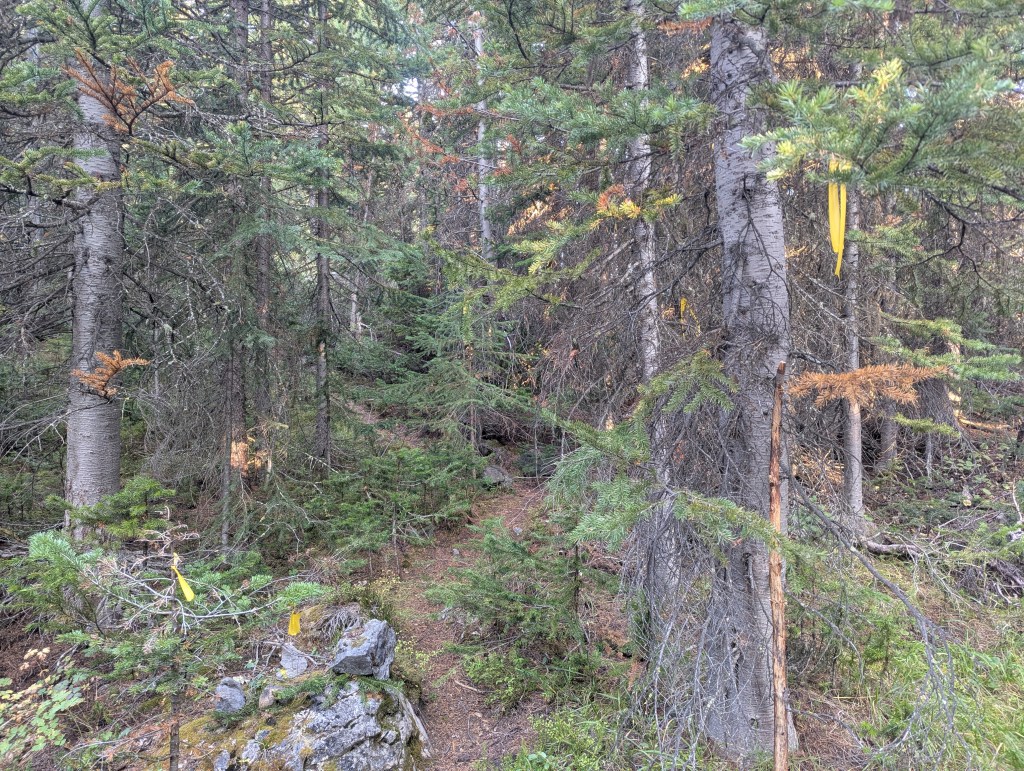
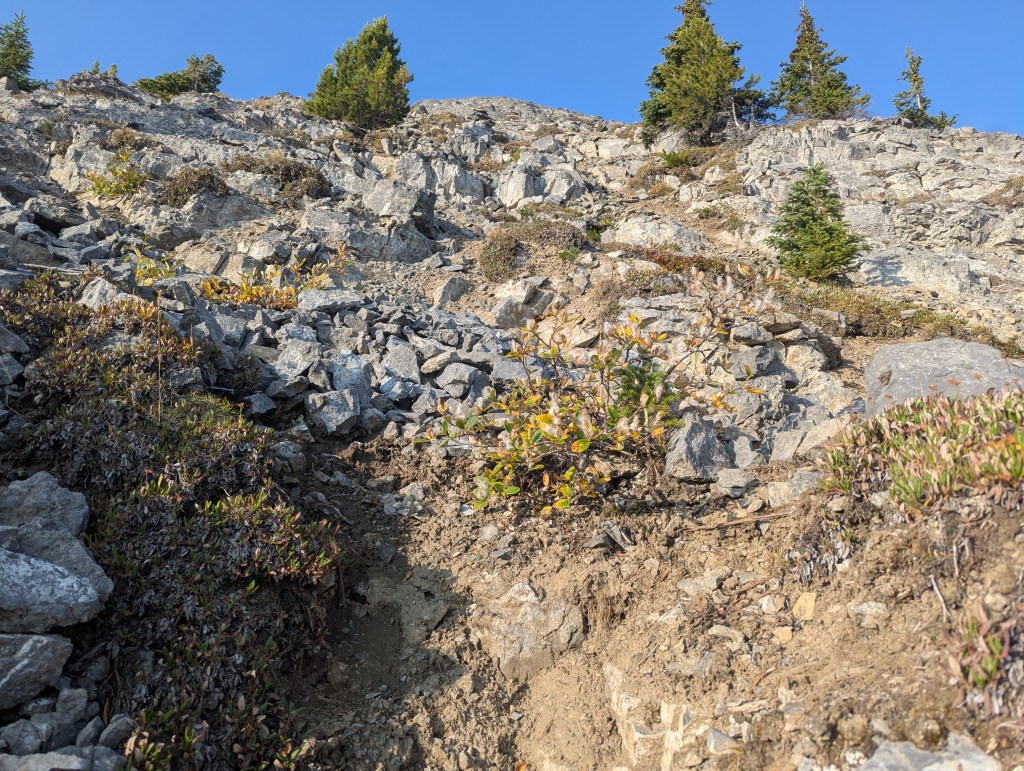
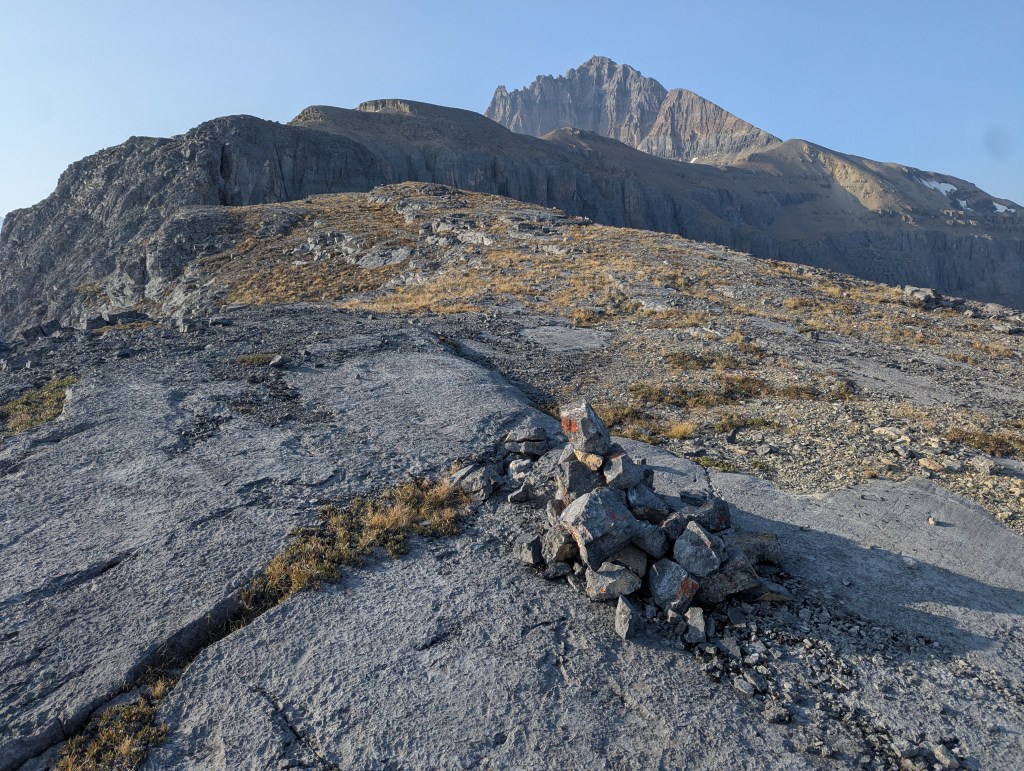
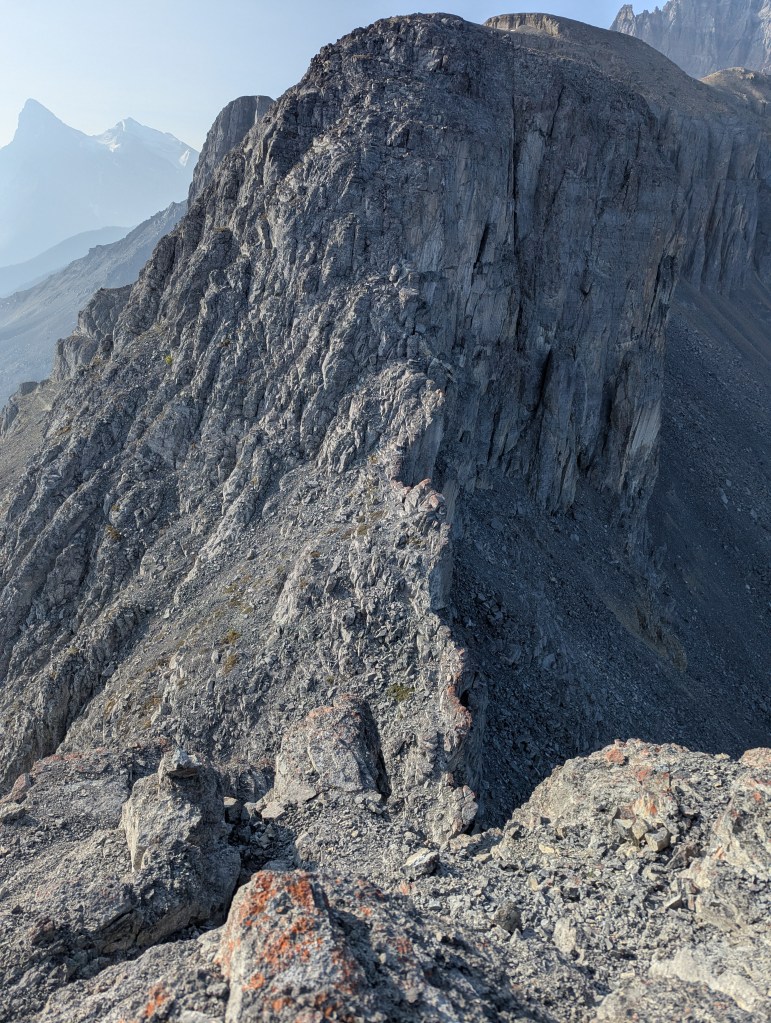
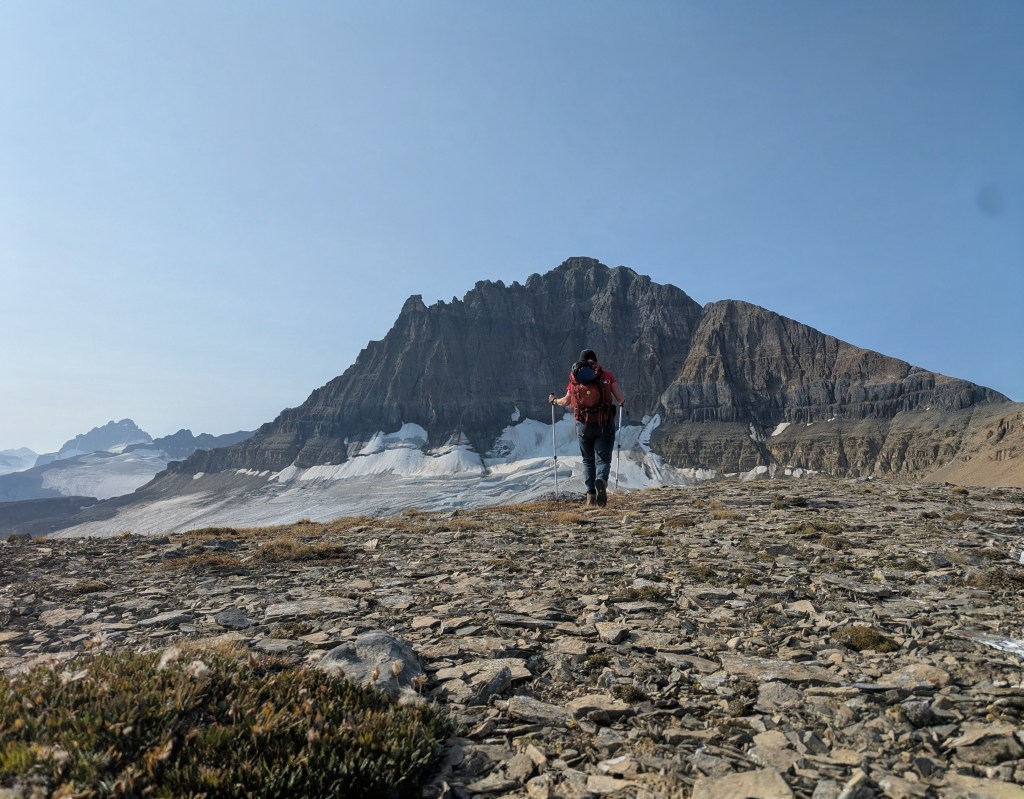
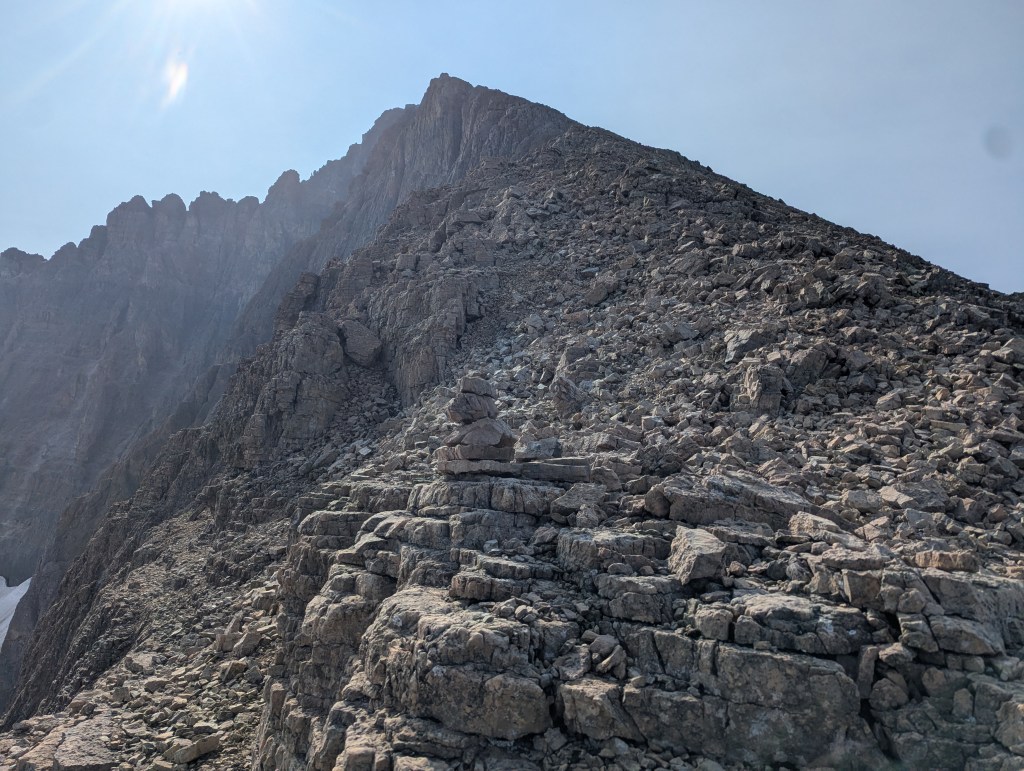
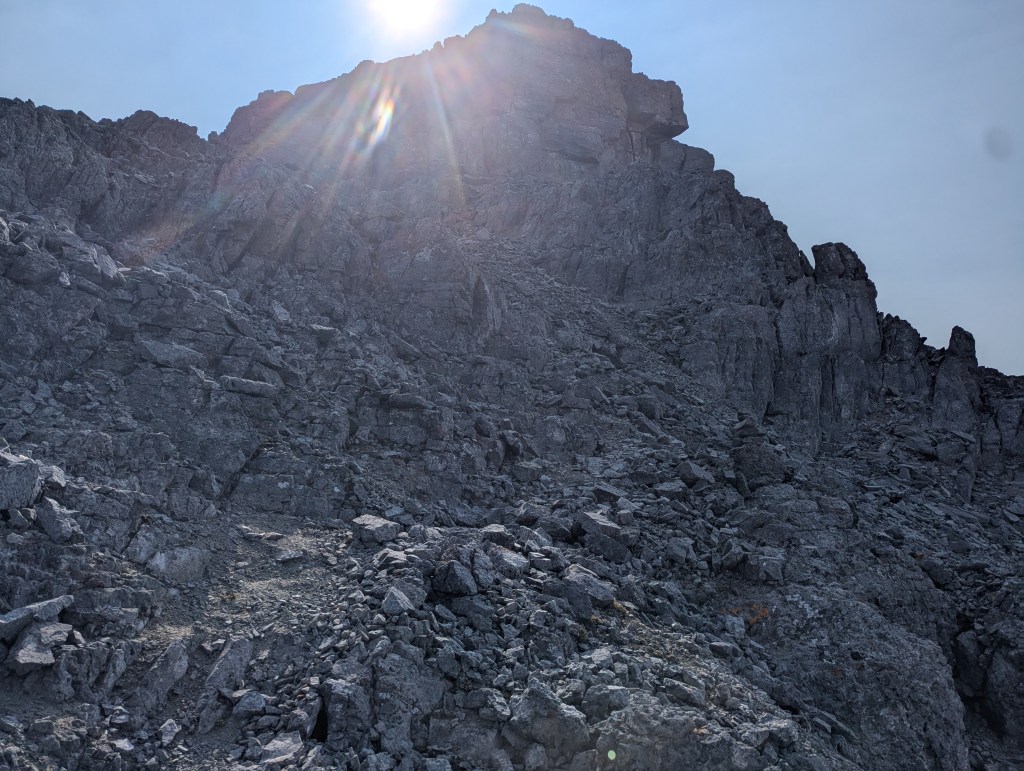
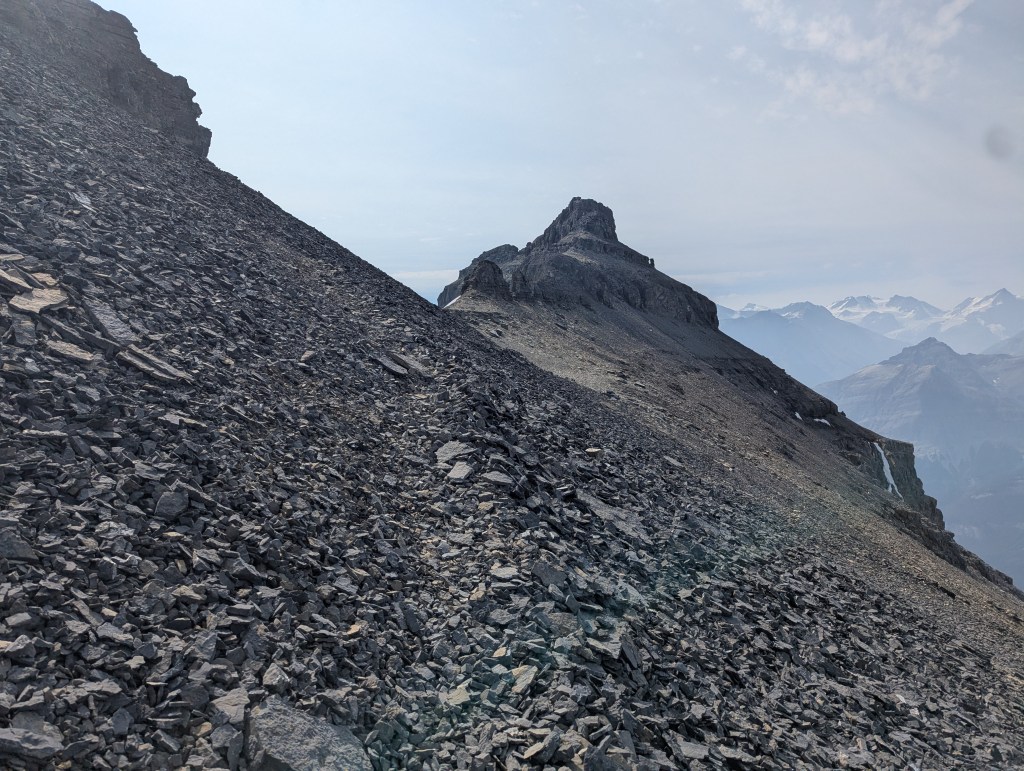
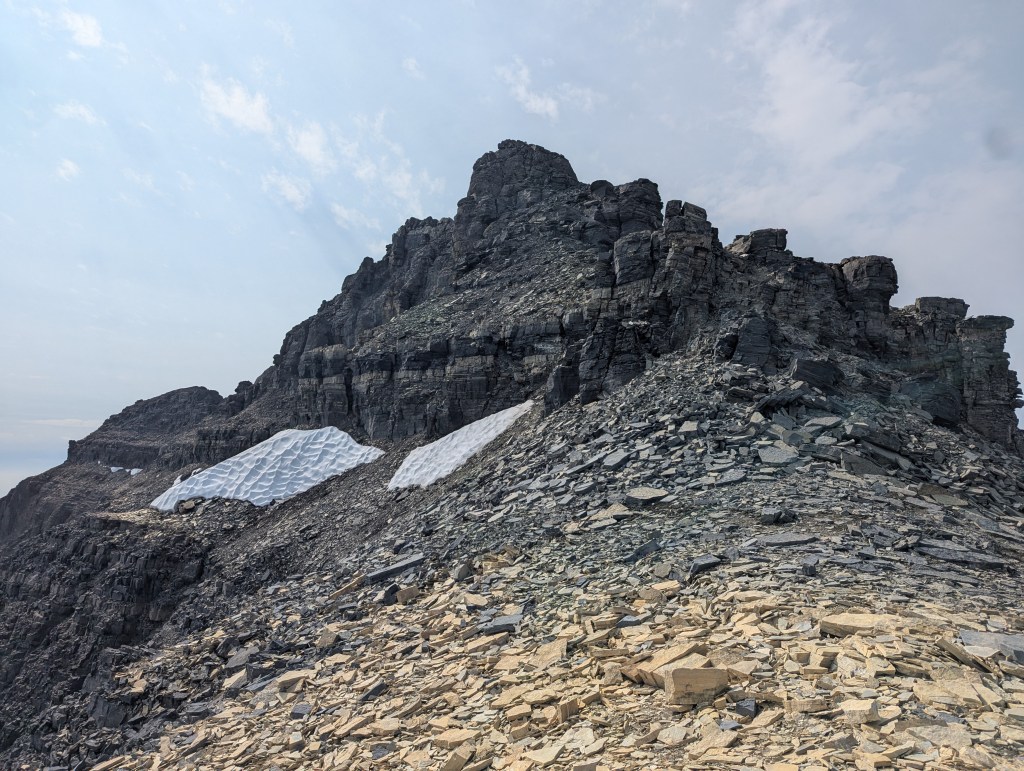
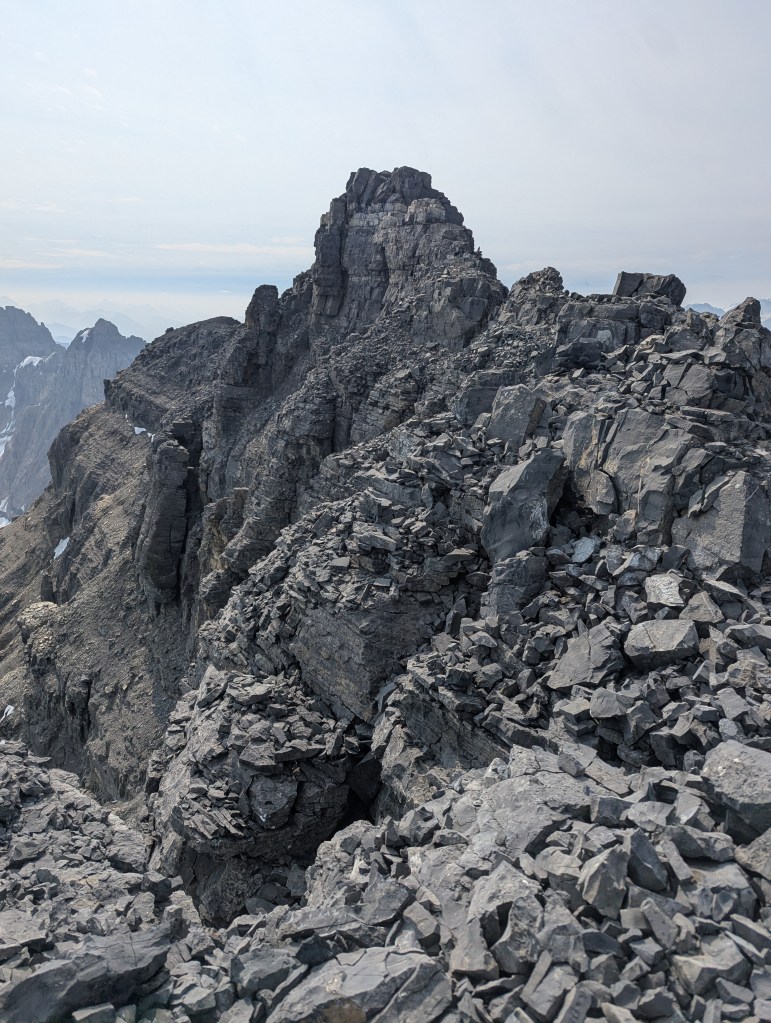
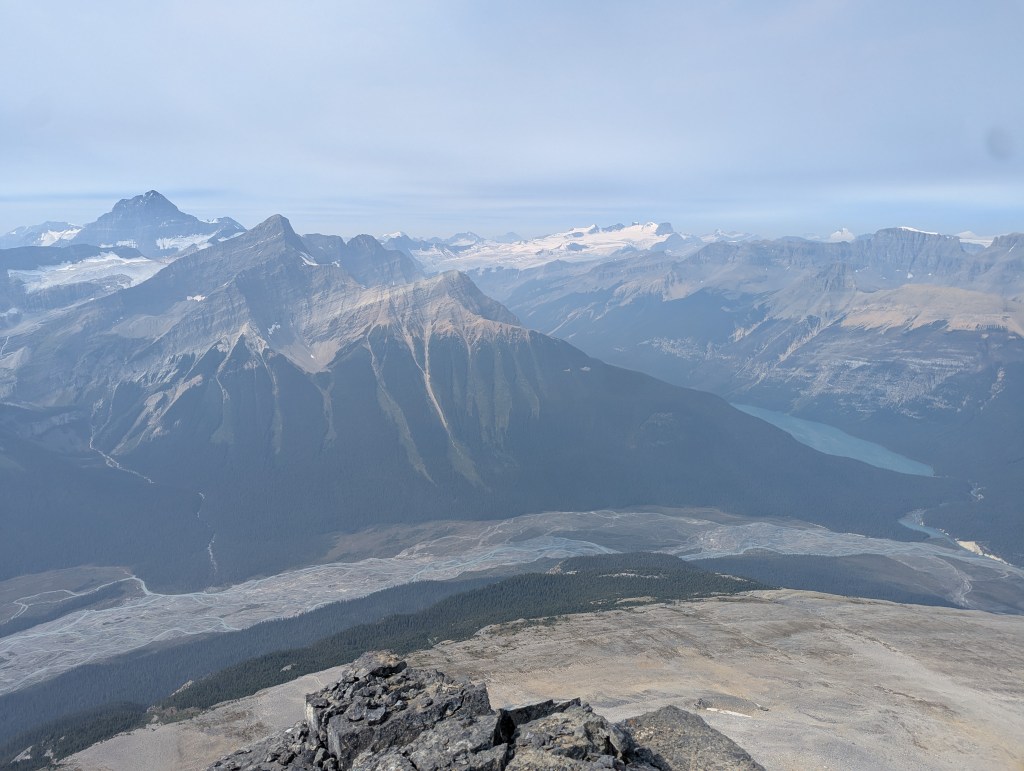
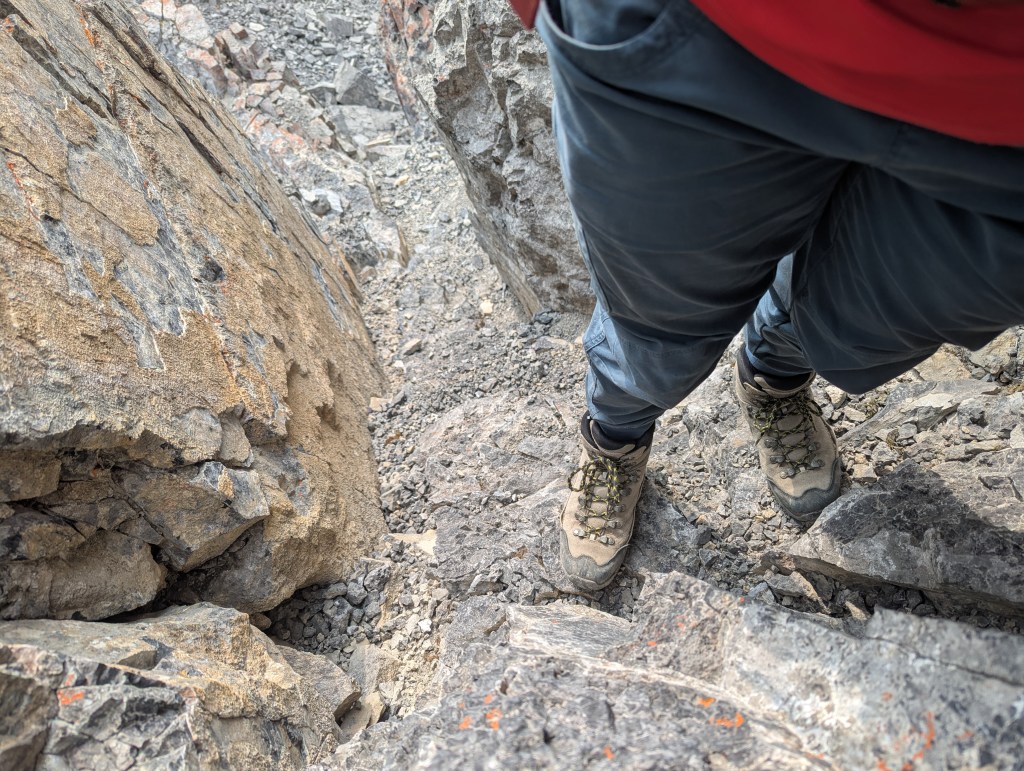
The trail begins at Mistaya Canyon. After crossing the bridge, a sign marks the turn-off for the fire look-out. Mount Sarbach (center) is still looking very far away in this photo.I reached the fire lookout in about an hour and a half, gaining 500 m of elevation on a good trail. The lookout has virtually no views and I continued on, taking the faint trail marked by yellow flagging tape.The faint trail up to the ridge is steeper than the previous one, but is otherwise easy to follow with plenty of cairns. The top section gets rocky with a few scrambly moves.I reached the top of the ridge in 2 hrs 40 min. The grade eases for a while, aside from the two notches described by Kane. The first notch provided no difficulties. The second notch is only 15 min ahead and might be the crux of the day.Looking down the second notch: The far side is easier to gain than it looks from here; the crux is descending the near side. Kane’s third edition of Scrambles suggests a line further left, beyond the edge of this photo. Others have recommended stemming down the chimney at the left below. A small cairn can be seen marking the top of this chimney. The chimney is most easily entered from the left, I learned on the return trip. On the way in I first tried an awkward access at the right, but found the moves a bit too tall and reachy, so I instead just stuck to Kane’s suggested route: I followed cairns around the left side leading down very gentle, albeit very exposed, terrain. Although the line almost feels like easy scrambling while moving through it, the exposure is very real. Both options down are difficult scrambling.Looking back at the second notch. The line I took on the way in wraps around the right side of this mass, as seen in this photo. A little rock mound can be seen about about halfway up marking the line. The chimney I will take on the return trip starts at the left side, over the edge of the cliff, and then winds its way up across the mound, topping out around the center.Past the second notch and continuing on along the broad ridge, the false summit of Mount Sarbach can be seen ahead – The true summit is not far behind it. The ascent line rises along the right-side shoulder, pausing for a bonus notch before continuing its steep ascent.The terrain up the shoulder is mostly stable scree/talus, making travel easier than expected.The views behind are of Glacier Lake and the Howse River.The bonus notch has potential exposure, but a line can be chosen to stay back from the edge.Continuing on, a bit of a rock wall is encountered, but cairns lead to a nice bypass around the right side.Beyond the bypass, the line moves up a broad, loose bowl with some moves of moderate scrambling. This photo is looking down the bowl. The wall which I just bypassed is at the top of the photo. A cairn on the top of the wall indicates that others have simply tackled it head-on, but this is not necessary.Nearing the false summit (left), a good bypass trail is easily picked up leading to the true summit (center). The pinnacles in the col ahead are easily bypassed.Approaching the peak, the terrain eases in appearance and isn’t nearly as steep as it looked from further back.The final exposed line to the peak can be seen from here. The exposed section is the white stripe just below and to the right of the peak. In person, it feels like a bridge leading to a short wall. The bridge is about 0.5 m wide and mostly flat with two solid blocks to climb over. The crux move is reached at the short wall where I moved left onto a thin shelf and then climbed up – this move is airy and extremely exposed. There were certainly loose rocks to avoid, but there were solid hands to be found as well and it didn’t feel sketchy.Looking down at the exposed section below the peak. The bridge can be seen as the white rectangle, with its two blocks. Looking further back along the ridge, my trekking poles can be seen, marking the spot where the exposure increased to the point that I wanted by hands free.Standing at the peak of Mount Sarbach, with (left-to-right) Chephren, Epaulette, and Kaufmann in the background.Gazing southwest with Mount Forbes towering in the distance (left). In front of it stands Mount Outram.Summit panorama.I returned the way I came. In this photo I am standing on the white bridge, holding onto the short wall. I had a solid hand, good feet, and felt secure to grab a photo to better show the exposure here. To my left (top-right of the photo) is a drop of a few hundred meters, to my right (bottom-left of this photo) is a drop of a couple dozen meters. The thin airy ledge I used is easily seen at the right side of this photo.Continuing back down, this photo better shows the terrain below the peak , once the exposed section is passed. It is much tamer than it had appeared on the approach.Returning back down the bonus notch. Noticing a trend, this terrain was gentler than it looked from the other side.On the return trip, I climbed up the chimney at the second notch. The exposure in the chimney is mostly only at the entrance and exit. The chimney itself is quite deep and secure feeling; I kept right at a Y. In this photo I am standing near the bottom of the chimney, below me it exits out over a drop of a couple dozen meters. A side step is required to avoid the drop.Looking back down the chimney after topping out.Looking back at the ridge once back below it, the first notch is obvious at center. I did not check whether one could sidehill directly over to it from here, nor did I get a look at whether a sidehill route exists to the second notch. If you have tried, feel free to comment below for others!
I made it back to the parking lot in 11 hrs and 20 min. By this time Mistaya Canyon trail was bustling with tourists, wearing sandals and cute, clean outfits. They helpfully assured me that I was almost back at the parking lot – I must have looked as tired as I felt! Mount Sarbach is a fantastic scramble and I would certainly recommend it to a friend that is comfortable on difficult, exposed terrain. Maybe I can even persuade them to come back with me on a less smoky day!