Big Bend Peak doesn’t see a large volume of traffic, despite it being only an easy scramble and not a terribly long day. However, for a scrambler willing to stomach one solid hour on tedious, terrible quality scree, the rest of the ascent isn’t too bad, and the views more than make up for the tedium.
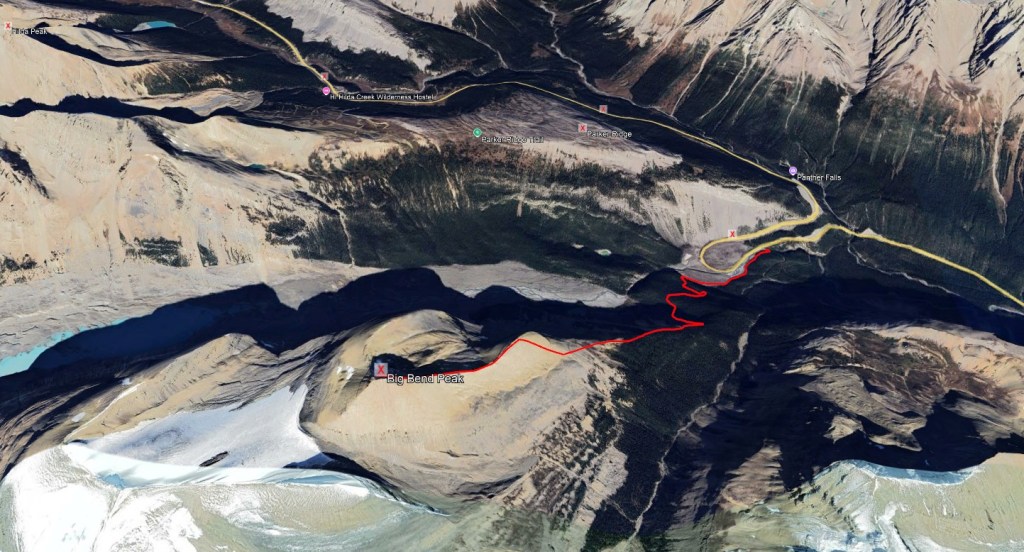
The first part of the trail is shared with the route to the Saskatchewan Glacier as well as The North Towers of Mount Saskatchewan, Mount Saskatchewan Junior, and Mount Saskatchewan Junior II. The driveway to the trailhead is most easily accessed from the southbound lane of the Icefields Parkway, just before completing the iconic big bend. If traveling northbound, it’s probably easiest to turn around at the wide gravel area at the middle of the bend and then return back to the driveway.
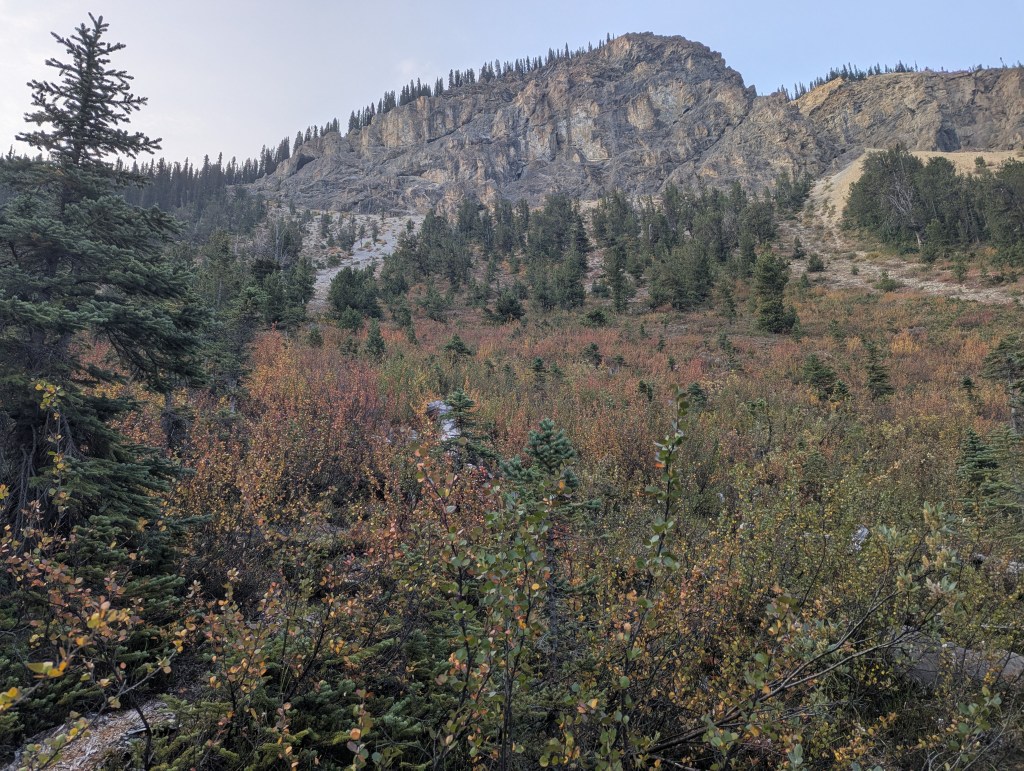
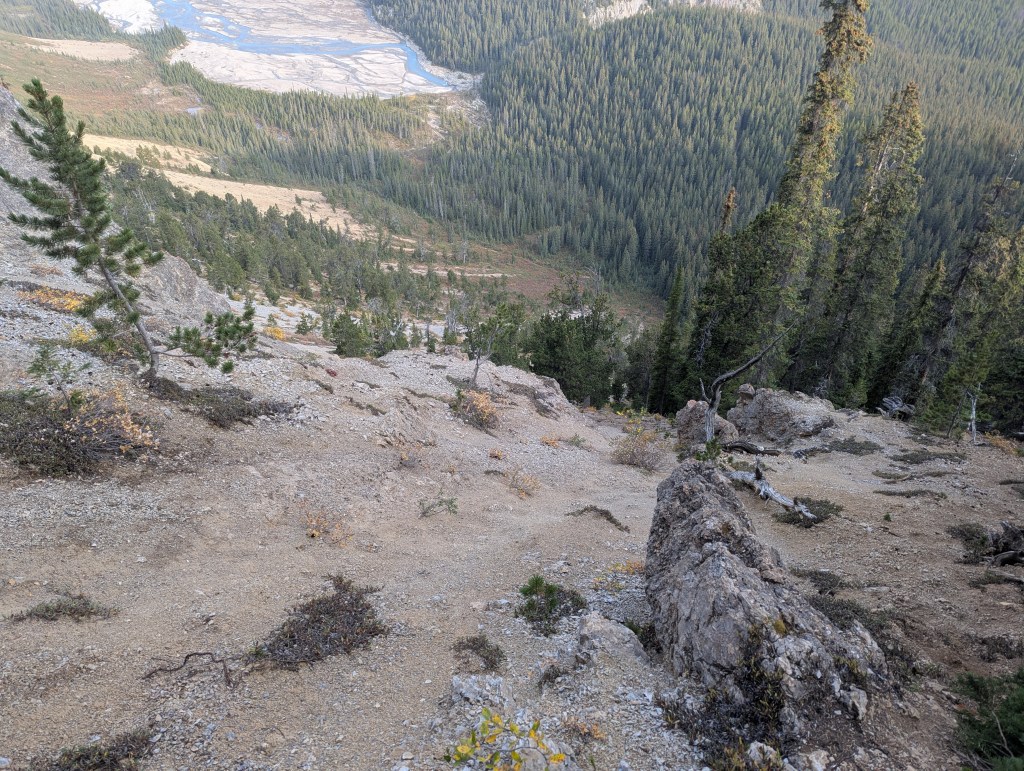
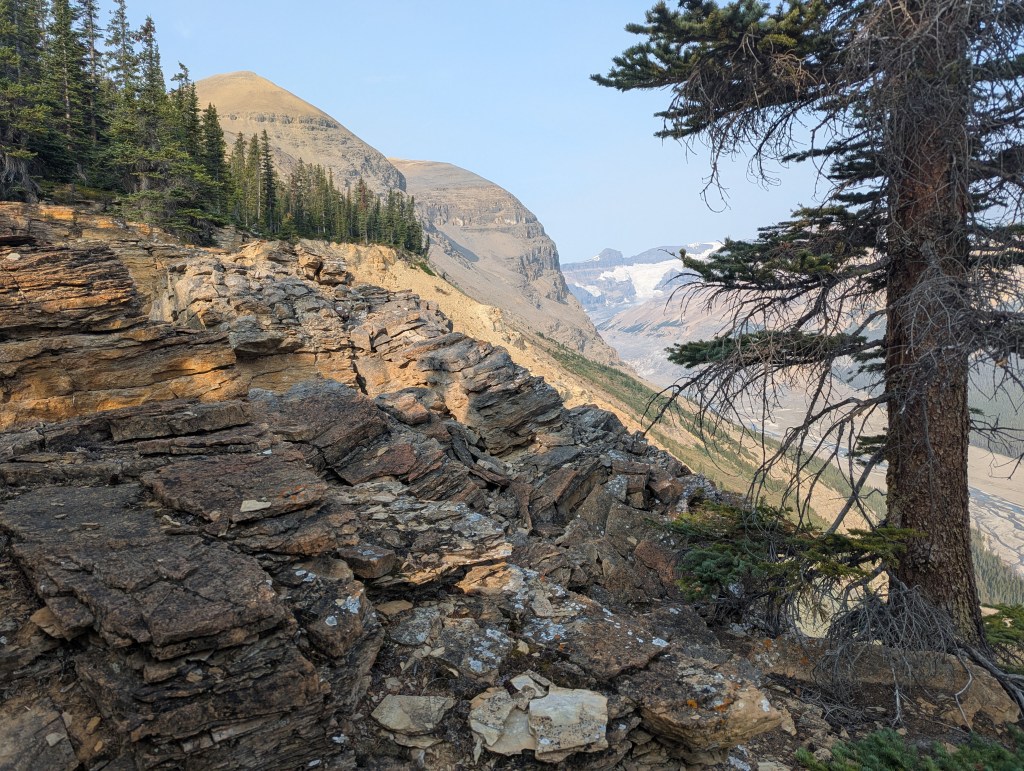
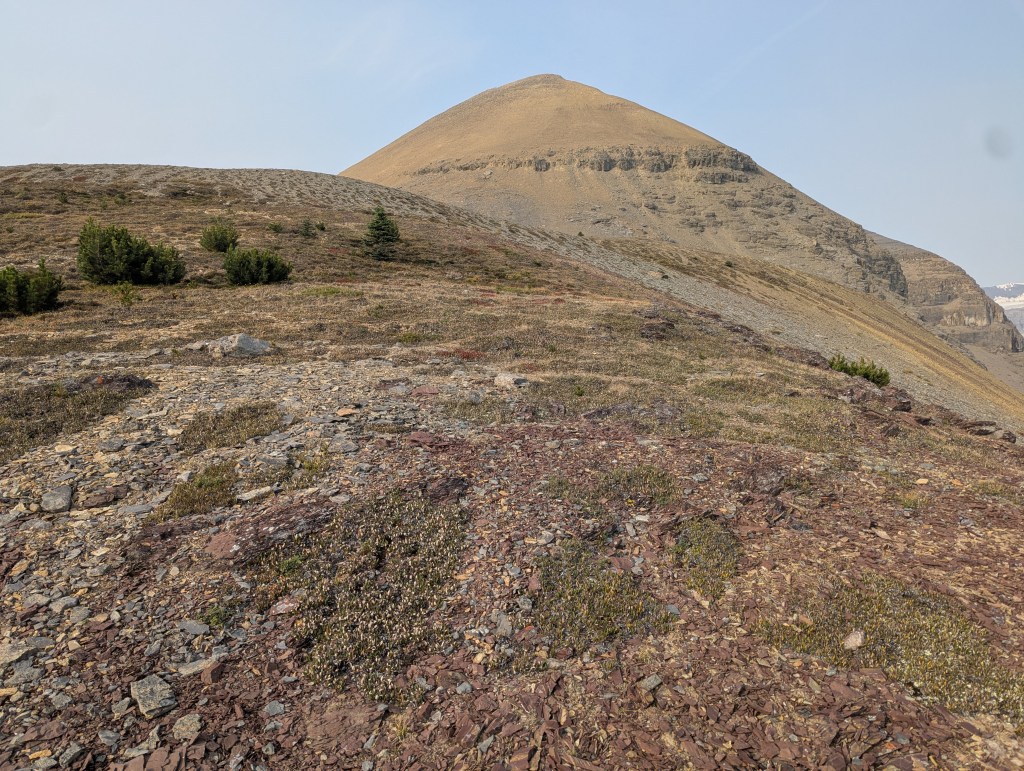
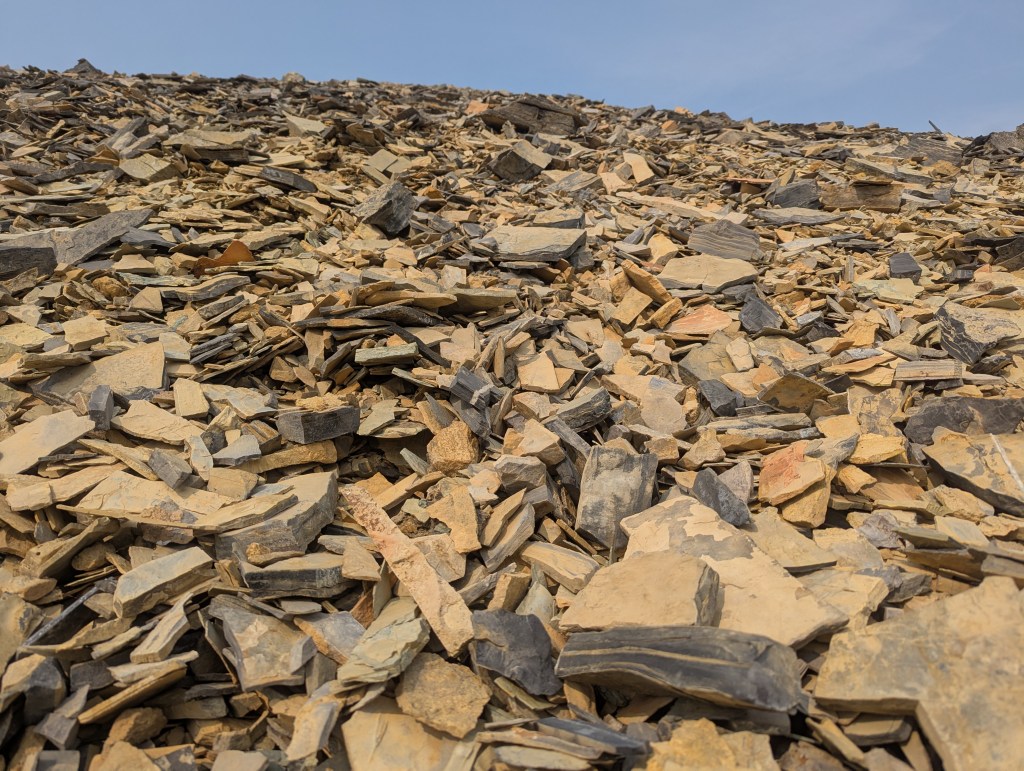
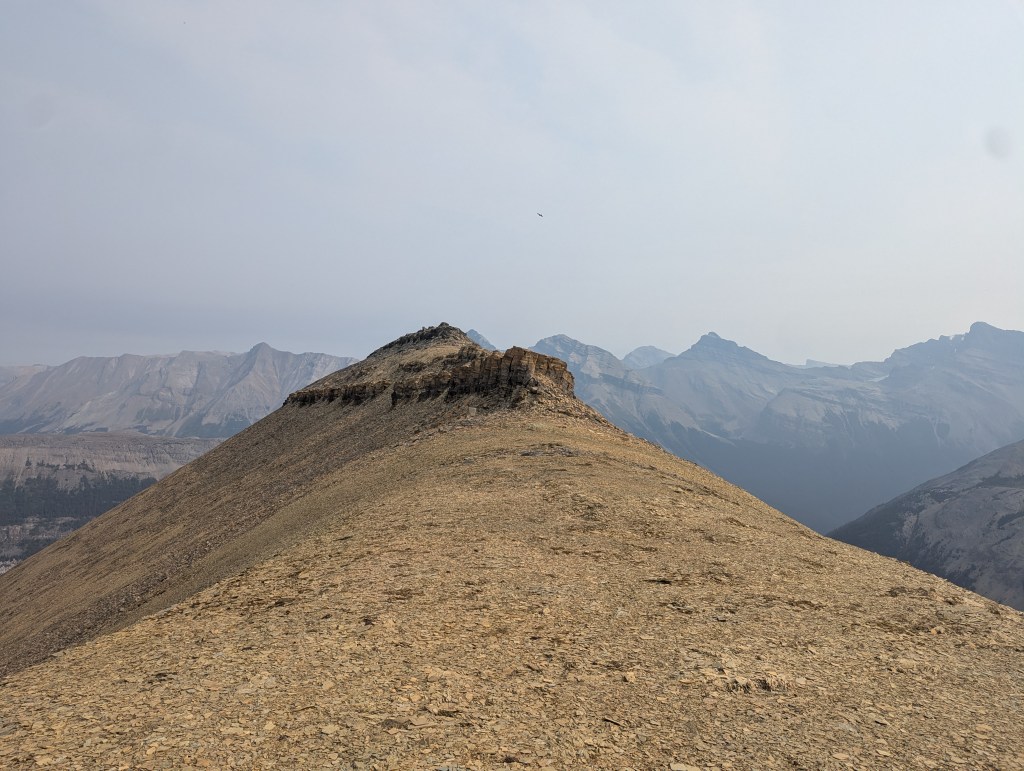
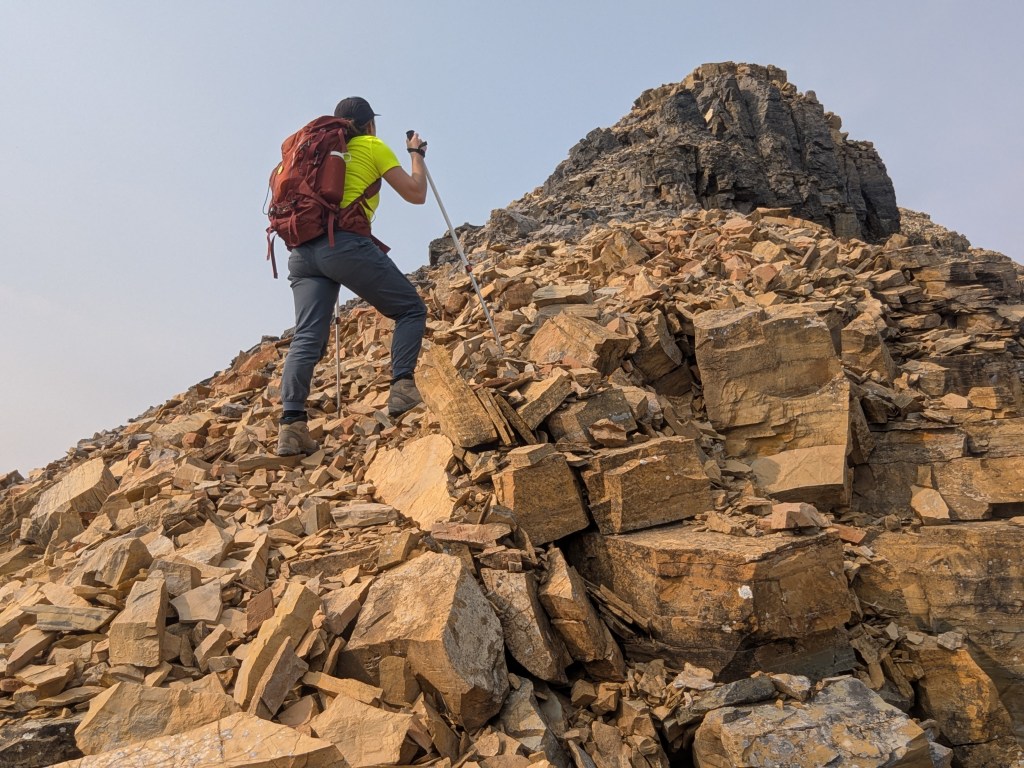
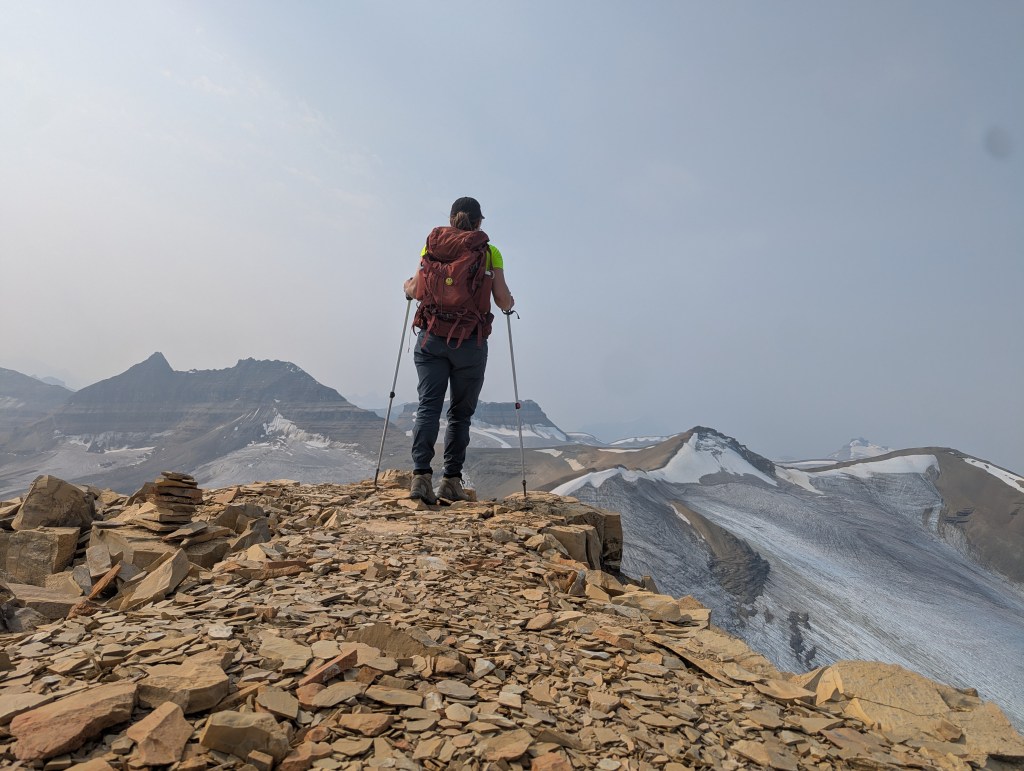
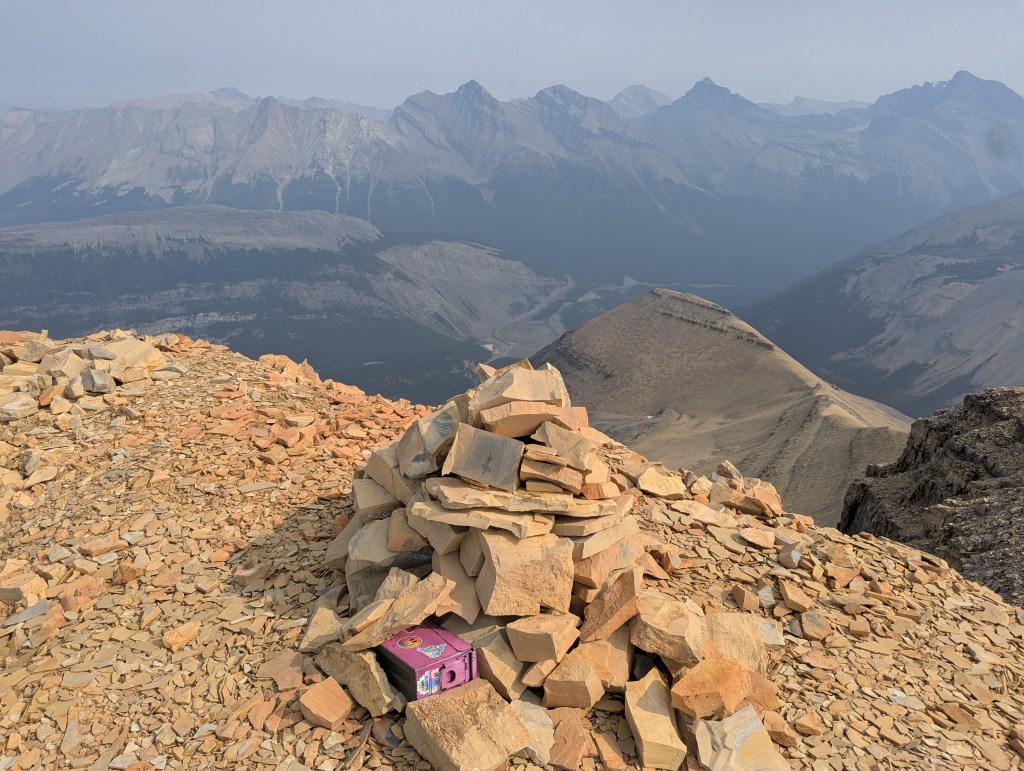
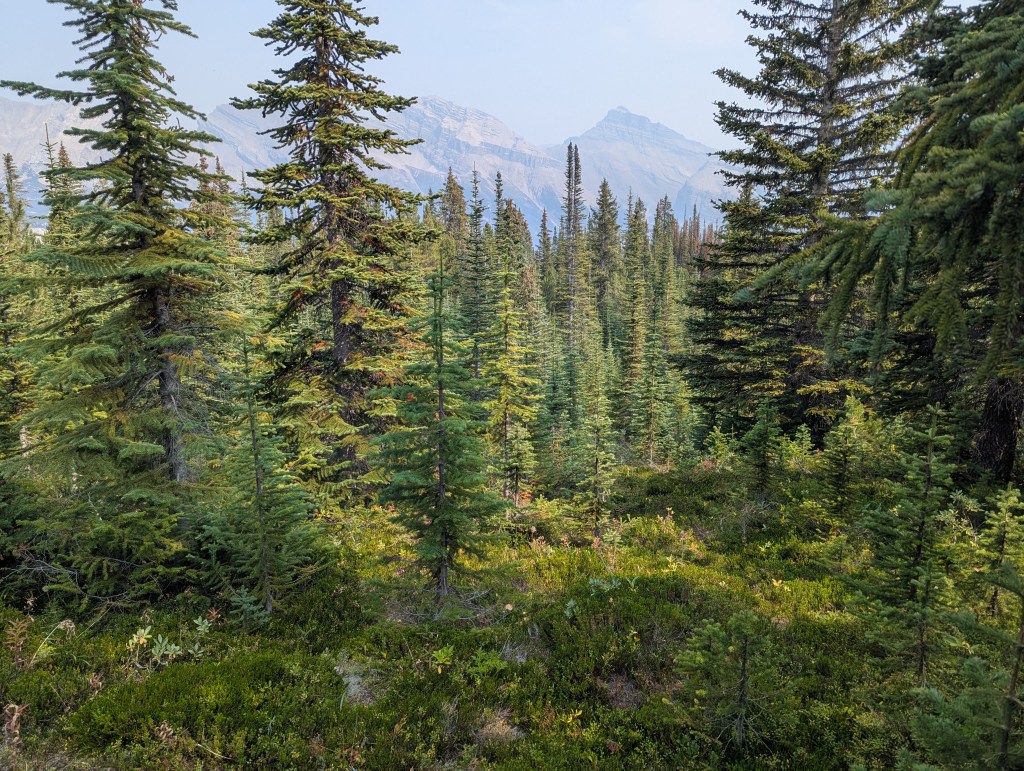
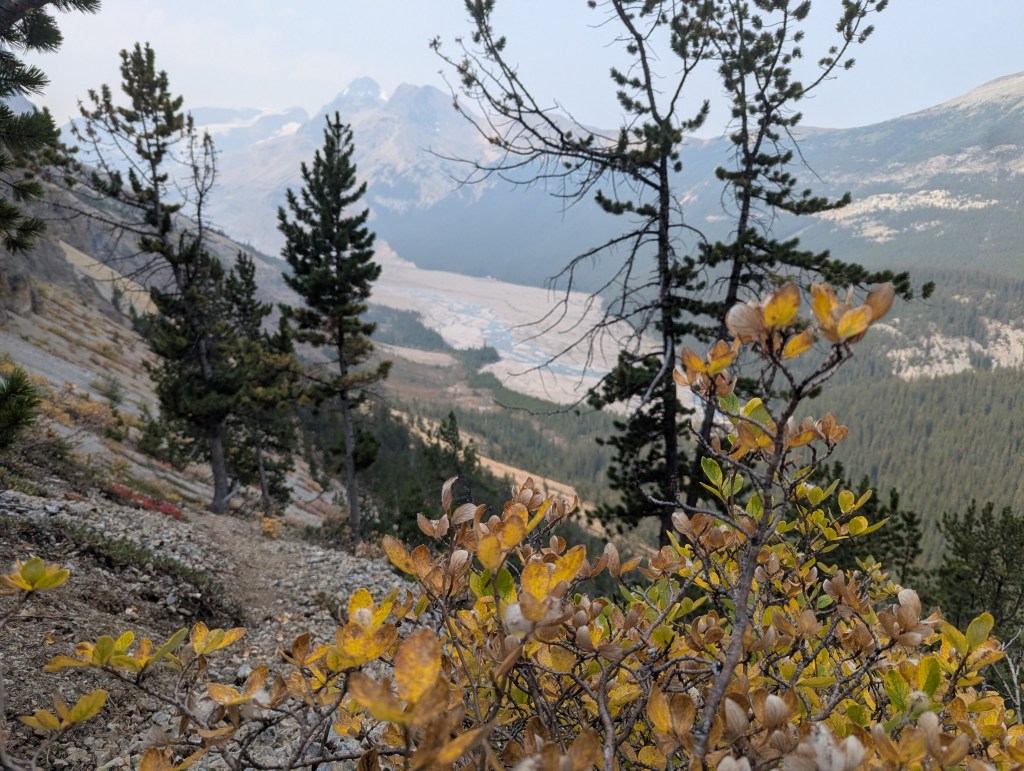
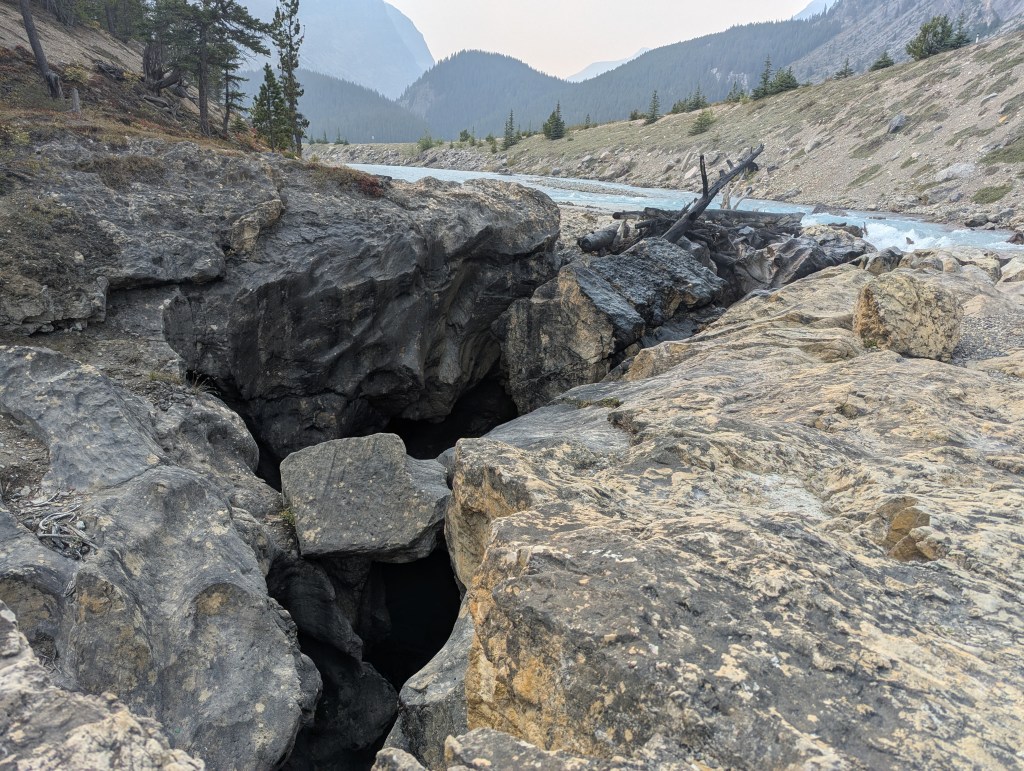
The driveway is nearly invisible until you are right above it, but it was ok for a car to access as of 2025. It’s probably still worth pausing to get a look before committing, plus the parking only accommodates about four vehicles. If full or inaccessible, there is parking less than a kilometer to the north, at the middle of the big bend in the highway.The route starts by crossing the old highway bridge, from before the highway was realigned. A trail can be found in the trees to the right, a few meters past the bridge. The trail meets up with an overgrown road in half a kilometer.Once on the overgrown road, the way is obvious. The road turns left into the trees and then rises in broad switch backs up a treed slope.Shortly after the trail begins to lose elevation, a clearing opens up to the left, about 2.5 km from the trailhead. A faint trail has formed to the left side of the clearing, improving travel a bit, but it still took me 30 min to reach the cliff band above.I followed the faint trail up a direct line to the left edge of the cliff band. Looking down, this line is doable, but steep and loose for the last couple of meters. There is also a trail that ducks left into the trees just before the steepest part. It’s not as direct, but the terrain is a little easier.Once above the cliff, light braiding trails lead through the forest, mostly following the cliff edge. Where the trails disappear, the direction of travel is generally obvious and I tended to find myself back on a trail within a few minutes. The false summit of Big Bend can be seen ahead.After breaking out of the trees and gaining a short scree slope, the false summit of Big Bend comes into view ahead. The slope ahead is tedious, terrible quality scree. It’s the kind of scree that makes me feel like I can’t pause for a break because I will immediately start sliding down, which becomes especially tiring on a smoky day when it is hard to breathe. I avoided the cliff band seen half way up the false summit, and skirted around its left side.This is essentially the view for an hour.Once the top of the tedious scree slope is reached, the true summit of Big Bend Peak comes into view. From here the peak is a little under an hour away on easy terrain. The North Towers of Mount Saskatchewan can be seen in the background at center.Looking back at the false summit, small cliff bands encountered along the way provide no difficulty and can be bypassed to climber’s left (the right side of this photo looking back).The small cliff bands also provide a handy place to balance a camera! This is typical terrain near the peak.I reached the peak in roughly 4 hrs 15 min. To the left is the North Towers of Mount Saskatchewan and to the right are Mount Jimmy Simpson Junior and Jimmy Simpson Junior II. The terrain between Big Bend and these peaks is glaciated and the connecting route would not be a scramble (Instead, these are typically access by coming up the valley to the left, see my trip report). The peak directly in front of me is called “Mount Totally Awesome View” by some, or Mount Saskatchewan W4.5 officially. Mount Saskatchewan is out of view to the left.Summit panorama from Big Bend Peak – Certainly worth battling tedious scree for!Pausing for a quick selfie with The Flash in front of Mount Andromeda.Looking back toward the highway, the big bend can be seen at center. Standing above it to the left is Parker Ridge, which looks quite a bit more impressive from this side than the highway side. I returned the way I came, along the false summit (right).The tedious scree slope was significantly easier on the descent and I soon found myself back in the trees, on the braiding, sometimes-present trail. The trail is minimal here, but the way forward is obvious.Once through the trees and below the cliff band, I made my way back down the slope to the overgrown road below. Travel down this slope was also much easier on the descent, and the afternoon sun made a lovely show of the early-autumn colours.I made it back to the car in 7 hours. The parking area is along the edge of a deep, winding canyon. Not pictured: The wonderful booming roar of rushing water. Also not pictured: Me dragging myself on my belly to get close to the edge. The road can be seen above to the right.
For a friend looking for “Pow! In your face!” glacier views without technical terrain, this peak is certainly a good contender! I would probably recommend Boundary Peak over this one as it has more of a trail through the treadmill scree and the navigation is a tad easier. But, for friends that have already done it and are comfortable with a bit of navigation, Big Bend Peak is a mostly great day out – The views make up for the scree!