Notes: May be called House Mountain or Grouse Mountain, unconfirmed. Strong route finding skills are an asset for the first part.
Trip Report
As part of a road trip, we took a day off from driving and camped at Muncho Lake. This beautiful area seems to be more popular for water sports and doesn’t have much information available for hiking or scrambling, beyond a few short easy hikes. I did find two routes, of questionable reliability, both leading to the same high point (See Wikiloc and All Trails), so we gave it a shot. I normally assume All Trails to be the worst possible data source, but after scouting out a few possible lines, a route similar to the All Trails line worked well. Instead of the steep, loose ascent gully recommended though, we hiked up a grassy nose roughly 100 m further in.
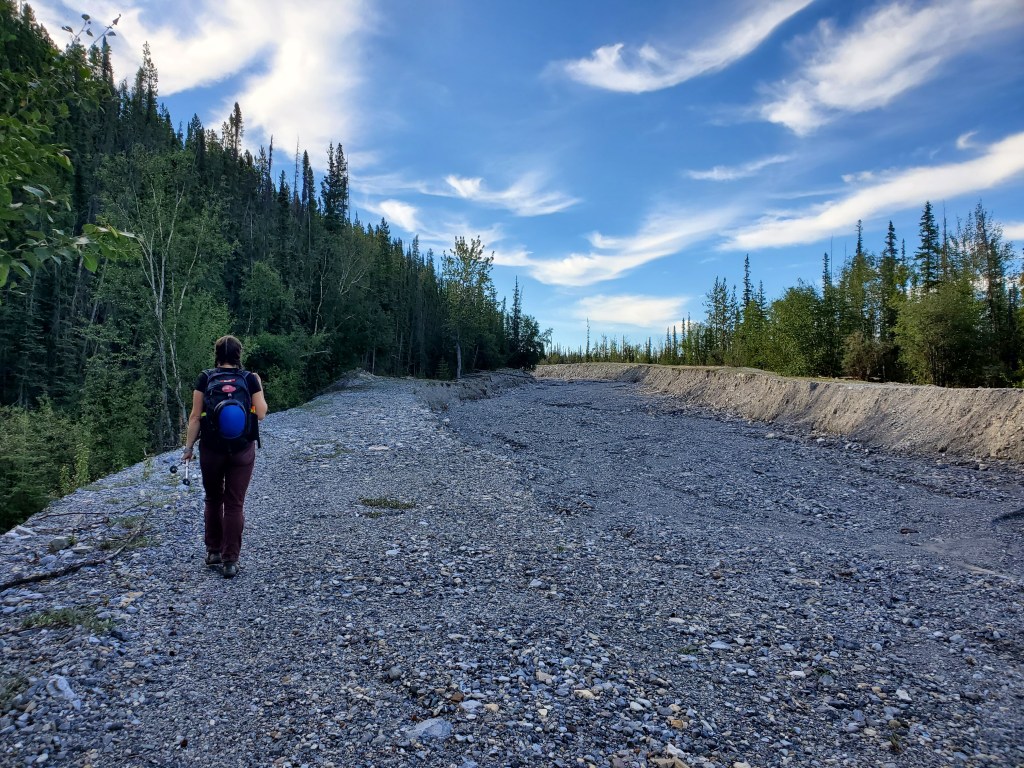
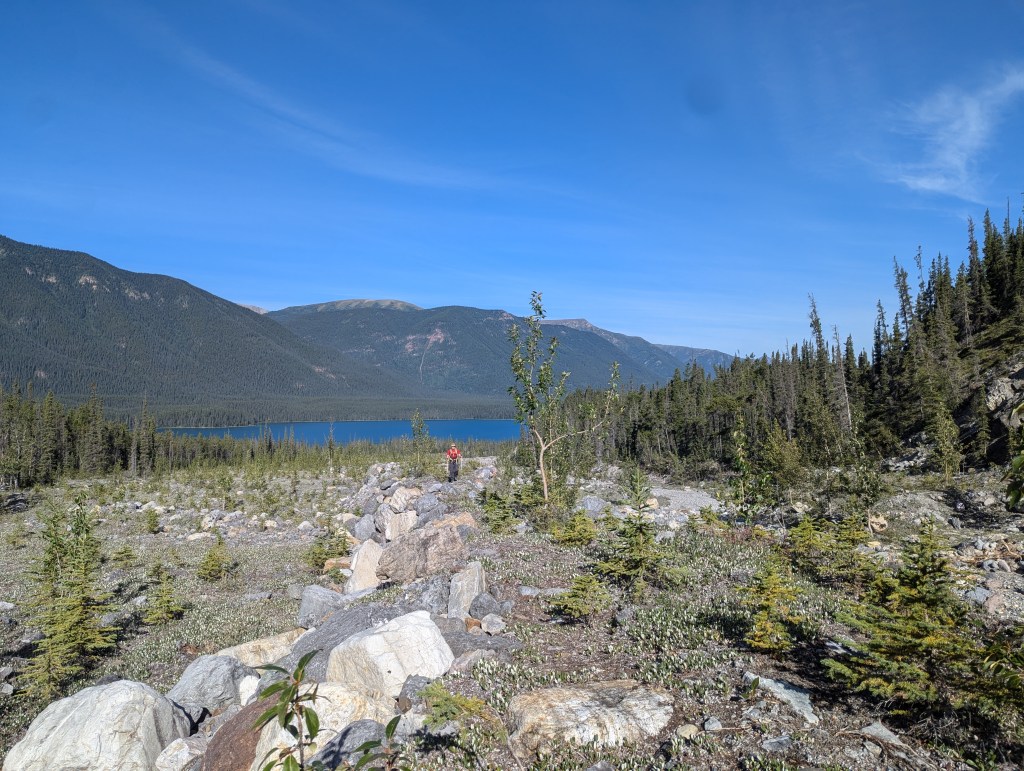
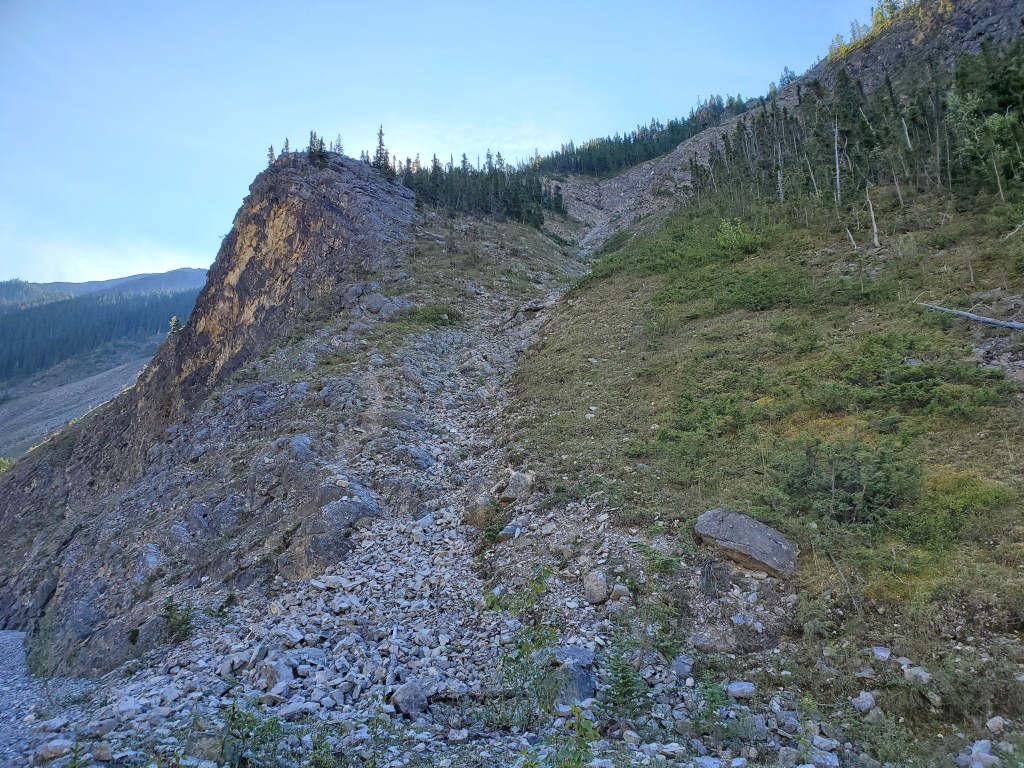
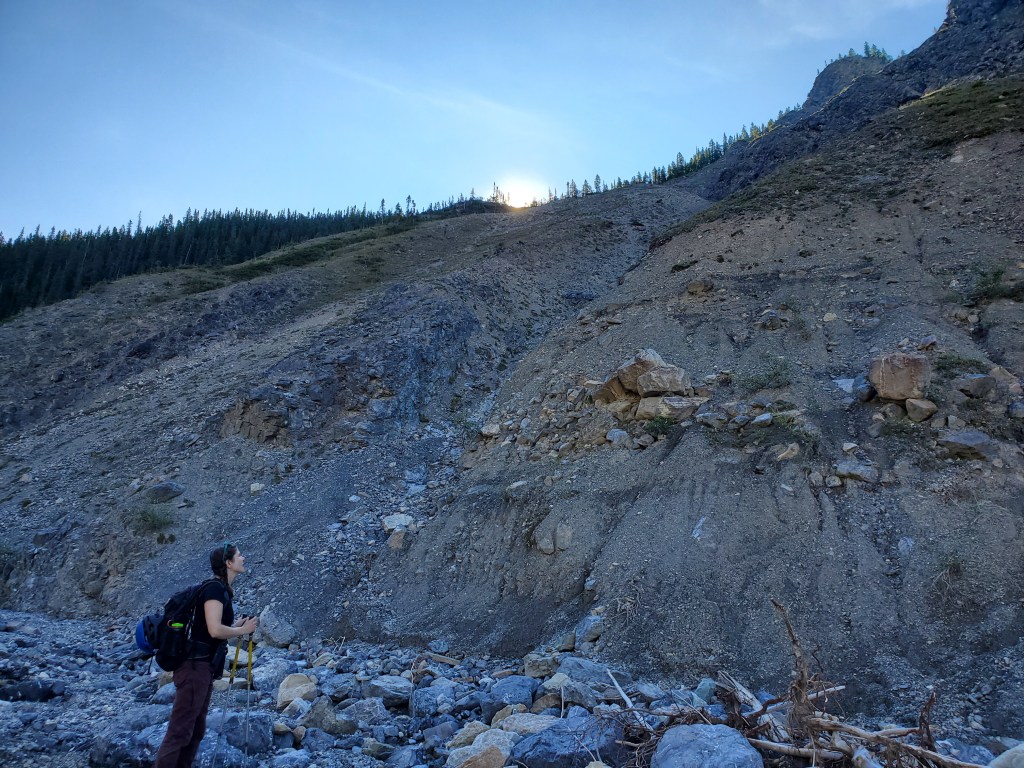
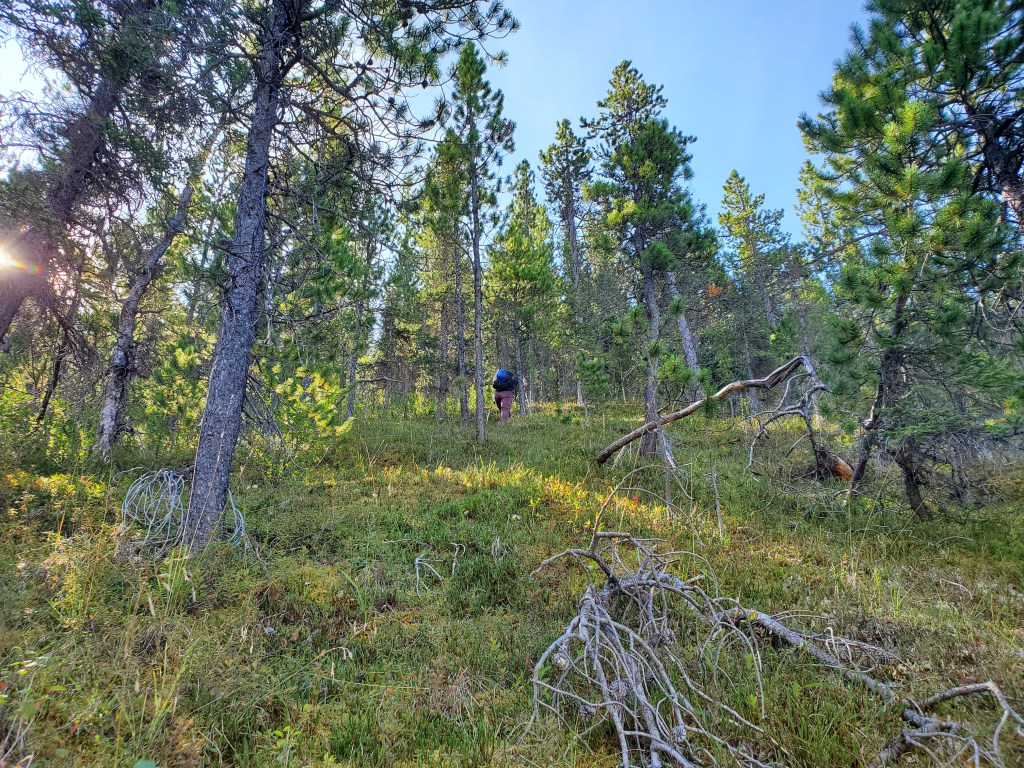
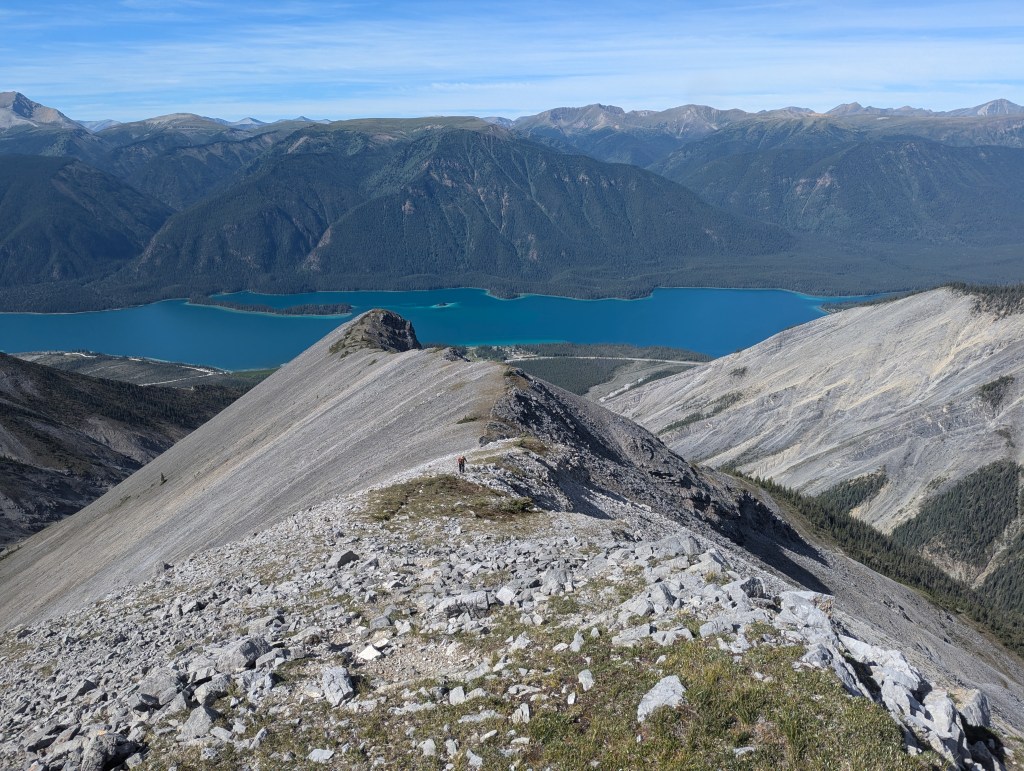
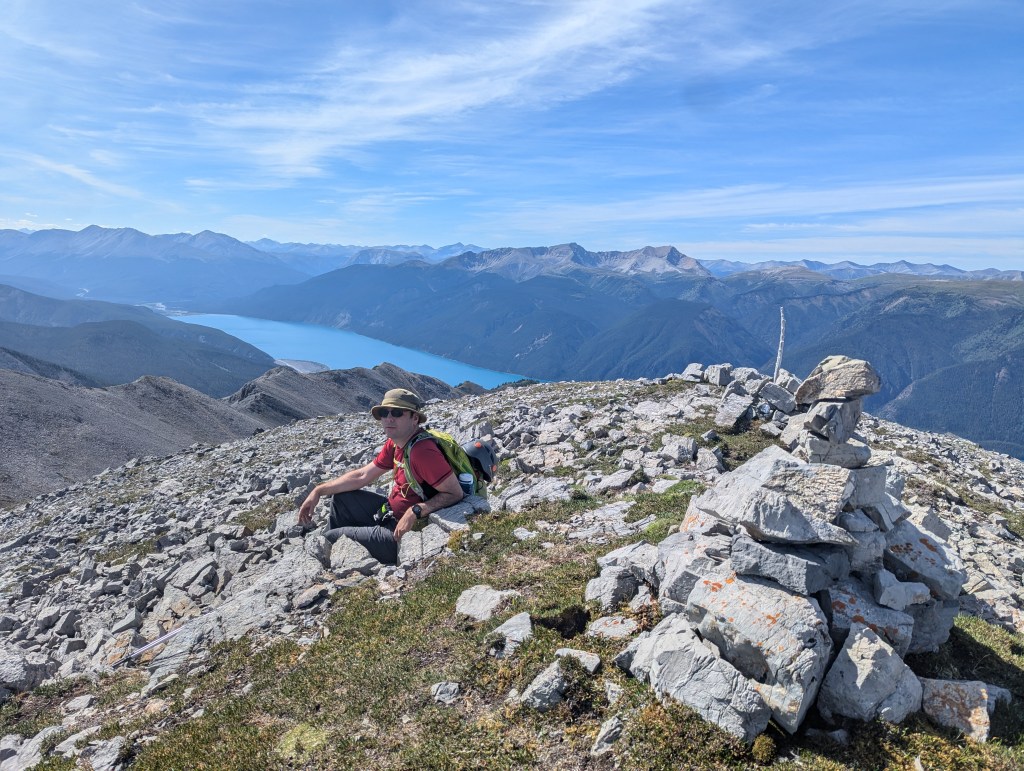
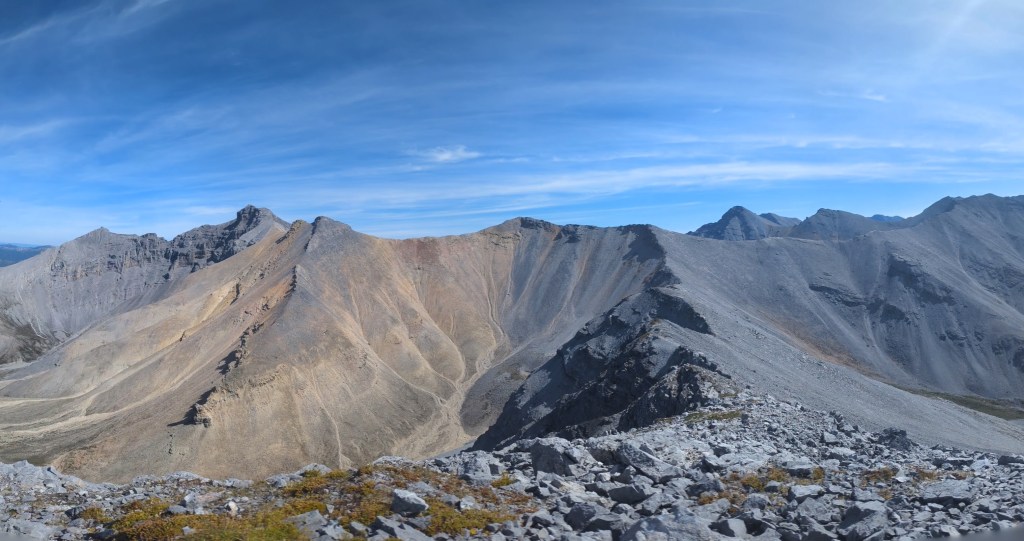
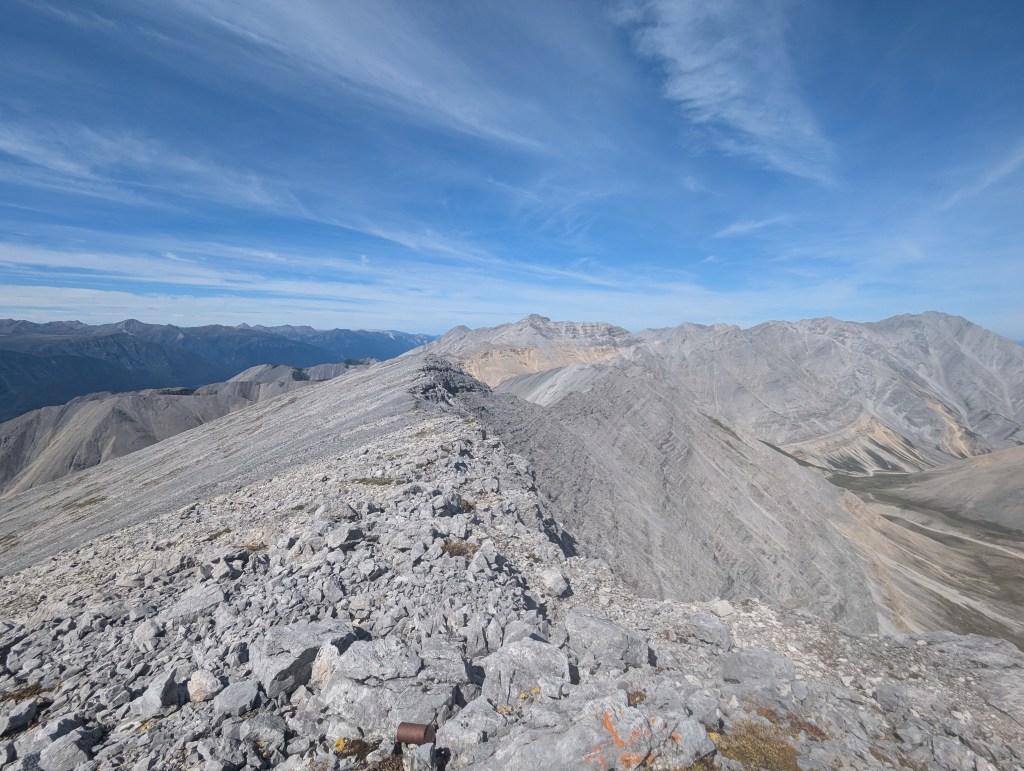
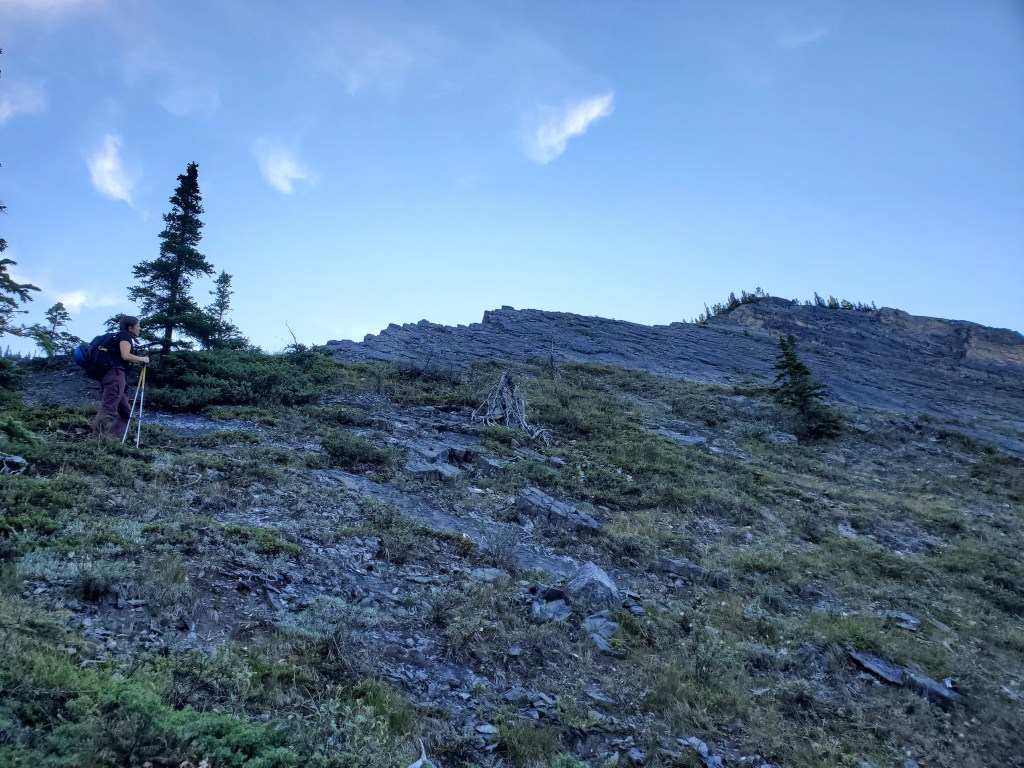
Everyone hopes to see the aurora borealis while travelling north, right? But what are the odds? We were lucky enough to be treated to a dazzling display on the first night of our trip! Dan grabbed the excellent photos above.In the morning, after scouting out a few route options, we parked near a gravel drainage 3.2 km north of Northern Rockies Lodge. Recent grading work in the area made it easy to pull off of the highway and park well out of traffic. Hiking in, we started on the left shoulder of the drainage, but eventually aimed for the right-side shoulder, below the ascent slope.On the right-side shoulder, looking back toward the road and Muncho Lake.The route in All Trails seemed to head up this steep gully. But, this just looked to us like a loose, miserable rock-funnel, so we further explored our options.Continuing along and eyeing the slopes to the right. We finally settled on the grassy nose at the left side of this photo, roughly 100 m further in than the recommended route. Our line worked well!Working our way up the steep slope, trending for the solid footing offered in the trees.The trees grow thicker near the top, but travel is never encumbered by bushwhacking.At 1 hr 40 min we finally pushed through the trees to the south edge of the ridge where we picked up a good game trail. This photo is looking out across Muncho Lake.It’s still an additional 1 hr 40 min to reach the first high point, but this part is all easy ridge walk on game trails.Looking back at Dan. Our ascent route gained the ridge from the right, out of view here. Game trails easily passed around the high knob visible here toward the lake, continuing along the ridge. The high point has a modest summit cairn, but no register – shoot, I really wanted to know what the peak is called! We reached this point 3 hrs 20 min from the road. My watch puts the elevation here at roughly 1846 m.Summit panorama from the first high point.I was still eager to hike, but Dan was nursing an ankle sprain. So, I left Dan to rest at the summit cairn while I tagged the high point ahead at center. My detour will add 1 1/2 hr to our day.As the second high point neared, the angle of the slope grew less severe and a nice game trail lead me across the slope to the right, to just below the high point.Looking back at the way I came from the second high point. This high point had only a couple of stacked rocks and a rusty can. My watch puts the elevation of this point at 1938 m, give or take.Panorama from the second high point.Looking east to a higher point in Sentinel Range (left). This is one of a handful of points identified in mapping as “Sentinel Range”. Most of the route to this high point looks straight-forward, but the final push to the peak looks slabby and technical. The rock in this area is loose and poor quality, making it hard to gauge whether a route would go.Looking north, an easy-looking path leads along the ridge. Being mindful of Dan patiently waiting at the previous peak, I returned back to him.We returned the way we came, making it back to the highway in 7 hrs.
I dug through topographic maps of BC, and only Sentinel Range is officially named. Other high points no doubt have unofficial names, but I couldn’t find anything documented. We stopped at Northern Rockies Lodge on our way back to camp and I asked “Say, what’s that mountain outside called?” “The tall one?” “Yeah.” “That’s Grouse Mountain, I hiked it last year.”
Appendix
Some photos from the other drainage we explored, directly south of the one we ultimately took, using the wikiloc line.
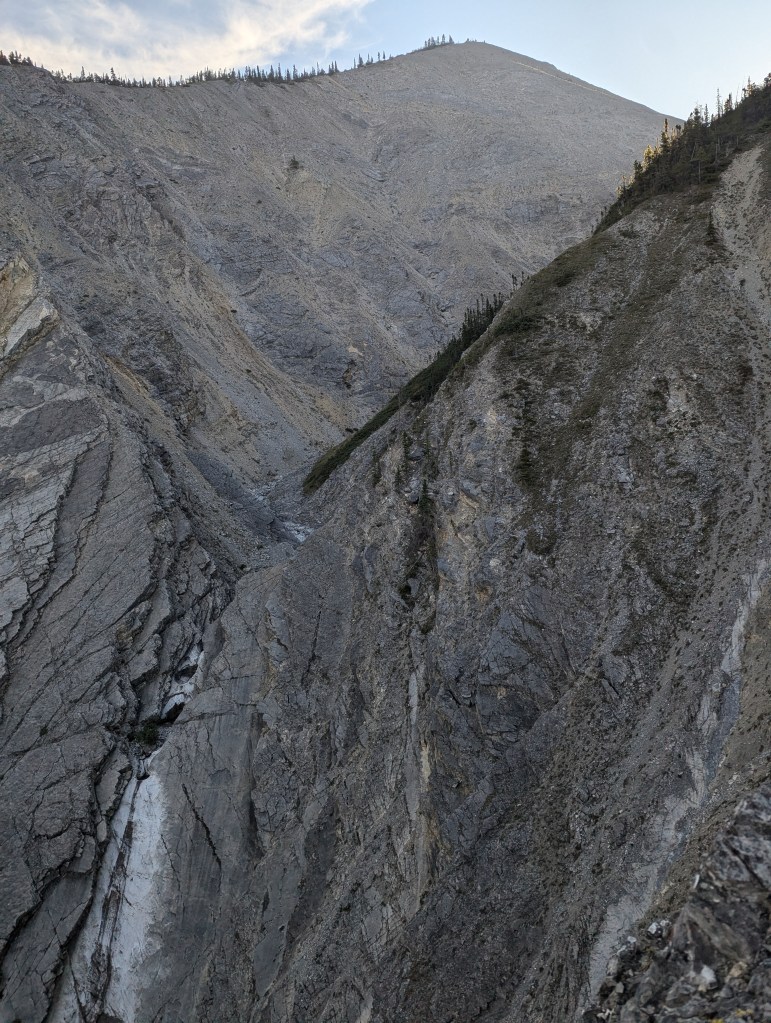
A short bushwhack from the highway brought us to an open gravel area, leading into the drainage ahead. This drainage gets cliffed out shortly and the line turns to the right, up the shoulder. There is no path, but the bushwhacking wasn’t too bad.We explored part way up this slab, but just weren’t liking the line. The rock in this area is extremely loose. Having seen a large chunk fall out from under Dan on a lower slope, we weren’t keen to be near the edge of this ridge. The vibes were off, and we decided to just try a different line.Looking over the edge of the ridge to the cliffs in the drainage. The high point at the top of this photo is reached by the route described in the main body of this trip report.