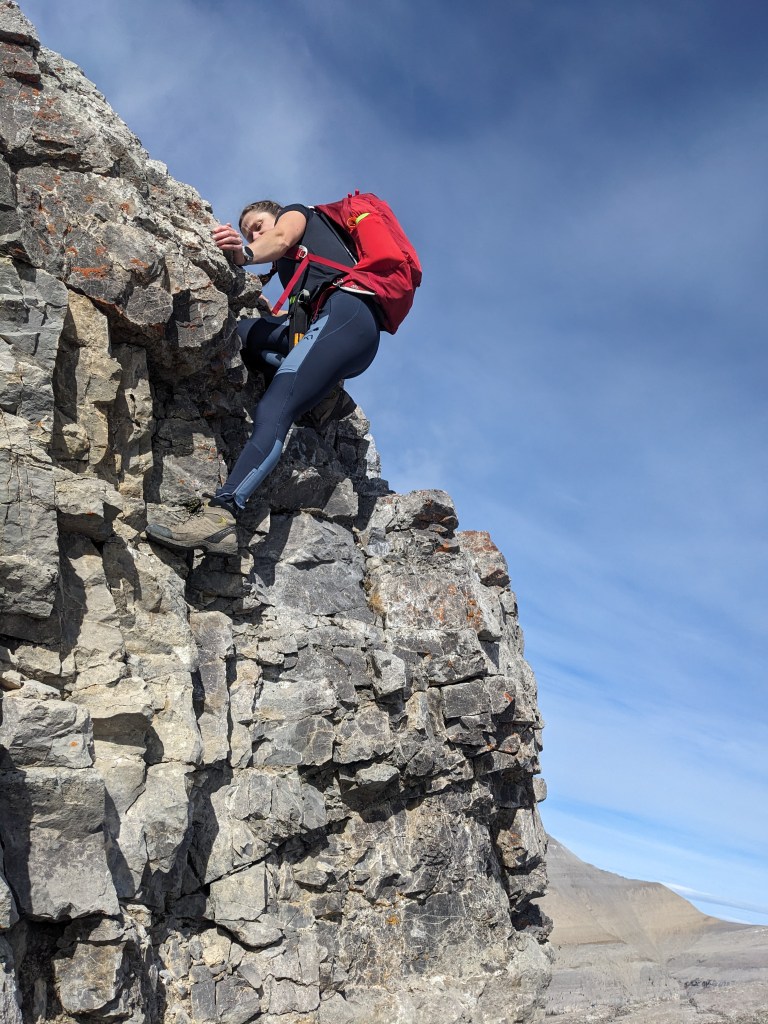
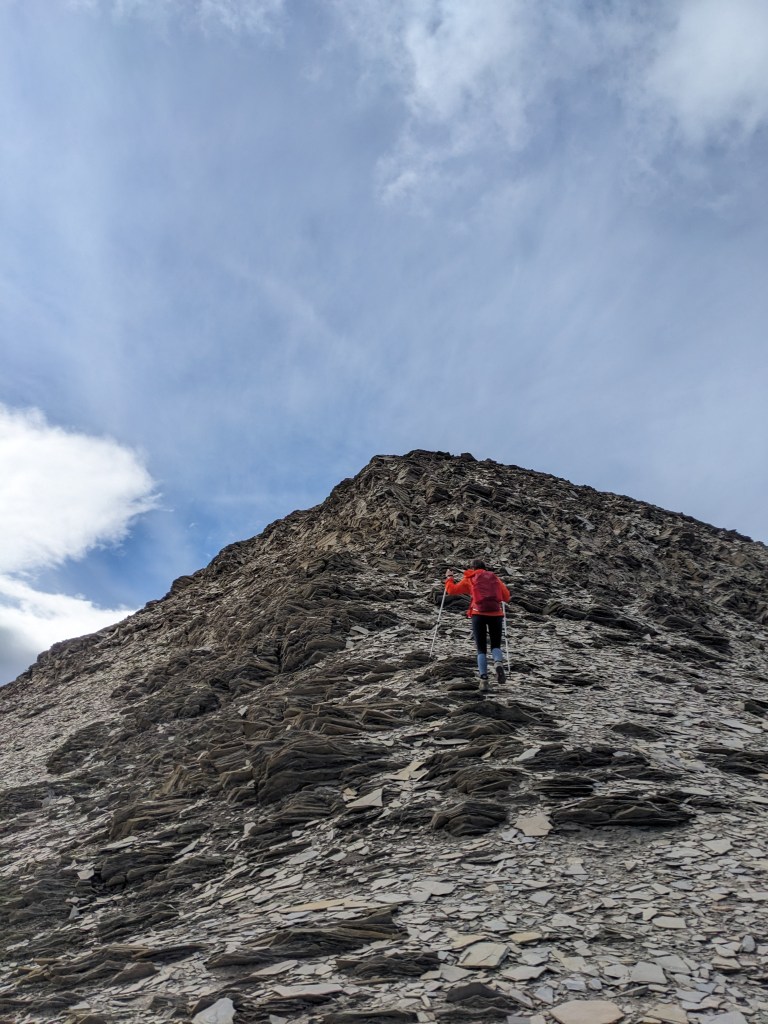
Notes: First crux must be bypassed to keep the grade moderate. Second crux is moderate scrambling.
Trip Report
Eagle Mountain, near Ya Ha Tinda Ranch, makes for a great autumn outing. On a weekend when peaks further into the parks were already snowbound, this small peak in the front ranges still offered warm fall colours and snow-free conditions.
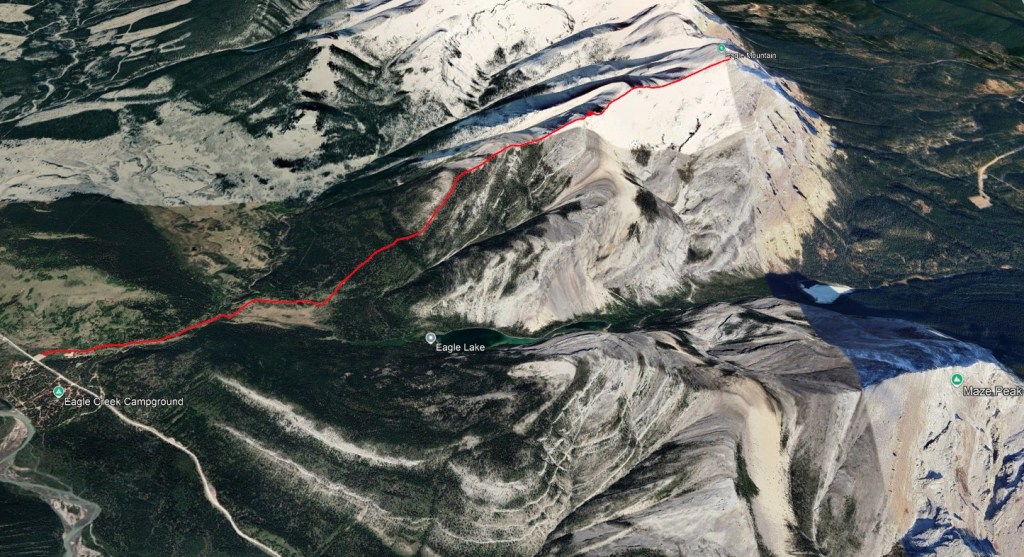
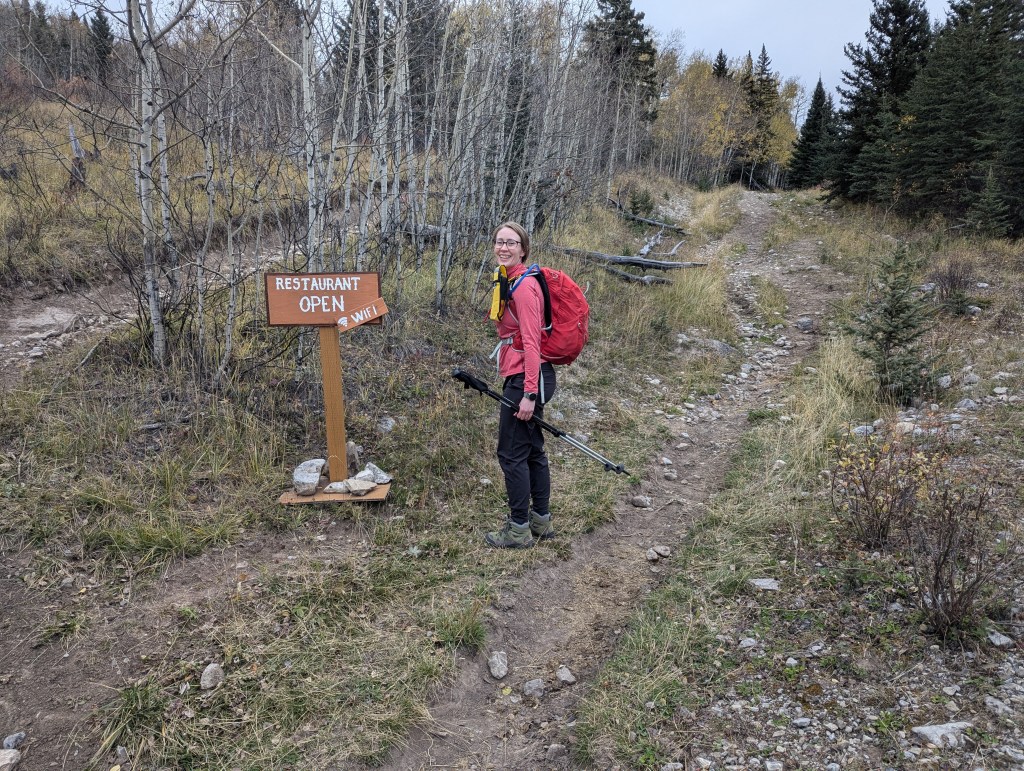
The trailhead begins across the road from Eagle Creek Campground. There is a good sized parking lot with an outhouse. Several quad trails and horse trails braid out from the parking lot, crisscrossing each other along the way. A GPS map is handy for the start – I used CalTopo, but whichever tool the reader is most comfortable with should do the trick.
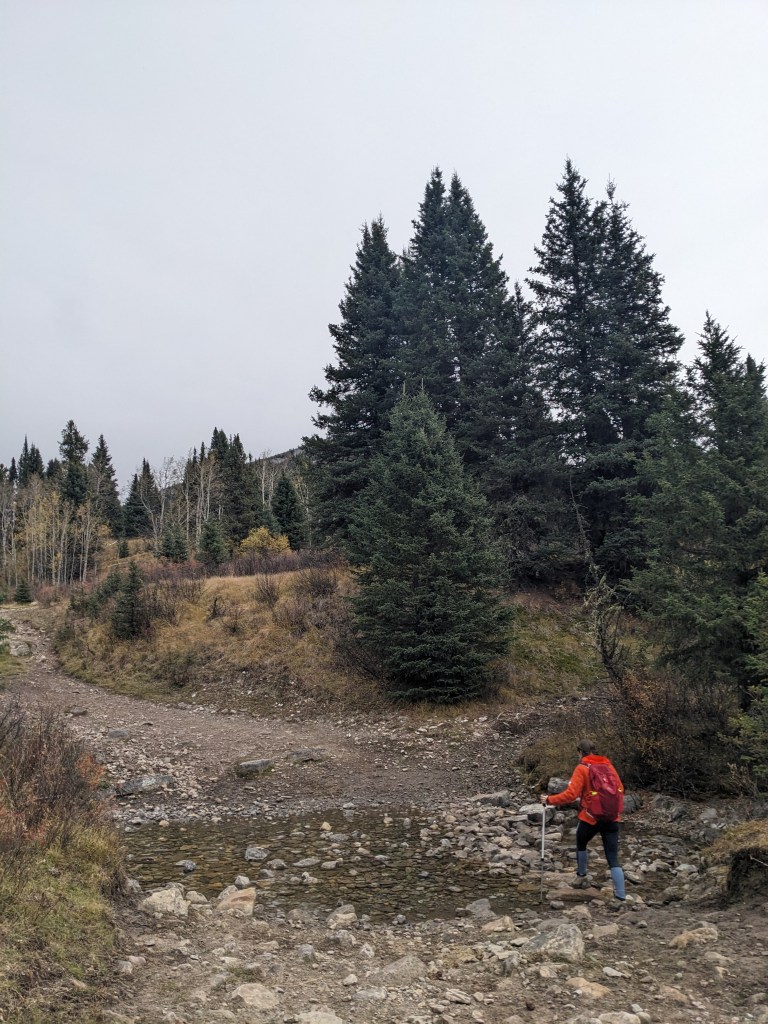
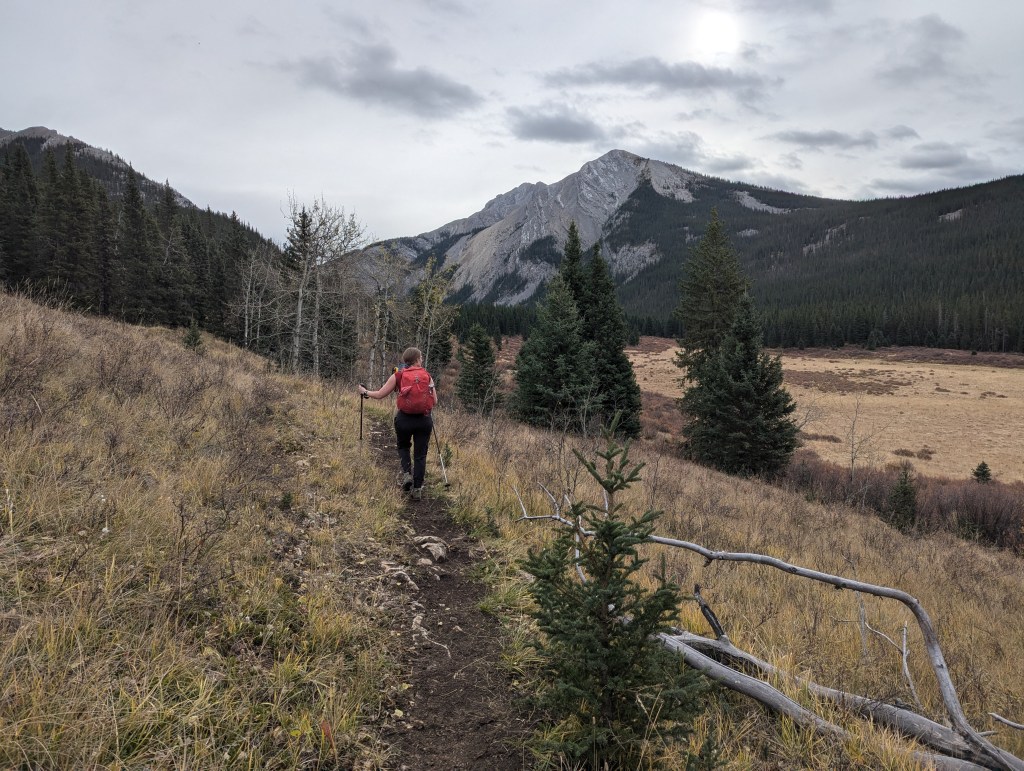
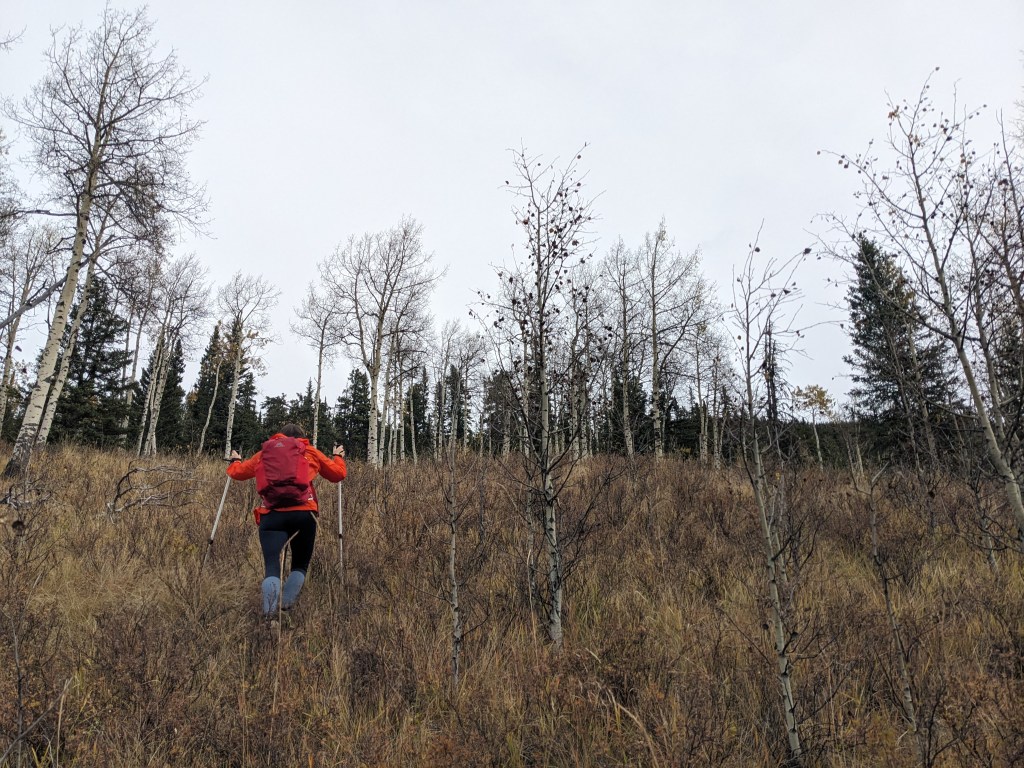
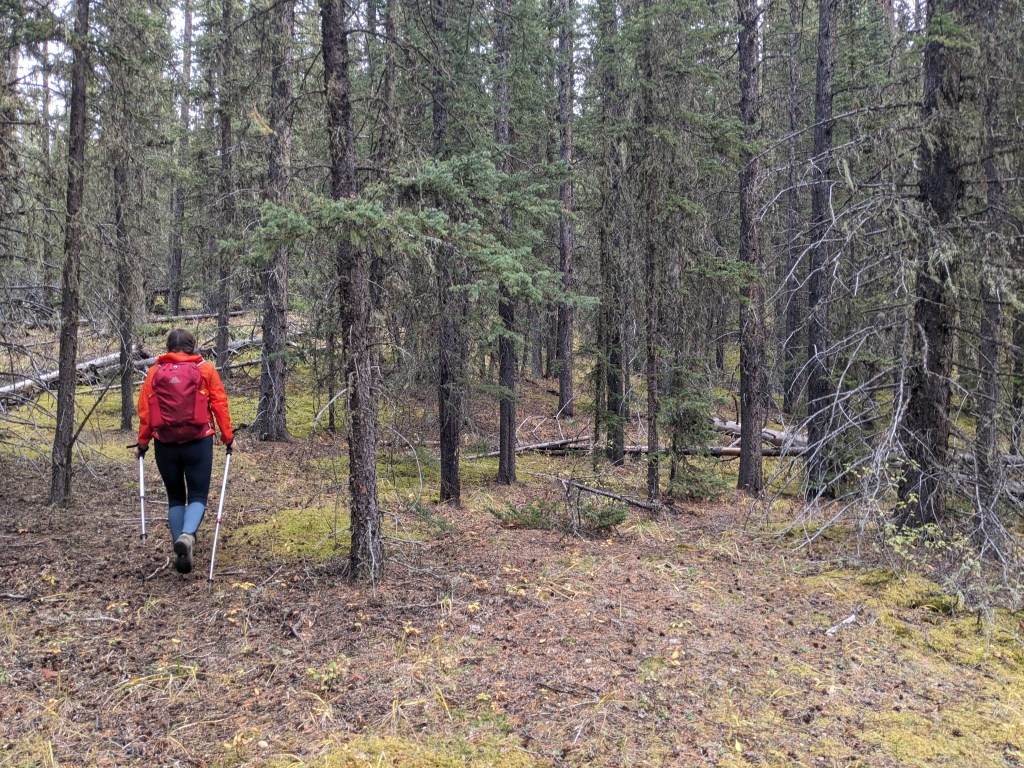
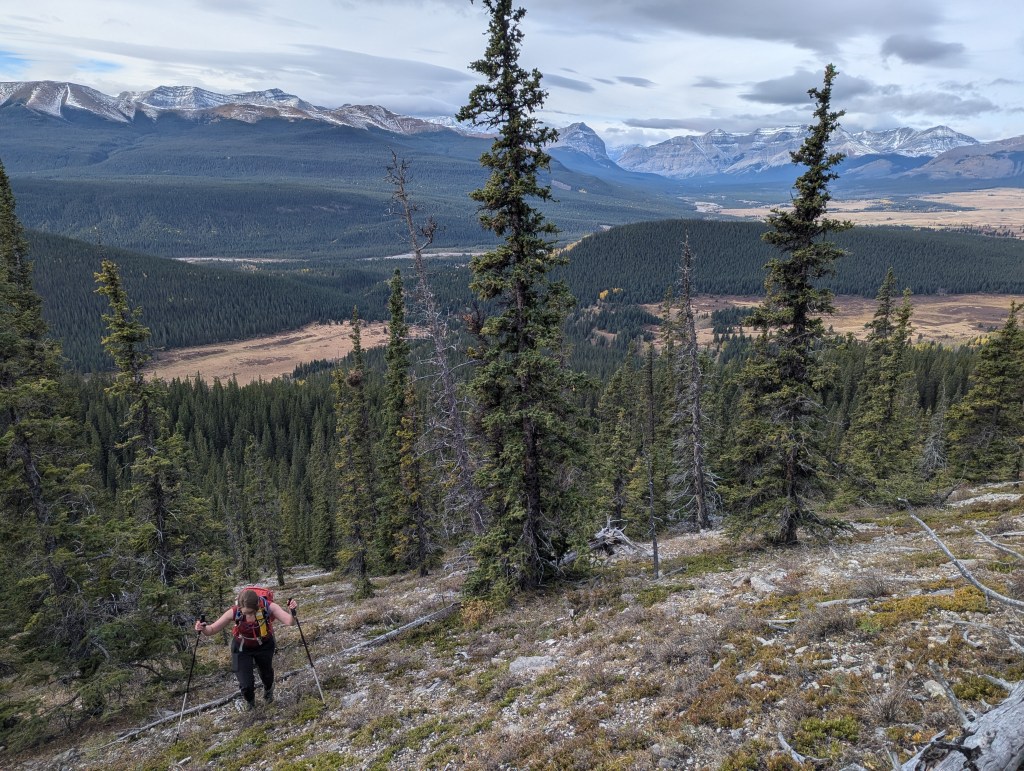
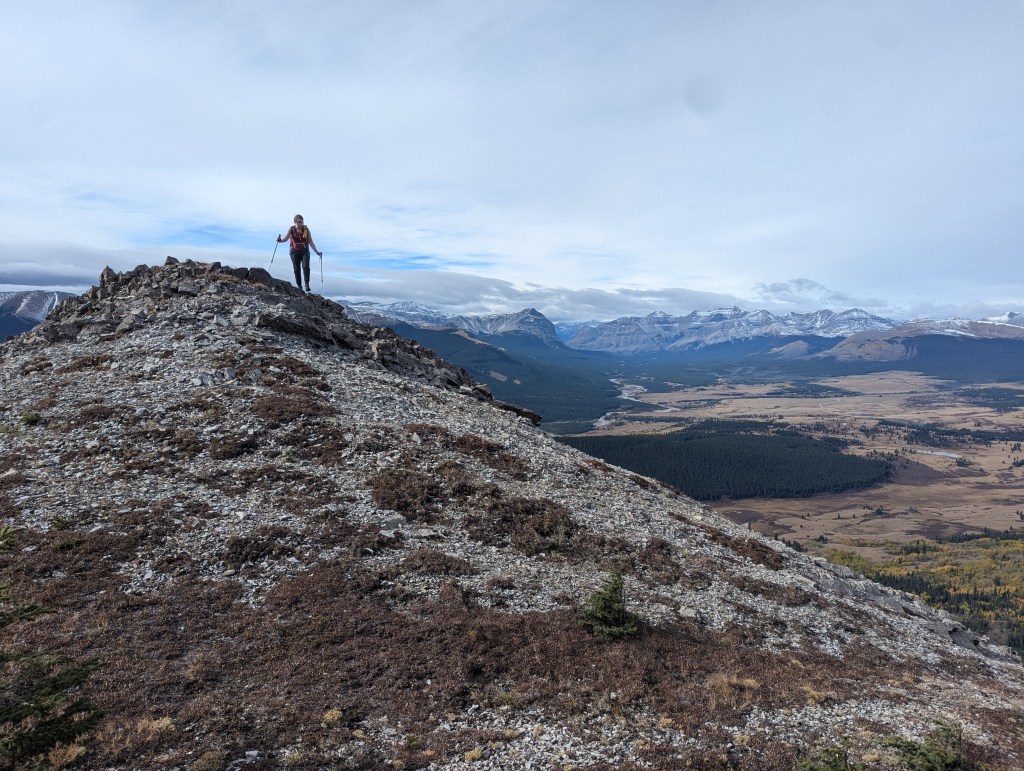
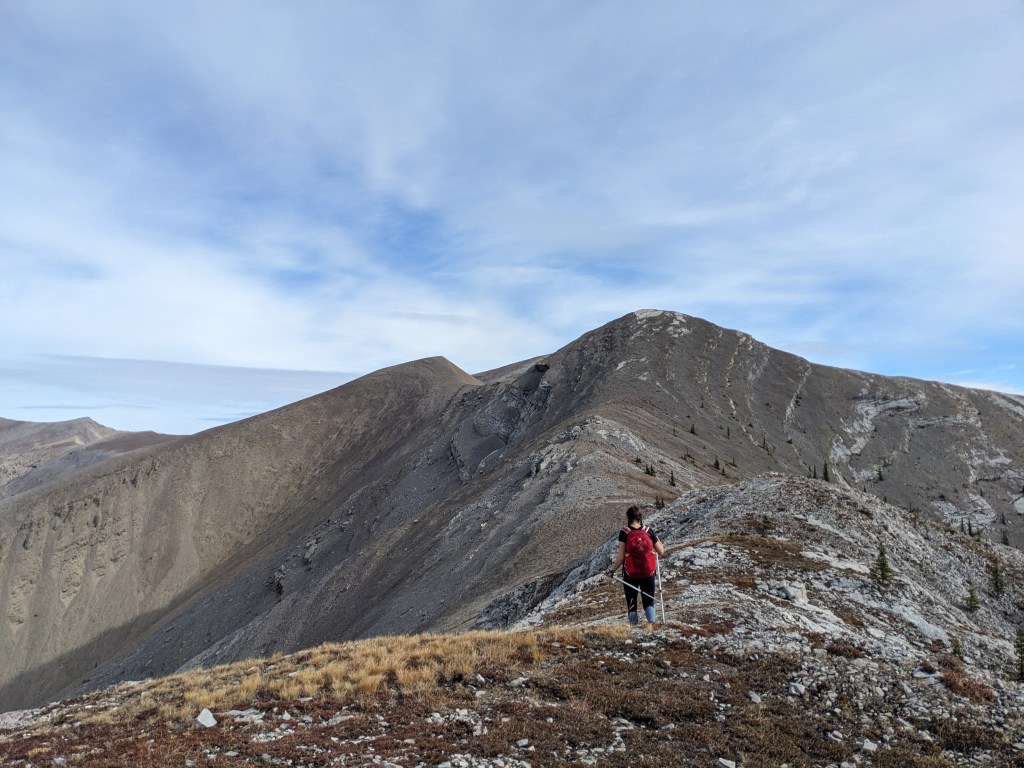
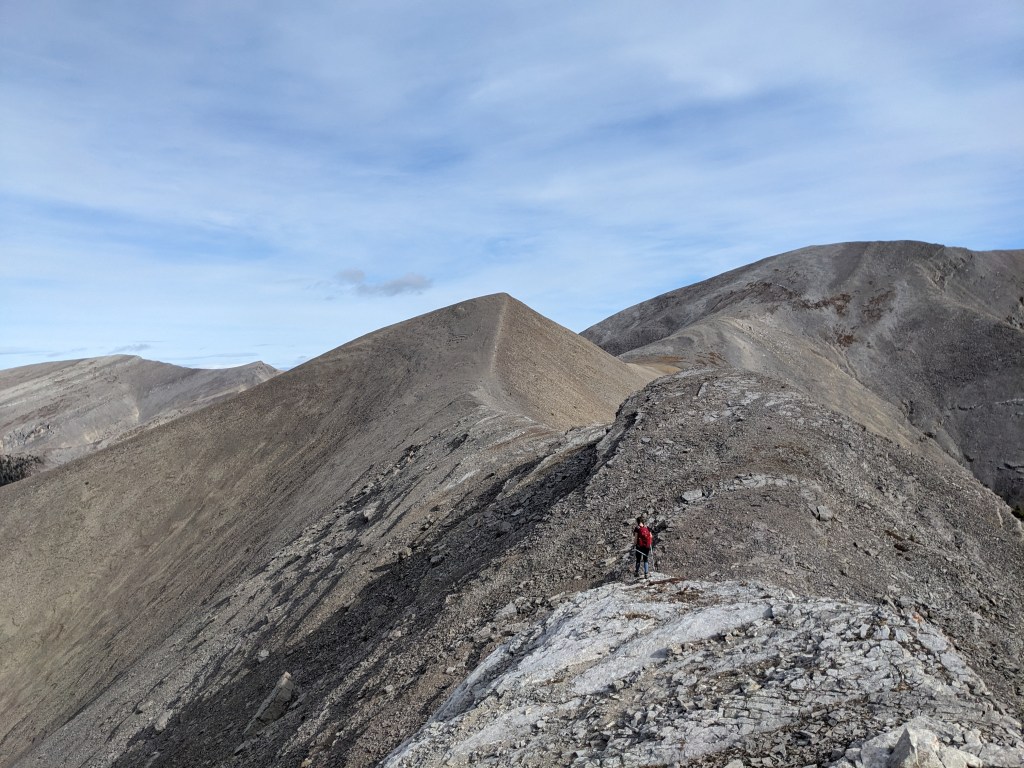
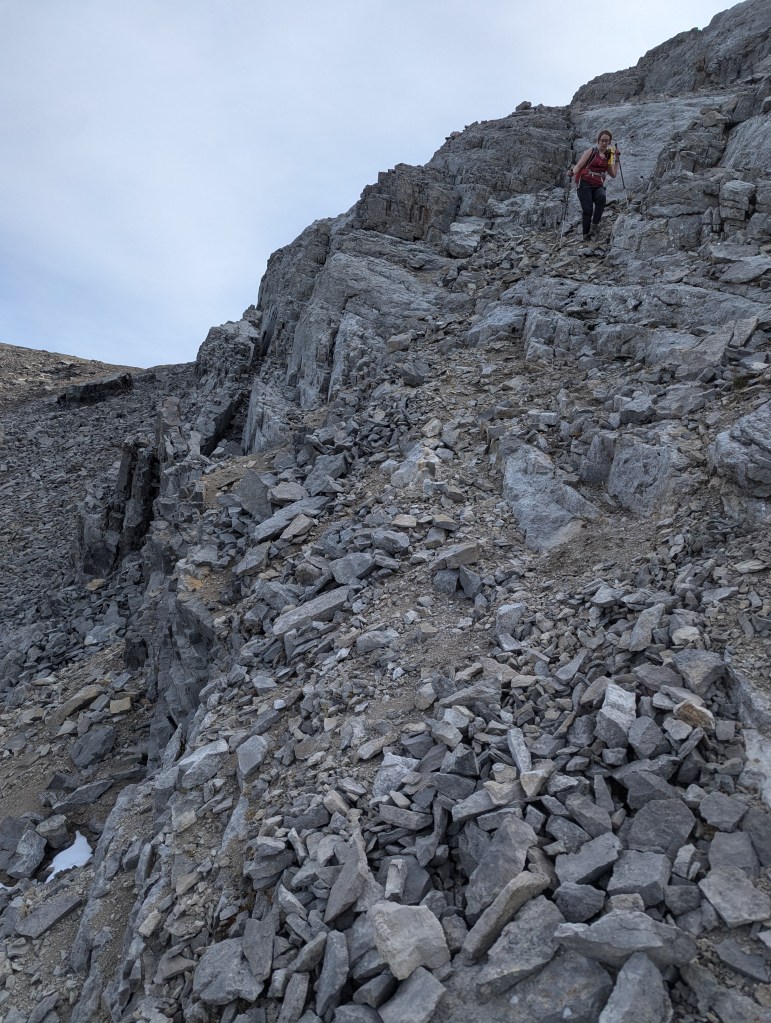
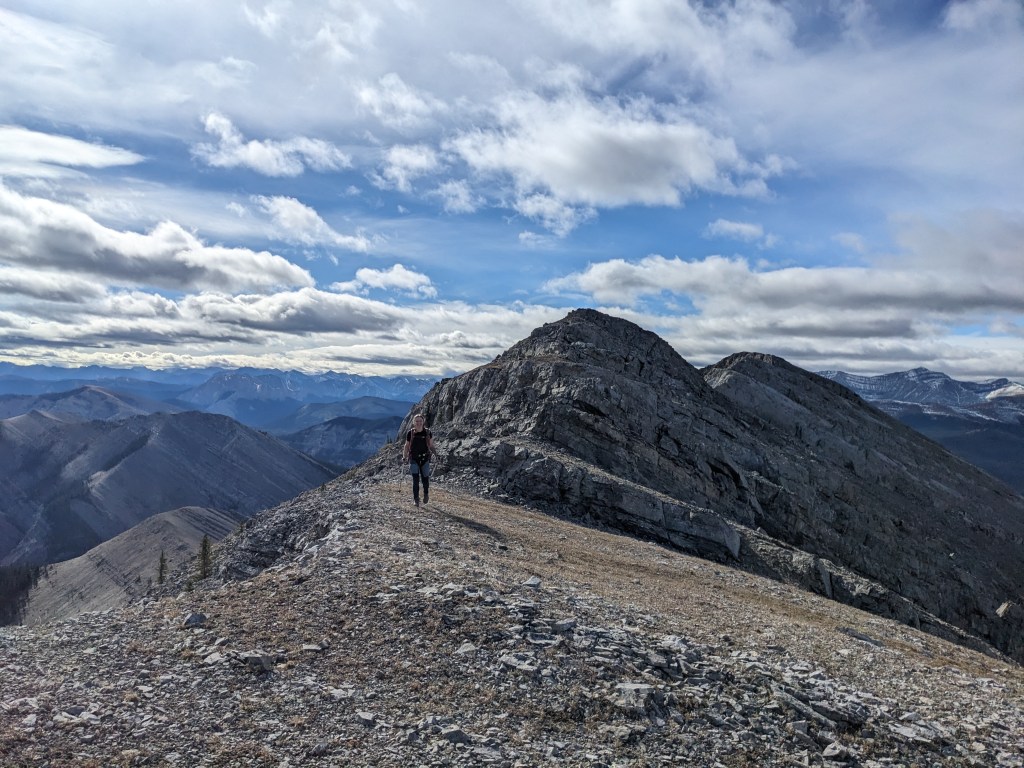
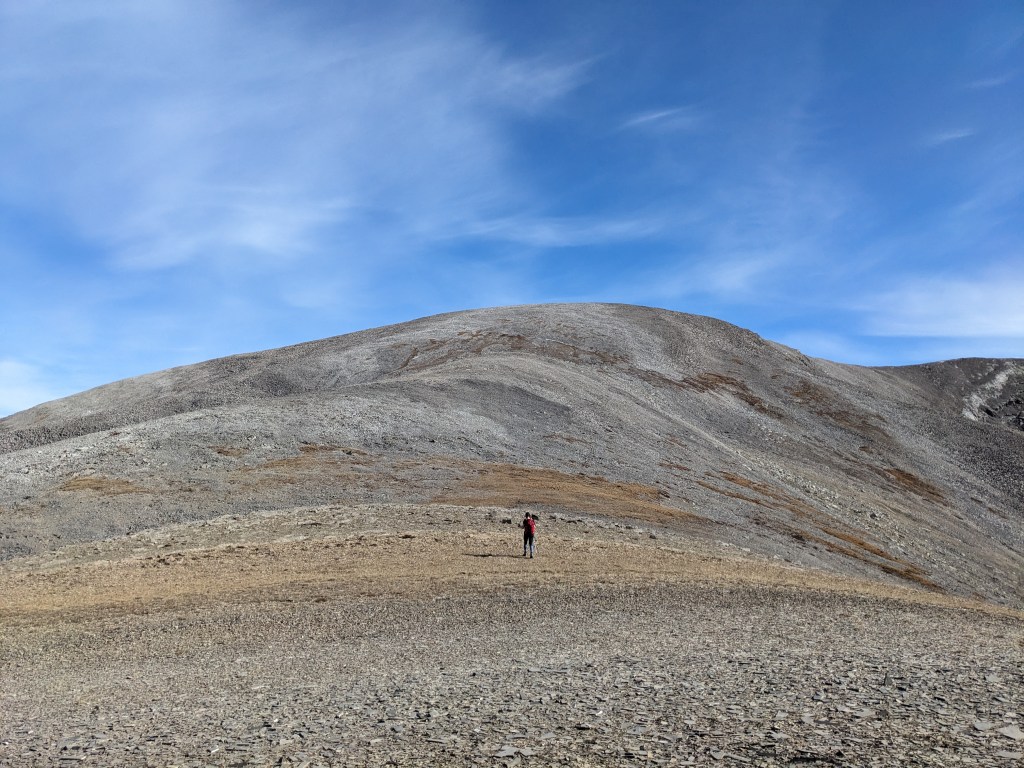
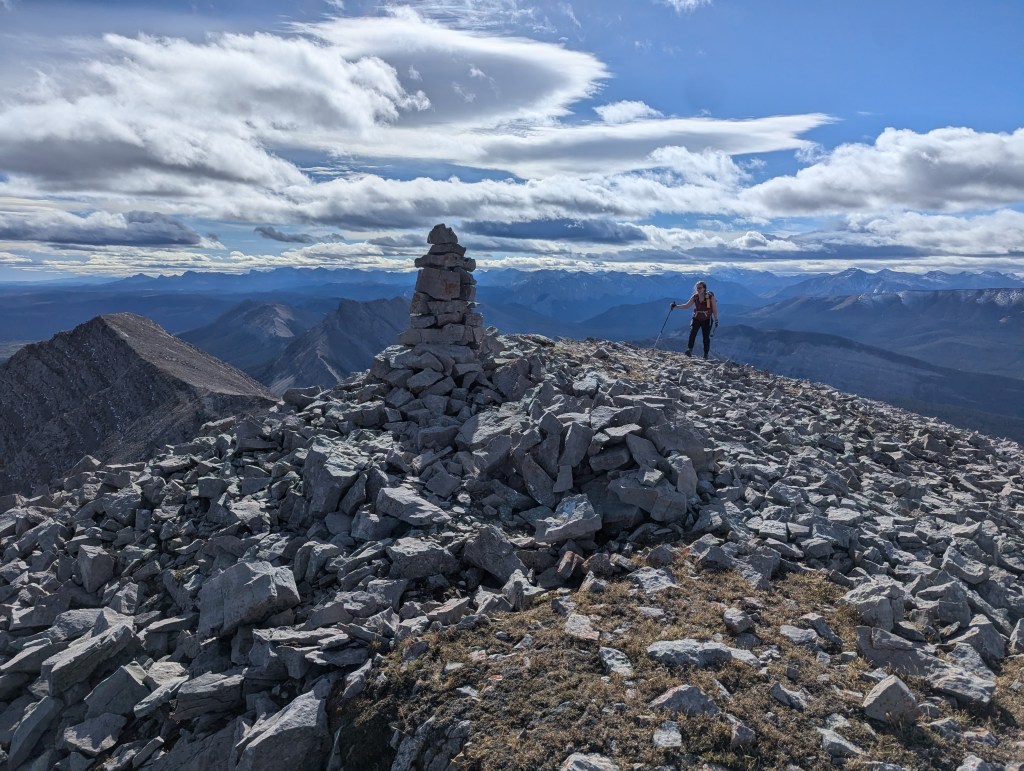
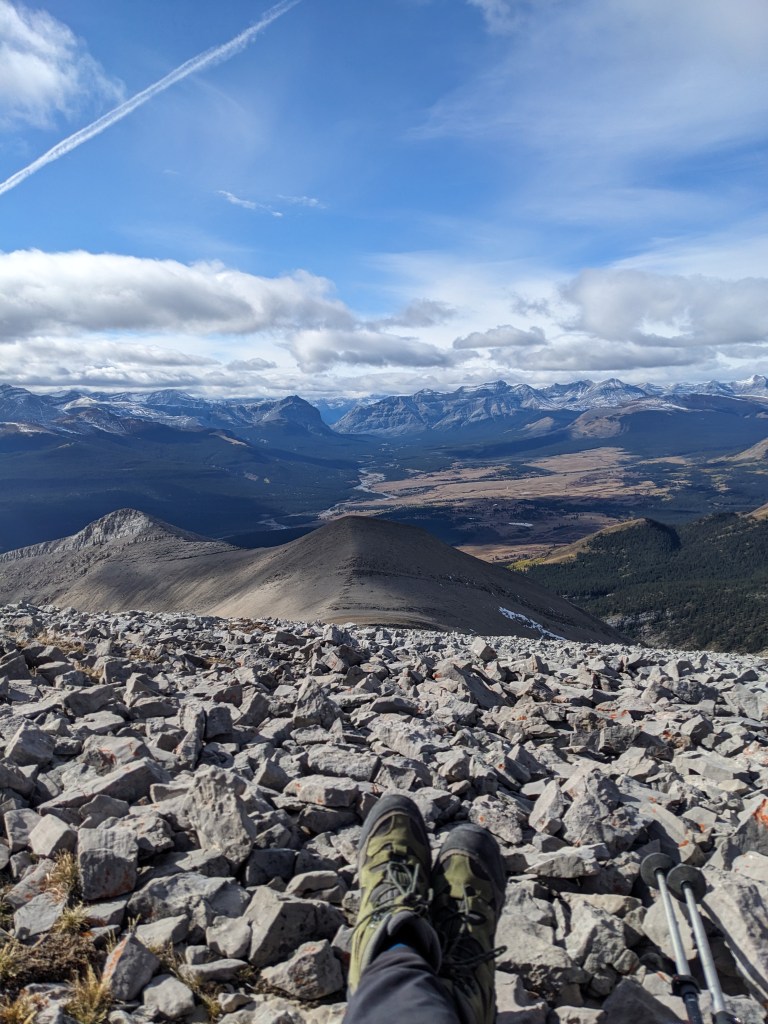
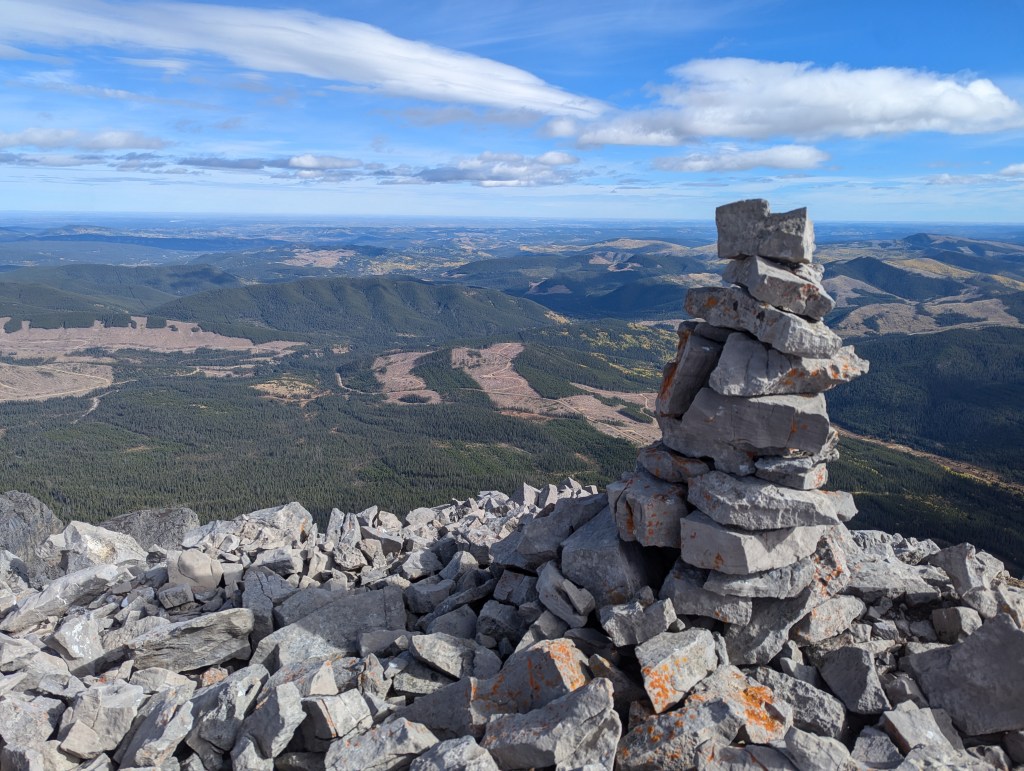
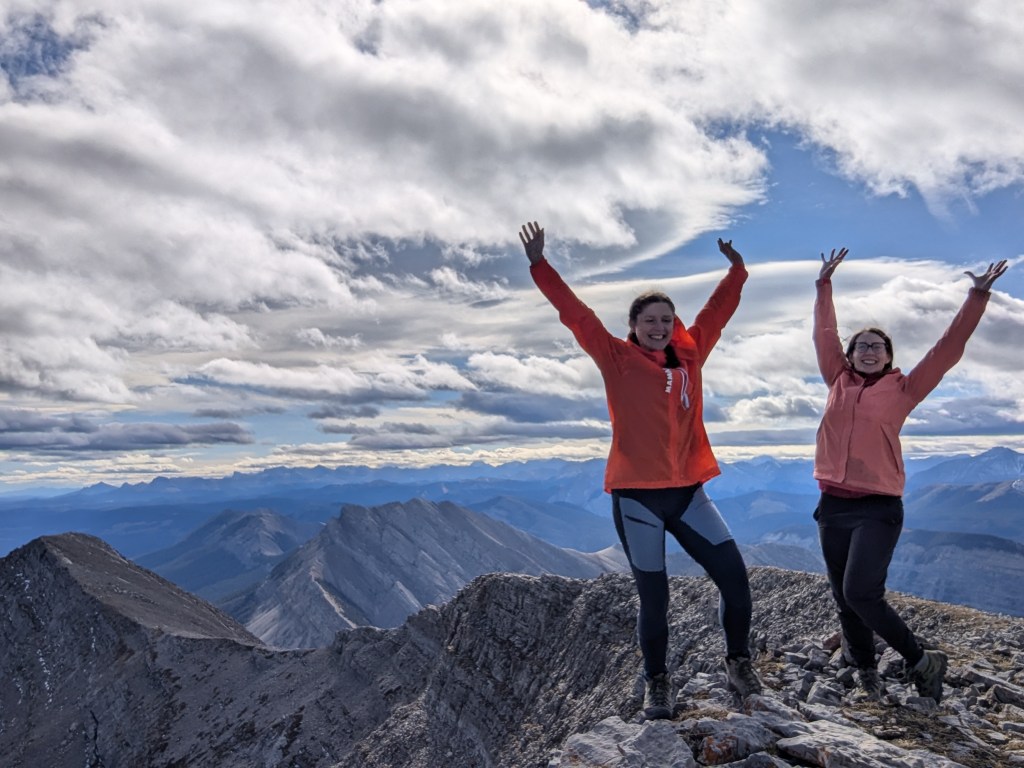
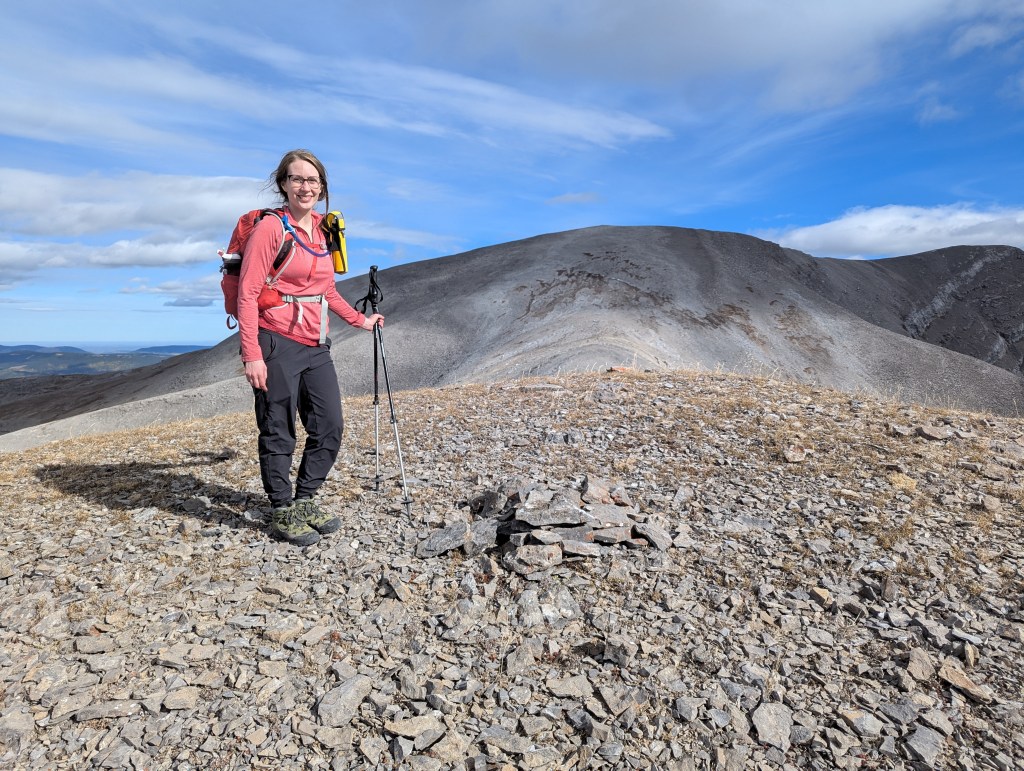
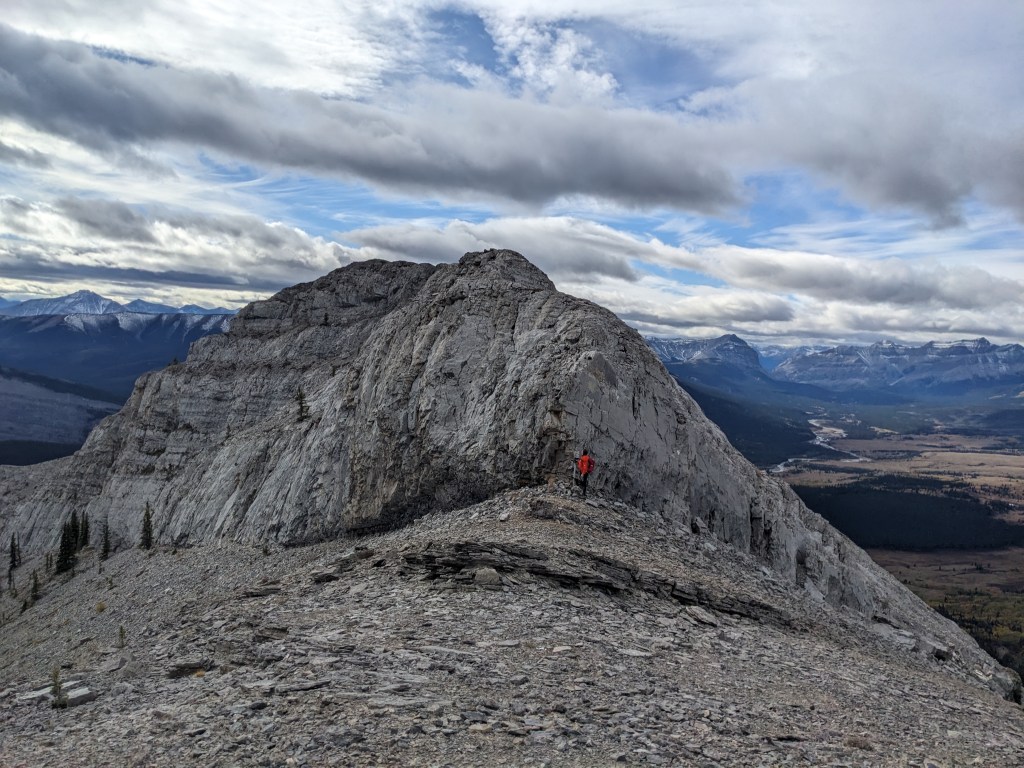
We walked past JKL Trail Rides, just outside of the parking lot, and paused for their adorable dogs. They seemed friendly and mentioned the delicious pie at their restaurant. I only wish we’d had time to stop in!The creek crossing had been a topic of discussion on our drive in, as we wondered how difficult it would be. It was no issue whatsoever. Looking forward, we will turn left about 100 m ahead.We turned left at the start of a large meadow, exactly as described by DeWit, roughly 1.2 km from the trailhead. At 1.9 km from the trailhead we will turn left again, leaving the trails completely to begin bushwhacking toward the ridge above.The left turn off of the trail begins up a grassy slope. Eventually the trees grow thicker, but the bushwhacking is very tame.Once in the trees, the views look roughly like this for 30 minutes. By distance, the bushwhacking was under a kilometer and was never worse than this.Eventually the trees begin to thin and the surrounding views open up. Warden Rock can be seen at center, just to the right of the tree. To the left stands Barrier Mountain.Reaching the first high point on the ridge. Two additional high points must be passed along the ridge, with the peak being the fourth and final high point. Looking ahead to the second high point along the ridge.Reaching the second high point. The third high point can be seen at center and the peak stands to the right. The section ahead of me looks deceptively easy from this angle, but will be the only scrambling for the day.It was fairly obvious when we reached the first crux. The top portion looked to be fun scrambling but, having read previous trip reports, we chose to simply bypass it to climber’s left.The second crux is moderate scrambling and cannot be bypassed. It is only 2m tall and looks worse from above. Juggy holds appear once out on the rock. Looking back at the series of downclimbs described above. The second high point is to the right.The third high point is little more than a blip before the final push to the peak, ahead. We arrived at the peak in 3 1/2 hours.Summit parnorama.Shanna takes in the views over Ya Ha Tinda Ranch.Inspecting some forestry operations to the east.Victory selfie! The mountain in the background is Maze Peak.We returned the way we came, regaining the high points passed earlier.Looking back at the peak from the third high point. This small pile of rocks contains a make-shift summit register. We were puzzled at the placement, but signed it anyway. No summit register was found at the peak.Returning to the first crux. As fun as the top two meters had looked from above, the bottom two meters look terrible. We again bypassed (to the right side of this photo).
We made it back to the parking lot in 6 hrs 15 min. As amazing as pie at JKL sounded, we still had to drive back to the Edmonton area in the same day. So, we settled for a quick Timmy’s meal and made our way home. Overall, this was a great day out and a perfect choice for the conditions.